Drip, drip, drip. That sound from your sink can drive anyone nuts. A leaky faucet is more than just annoying; it wastes water and can raise your bill.
Did you know a dripping faucet can waste over 3,000 gallons of water each year? That’s enough to fill a small pool! Fixing it yourself is easier than you might think.
This guide will show you how to fix a leaky faucet in 7 easy steps. You do not need fancy tools or skills for this simple plumbing repair. Ready to stop that leak? Let’s tackle it together!
Turn Off the Water Supply
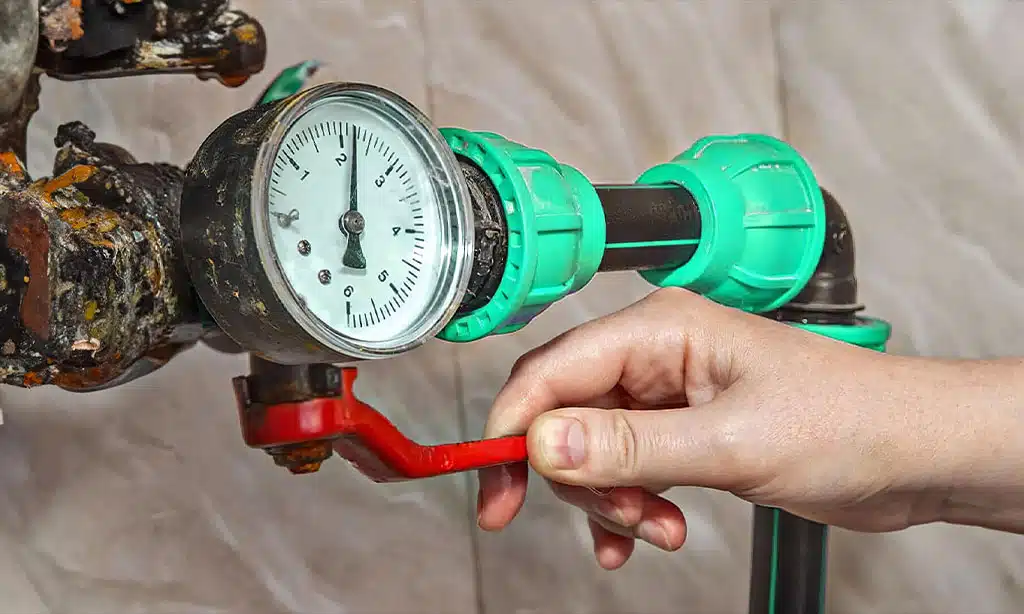
After learning why fixing a leaky faucet matters, you need to stop water from causing more damage. Find the shut-off valves under the sink. They look like small knobs or handles on the pipes.
Grab each valve and turn it right, that’s clockwise. This will block water going to your faucet. Some homes have only one main shut-off inside or outside; use that if needed.
A stitch in time saves nine, but turning off the water saves gallons.
Once you twist those valves closed, run both hot and cold sides of your faucet for a few seconds. Wait until no more drops fall. Now it’s safe for plumbing work without making a mess or getting soaked in surprise!
Gather Tools and Prepare the Workspace
Having your tools ready ensures a seamless faucet repair. Ensure your workspace is neat and brightly illuminated.
- Fetch an adjustable wrench; it will be useful for those cramped areas.
- Secure a Phillips head screwdriver for screws.
- A flat-head screwdriver could be beneficial too.
- Ensure to have pliers; occasionally, parts can be obstinate.
- Finalize the job with plumber’s tape for leaks.
- New O-rings and a cartridge ought to be prepared, for contingency.
- Maintain proximity with towels for possible water spills.
- Make the area beneath the sink vacant so you can operate conveniently.
Now, with everything prepared, we can proceed with disassembling the faucet.
Disassemble the Faucet
Fixing a leaky faucet might seem like a puzzle, but once you get the hang of it, it’s as easy as pie. First things first, you’ve got to take that faucet apart before anything else can happen.
- Turn off the water supply. This is key to avoiding an indoor rainstorm.
- Place a rag in the sink. It keeps small parts from going down the drain.
- Unscrew the handle screws. They’re usually hiding under a cap on top of the handle.
- Pull off the faucet handle. Sometimes it needs a gentle wiggle or a firm tug.
- Use a wrench to loosen and remove the packing nut. This reveals more parts inside.
- Take out the stem or cartridge. This part controls water flow and temperature.
- Remove any O-rings or rubber seals. Check them closely; if they’re worn out, they’re likely the culprit behind the leak.
Now, with all these parts laid out in front of you, finding and fixing that pesky leak doesn’t seem so tough, does it?
Identify and Replace Faulty Parts
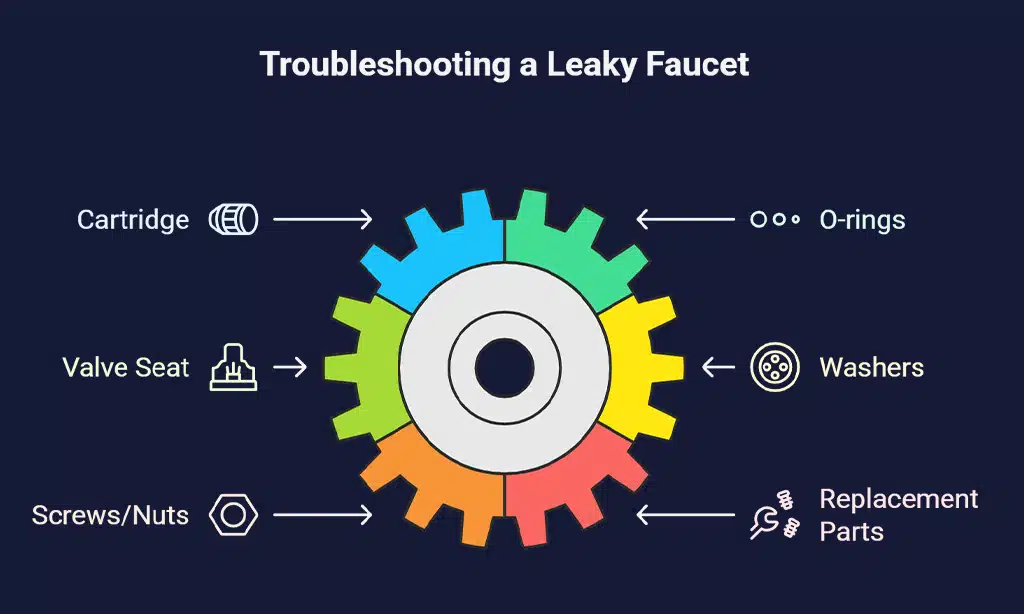
To fix a leaky faucet, you need to spot the broken parts. Often, these parts cause water leaks.
- Check the cartridge. This is often the culprit behind a dripping faucet.
- Look at the O-rings. Worn or damaged O-rings can leak water.
- Inspect the valve seat. If it’s corroded or dirty, it might need cleaning or replacing.
- Examine washers. These small pieces wear out over time and may need changing.
- Don’t forget about screws or nuts. Sometimes, they just need tightening.
- If you find broken parts, replace them with new ones from your local store.
- Make sure to get parts that match your faucet model for a proper fit.
Reassemble and Test the Faucet
Now it’s time to put everything back together. Follow these steps for a smooth reassembly and test.
- Place the faucet parts back in their original order. Start with the main body of the faucet. Add any screws you removed before.
- Slide the new O-rings into place if you replaced them. Make sure they fit snugly. This helps prevent leaks.
- Carefully put the handle back on, lining it up correctly. Tighten the screw or nut to secure it well.
- If your faucet has a decorative cap or cover, snap it back on now. This adds a nice finish to your work.
- Turn on the water supply again slowly; this allows air to escape from the system without causing a surge.
- Check for leaks by running water through the faucet for a few minutes. Look closely at all joints and connections.
- If there are no leaks, congratulations! You’ve fixed your leaky faucet like a pro!
Next, we’ll wrap things up in the conclusion section.
Takeaways
Fixing a leaky faucet is easy. You learned to turn off the water first. Then, gather your tools and get ready. Disassemble the faucet carefully. After that, replace any broken parts like cartridges or O-rings.
Put it back together and test if it works well.
This DIY repair saves money and keeps your home nice. A dripping faucet wastes water, which isn’t good for anyone. Keeping up with small fixes helps avoid big problems later on.
If you want more tips or help, there are many online resources available too! Take this chance to fix things yourself; it’s rewarding and builds confidence. Happy repairing!