As more people become aware of the environmental impact of daily living, transforming our homes into sustainable, eco-friendly spaces has become a top priority.
Small changes can add up to make a significant difference in reducing waste, conserving energy, and lowering carbon footprints.
And one of the best ways to get started is through DIY projects that are both affordable and impactful.
In this guide, we’ll explore 12 DIY projects that can make your home greener, helping you save resources, reduce waste, and create a healthier environment for your family.
From reusing rainwater to creating eco-friendly cleaning solutions, these ideas cater to various aspects of sustainable living.
Why Eco-Friendly DIY Projects Matter?
These projects aren’t just beneficial for the environment; they also create healthier, more economical homes. Here’s why eco-friendly DIY projects are worth the investment:
- Cost Savings: Many eco-friendly projects reduce monthly bills by conserving resources.
- Reduced Waste: Reusing materials and reducing single-use items helps limit landfill waste.
- Healthier Home Environment: Natural materials and eco-friendly practices improve indoor air quality.
- Positive Environmental Impact: By embracing green practices, you contribute to a more sustainable world.
Let’s dive into these 12 projects, each of which is designed to help you make a positive impact from the comfort of your own home.
1. Install a Rainwater Harvesting System
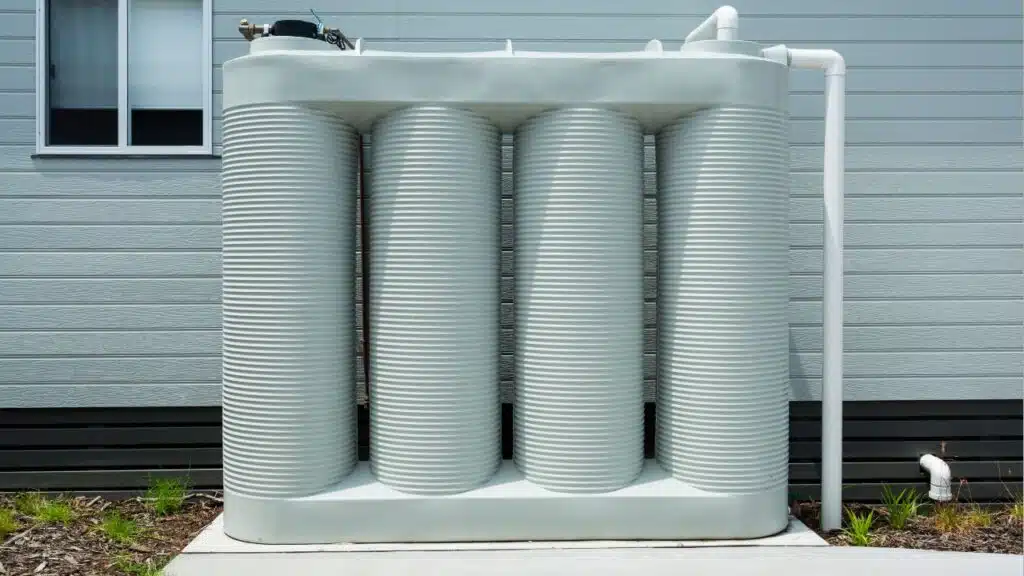
A rainwater harvesting system captures and stores rainwater, which can be used for various purposes, such as watering plants, washing cars, or even flushing toilets. In regions where water conservation is crucial, this simple project can have a significant impact.
- Decreases Dependence on Municipal Water: Using stored rainwater lessens the demand for municipal water, which is particularly beneficial in drought-prone areas.
- Lowers Water Bills: Replacing potable water with rainwater for certain tasks can lead to noticeable savings on water bills.
- Contributes to Self-Sufficiency: Harvesting rainwater helps you rely less on external water sources, especially during dry seasons.
DIY Steps for a Rainwater Harvesting System
To set up a basic rainwater harvesting system:
- Choose a large, durable barrel or container as a storage tank.
- Position the barrel under a downspout from your roof to capture runoff.
- Add a mesh screen on top to filter debris, insects, and leaves.
- Attach a spigot to the bottom of the barrel for easy access to the water.
- For larger setups, connect multiple barrels with a hose to increase storage capacity.
2. Create a Compost Bin
Composting is a natural way to recycle organic waste, reducing your household’s garbage output while creating nutrient-rich soil for your garden. It diverts food scraps and yard waste from landfills, cutting down on greenhouse gas emissions.
- Reduces Household Waste: Composting keeps up to 30% of kitchen waste out of the landfill.
- Improves Soil Health: Compost adds essential nutrients and organic matter to soil, improving its structure and fertility.
- Cuts Down on Chemical Fertilizers: Compost serves as a natural fertilizer, eliminating the need for synthetic alternatives that can harm the environment.
Steps to Build a Compost Bin
- Select a container or build a bin in your yard using wood or recycled pallets.
- Drill holes in the container for airflow, or leave spaces between pallets for ventilation.
- Layer “green” materials (e.g., vegetable scraps, coffee grounds) and “brown” materials (e.g., leaves, paper).
- Turn the compost weekly with a shovel to aerate and speed up decomposition.
- After a few months, your compost will be ready to use as fertilizer.
3. Make Your Own Natural Cleaning Products
Many commercial cleaning products contain chemicals that can harm both the environment and indoor air quality. DIY cleaners using ingredients like vinegar, baking soda, and essential oils are non-toxic, biodegradable, and highly effective.
- Reduces Chemical Exposure: Natural cleaners are safer, especially for homes with kids and pets.
- Environmentally Friendly: Ingredients like vinegar and baking soda break down harmlessly, reducing waterway pollution.
- Cost-Effective: Most DIY cleaners cost pennies to make, significantly cheaper than store-bought alternatives.
Recipes for Natural Cleaning Products
- All-Purpose Cleaner: Mix equal parts white vinegar and water in a spray bottle, and add a few drops of lemon essential oil for fragrance.
- Scrubbing Paste: Combine baking soda with a bit of water to make a paste. This is great for sinks, tubs, and stovetops.
- Glass Cleaner: Mix two cups of water, 1/4 cup of vinegar, and a few drops of essential oil in a spray bottle. Spray and wipe with a lint-free cloth.
4. Build a DIY Solar Oven
A solar oven uses the sun’s energy to cook food, eliminating the need for gas or electricity. Solar cooking is an innovative way to reduce your reliance on conventional energy sources while making meal prep eco-friendly.
- Energy Efficient: Solar ovens don’t require electricity or gas, making them perfect for off-grid or sustainable cooking.
- No Emissions: Solar ovens are emissions-free, reducing your carbon footprint.
- Great for Outdoor Cooking: They’re ideal for camping or backyard cooking, especially during summer.
How to Build a Solar Oven
- Line the inside of a cardboard box with aluminum foil to reflect sunlight.
- Place a black pot inside the box to absorb heat.
- Cover the top with a clear plastic sheet to trap heat, creating a greenhouse effect.
- Angle the box toward direct sunlight and leave food to cook.
5. Upgrade to Energy-Efficient LED Lighting
LED lights use significantly less energy than traditional incandescent or CFL bulbs, and they last up to 25 times longer. Switching to LEDs is a simple, effective way to make your home more energy-efficient.
- Consumes Less Electricity: LEDs use about 80% less energy than incandescent bulbs.
- Longer Lifespan: LEDs can last over 20 years with normal usage, reducing waste and replacement costs.
- Lower Environmental Impact: LED lights contain no toxic elements and are more environmentally friendly to dispose of.
Steps to Switch to LED Lighting
- Replace frequently used bulbs, such as in kitchens and living rooms, with ENERGY STAR-rated LED bulbs.
- Consider dimmable LED options for mood lighting.
- For added efficiency, install motion sensors in rooms where lights are often left on accidentally.
6. Upcycle Old Furniture
Upcycling not only prevents waste but also allows you to unleash your creativity. By transforming furniture, you can create unique, customized pieces that reflect your style while reducing the environmental impact of buying new.
- Reduces Landfill Waste: Upcycled furniture prevents old items from being thrown away and reduces the need for new manufacturing.
- Encourages Resourcefulness: Upcycling teaches you to see the potential in used items, fostering creativity and sustainable habits.
- Budget-Friendly: Many upcycling projects cost little to nothing, using materials you already have at home.
DIY Ideas for Upcycling Furniture
- Turn a Wooden Pallet into a Coffee Table: Sand down a pallet, add caster wheels for mobility, and paint or stain it to match your decor.
- Repaint and Repurpose Old Chairs: A simple coat of eco-friendly paint can bring an old chair back to life. Try stenciling designs for a personal touch.
- Convert a Dresser into a Kitchen Island: Remove the drawers from an old dresser, add a countertop, and repaint for a rustic yet functional island.
- Use Vintage Crates as Shelves: Stack or wall-mount old crates for DIY shelving that’s perfect for displaying plants or books.
7. Build a Vertical Garden
A vertical garden is a fantastic way to add greenery to your home, even if space is limited. It’s perfect for apartments, small yards, and urban settings, bringing the beauty and benefits of plants into your life without taking up much room.
- Space-Saving: Vertical gardens let you grow a variety of plants in a small footprint, ideal for balconies or patios.
- Improves Air Quality: Plants help purify the air, absorbing carbon dioxide and releasing oxygen.
- Supports Biodiversity: Vertical gardens with flowering plants can attract pollinators like bees and butterflies.
DIY Instructions for a Vertical Garden
- Choose a Structure: You can use a wooden pallet, hanging pots, or even repurpose a shoe organizer.
- Select Plants: Choose plants suited to the lighting and weather conditions of the area. Herbs, succulents, and flowers are excellent choices for vertical gardens.
- Arrange for Watering: Ensure your plants have a water source. You can set up a drip irrigation system or water manually.
- Place in a Suitable Location: Position your vertical garden in a spot with adequate light for your chosen plants, whether it’s indoors or outside.
8. Install a Low-Flow Showerhead

A low-flow showerhead is designed to use less water per minute than standard models without sacrificing water pressure. It’s a straightforward swap that can significantly reduce water consumption and lower utility bills.
- Cuts Water Use: Low-flow showerheads reduce water usage by up to 50%, conserving an essential resource.
- Lowers Utility Bills: By using less water, you save money on both water and heating costs.
- Simple and Quick Installation: Most low-flow showerheads can be installed in minutes, making this an easy eco-friendly upgrade.
How to Install a Low-Flow Showerhead
- Choose a High-Quality Low-Flow Model: Look for showerheads with a flow rate of 1.5 to 2.5 gallons per minute (GPM).
- Remove the Old Showerhead: Unscrew your existing showerhead and clean the threads on the pipe.
- Install the New Showerhead: Screw on the low-flow showerhead and tighten with a wrench if necessary. Turn on the water to check for leaks, adjusting if needed.
9. Make Reusable Beeswax Wraps
Beeswax wraps are a sustainable alternative to plastic wrap, used to cover food and keep it fresh. They’re reusable, washable, and biodegradable, making them a simple, eco-friendly swap in the kitchen.
- Reduces Single-Use Plastics: Beeswax wraps are washable and can be reused for up to a year, significantly reducing plastic waste.
- Keeps Food Fresh Naturally: The natural wax and oils in beeswax wraps help preserve food by creating a breathable seal.
- Completely Compostable: Once they wear out, beeswax wraps can be composted, unlike plastic wraps that remain in landfills.
How to Make DIY Beeswax Wraps
- Gather Supplies: You’ll need cotton fabric, beeswax pellets, jojoba oil (optional), and parchment paper.
- Melt the Wax: Preheat your oven to 180°F (82°C). Sprinkle beeswax pellets evenly over the fabric and add a few drops of jojoba oil.
- Heat and Set the Wax: Place the fabric on a parchment-lined baking sheet and bake for 5 minutes, or until the wax melts.
- Smooth and Cool: Use a brush to spread the wax evenly, then let the fabric cool and harden. Your wraps are ready to use!
10. Create a DIY Greywater System
A greywater system collects water from sinks, showers, and washing machines, which can then be used for outdoor irrigation or other non-potable purposes. By reusing greywater, you reduce the amount of freshwater used for gardening and save money on water bills.
- Reduces Water Waste: Using greywater for irrigation helps lower household water consumption.
- Ideal for Landscaping: Greywater is perfect for watering plants, as it often contains nutrients beneficial to soil.
- Conserves Freshwater: Recycling greywater ensures clean drinking water is used only where necessary.
DIY Steps for a Basic Greywater System
- Choose a Greywater Source: Kitchen sink water isn’t recommended, but shower or laundry water is ideal.
- Direct Water Flow: Install a diverter valve on your washing machine or shower drain, directing water into a storage tank.
- Filter the Greywater: Use a mesh screen or gravel filter to remove large particles before it reaches your garden.
- Irrigate with Greywater: Use the stored greywater to irrigate your garden, avoiding edible plants for safety.
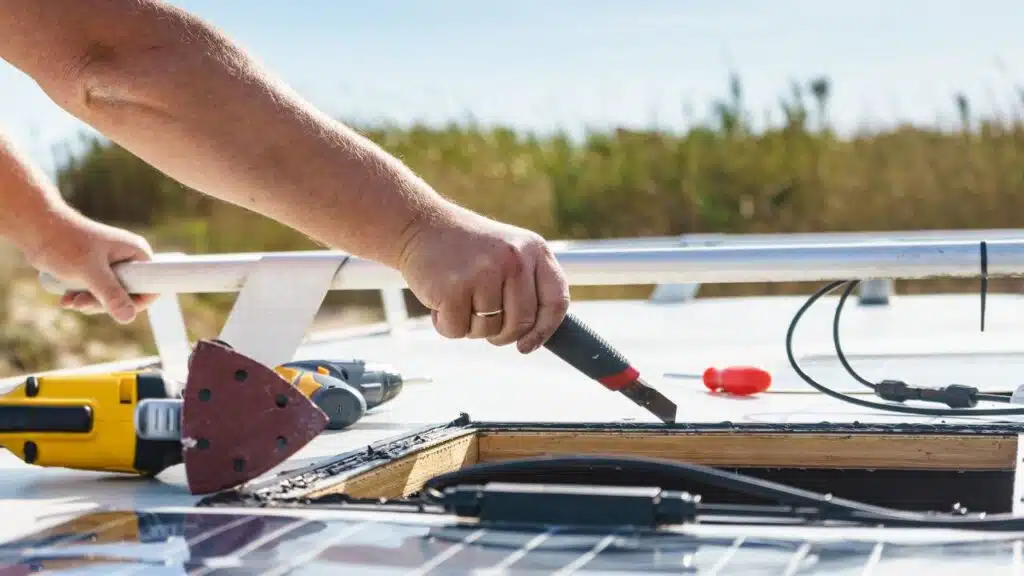
11. Install Solar-Powered Outdoor Lighting
Solar-powered lights use sunlight to charge during the day and illuminate at night, making them an energy-efficient and eco-friendly option for outdoor lighting. They’re perfect for pathways, patios, and garden areas.
- Energy Independence: Solar lights don’t rely on electricity, reducing your household’s energy consumption.
- Minimal Maintenance: These lights are long-lasting and usually weather-resistant, making them ideal for outdoor use.
- Environmentally Friendly: Since solar lights use renewable energy, they help reduce greenhouse gas emissions.
How to Install Solar Outdoor Lights
- Choose the Right Solar Lights: Select lights suited to the brightness and aesthetic you need for outdoor areas.
- Position in Direct Sunlight: Solar panels need plenty of sunlight, so place lights in areas that receive full daylight.
- Secure the Lights: Many solar lights come with stakes, making them easy to install in the ground. Simply insert and let the sun do the rest!
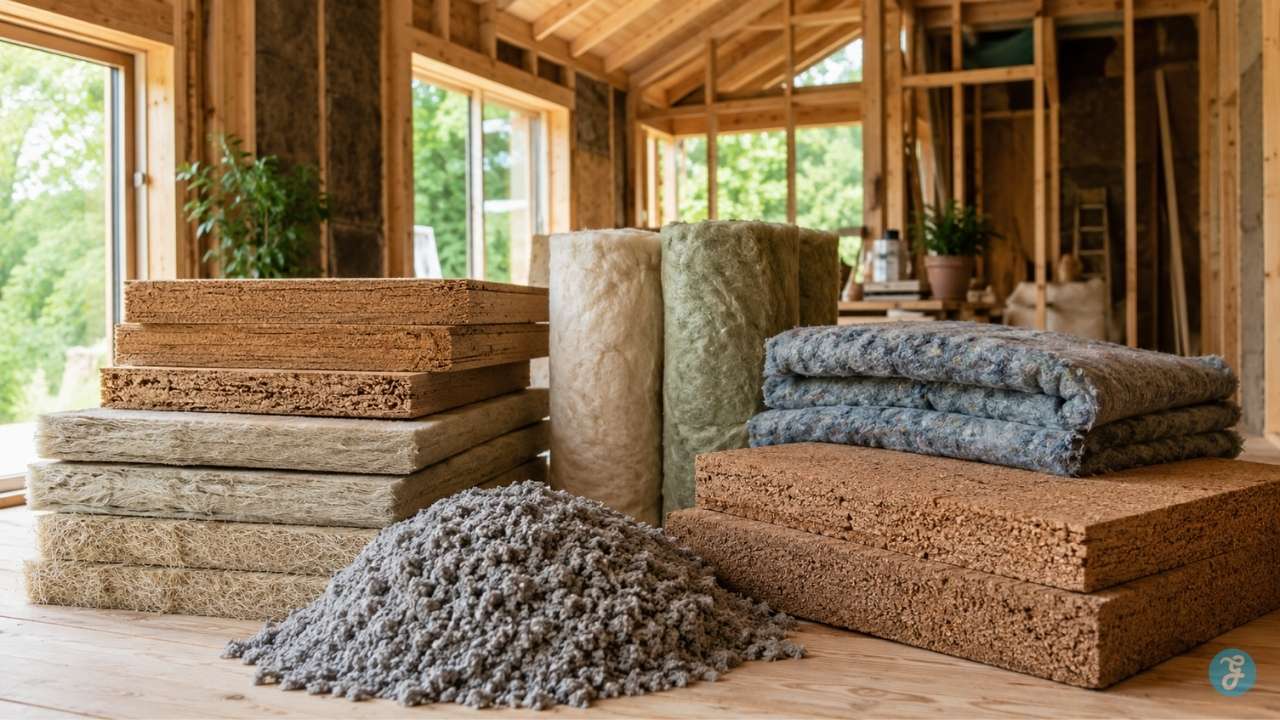
12. DIY Insulation for Windows and Doors
Poor insulation is a major cause of energy loss, especially around windows and doors. Insulating these areas helps maintain a comfortable indoor temperature and reduces heating and cooling costs.
- Improves Energy Efficiency: Insulated windows and doors prevent drafts, keeping your home at a stable temperature.
- Reduces Heating and Cooling Bills: By reducing the need for heating in winter and cooling in summer, you save on energy expenses.
- Enhances Comfort: Insulating gaps keeps your home cozy and eliminates cold or hot spots caused by drafts.
DIY Methods for Insulating Windows and Doors
- Weather Stripping: Add weather stripping to the edges of windows and doors to seal gaps.
- Apply Caulking: Use caulk to seal cracks or gaps around window frames and door frames.
- Install Window Film: Apply thermal film on windows to block heat transfer, which helps keep your home cool in summer and warm in winter.
- Add Draft Stoppers: Use draft stoppers or door sweeps along the bottom of doors to keep drafts at bay.
Conclusion
Transforming your home into an eco-friendly haven doesn’t have to be complicated or expensive.
These 12 DIY projects offer practical, budget-friendly ways to reduce waste, conserve water, save energy, and create a healthier environment for you and your family.
Whether you’re composting, collecting rainwater, installing solar lights, or creating reusable beeswax wraps, each project contributes to a sustainable lifestyle that benefits the planet.
By incorporating even a few of these projects, you can make a meaningful impact on your home’s environmental footprint and inspire others to follow suit. So, roll up your sleeves, get creative, and start transforming your home into a greener, more eco-friendly space today!