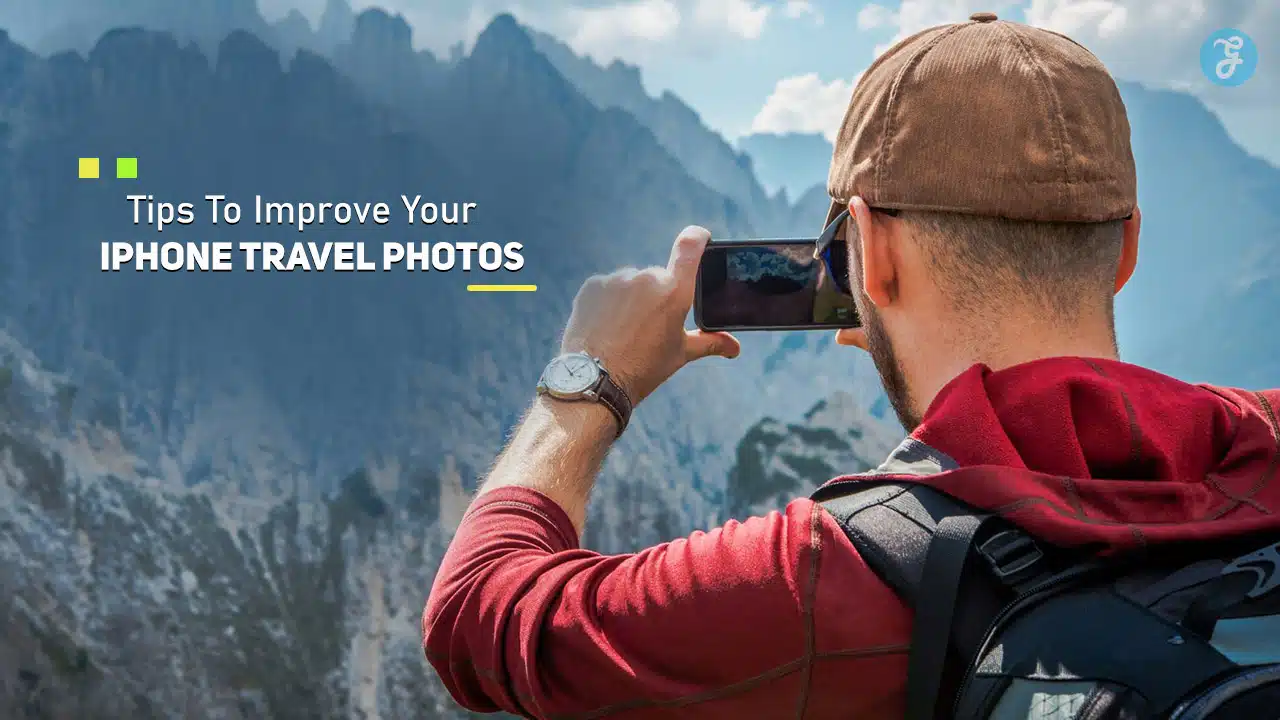
With its advanced camera features and ease of use, the iPhone has become a go-to device for capturing travel memories.
Whether you’re hiking in the mountains, exploring city streets, or relaxing on a beach, your iPhone has the power to take stunning photos that rival even professional cameras.
However, great photography doesn’t just rely on good equipment—it requires a blend of creativity, technique, and attention to detail.
In this guide, we’ll explore 10 essential tips to improve your iPhone travel photos, helping you master everything from camera settings and lighting to composition and editing.
Each tip is designed to take your mobile photography to the next level, ensuring that your travel photos are not only beautiful but also memorable.
1. Get to Know Your iPhone’s Camera Features
Your iPhone’s camera is packed with powerful features, but many users only scratch the surface of its capabilities.
From different shooting modes to hidden settings, understanding how to use your iPhone’s camera features is the first step in improving your travel photography.
How to implement:
Start by exploring the camera app. Swipe through the different modes, such as Photo, Portrait, Panorama, Time-Lapse, and Slo-Mo.
Each mode is designed for specific situations: panorama for wide landscapes, portrait for capturing subjects with a blurred background, and time-lapse for dynamic scenes like a busy market or a sunset.
Additionally, make sure to toggle on HDR (High Dynamic Range) to balance the light and dark areas in high-contrast scenes.
Don’t forget about Night Mode, which can dramatically improve low-light photos without using a flash.
Why it’s important:
Understanding how to use your iPhone’s camera features allows you to take photos tailored to the environment and scene.
Whether you’re capturing a bustling city street or a peaceful sunset, choosing the right mode can make all the difference in achieving professional-quality results.
2. Master Composition with the Rule of Thirds
Good composition is the foundation of compelling photography.
By applying composition techniques like the Rule of Thirds, you can elevate your iPhone travel photos from ordinary to extraordinary.
The Rule of Thirds helps you frame your subject in a way that is visually appealing and balanced.
How to implement:
Turn on the grid feature in your iPhone’s camera settings to display the Rule of Thirds grid lines.
The idea is to place the key elements of your photo—such as a horizon, a building, or a person—along the grid lines or at their intersections.
For example, if you’re photographing a beach sunset, place the horizon along the lower third of the frame while positioning the sun where the lines intersect.
This technique adds balance and directs the viewer’s attention to the most important part of your image.
Why it’s important:
Using the Rule of Thirds makes your photos more dynamic and visually pleasing.
It helps prevent your subjects from appearing too centered, creating a more natural and balanced composition that engages the viewer.
3. Maximize Natural Light for Stunning Photos

Lighting is one of the most critical elements in photography, and natural light is often the best source of illumination.
The right lighting can transform a simple shot into a stunning image, while poor lighting can make even the most beautiful scenery appear dull or flat.
How to implement:
For the best results, aim to shoot during the Golden Hour—the time shortly after sunrise and just before sunset.
The soft, warm light during these times enhances colors and textures, giving your photos a magical quality.
Avoid shooting in the harsh midday sun, as it can create unwanted shadows and overexposed highlights.
If you must shoot in bright sunlight, look for shade to soften the light or position yourself so that the light hits your subject from the side, rather than from above.
If you’re shooting indoors or in low-light conditions, use Night Mode to capture more detail without relying on a flash, which can make photos look harsh and unnatural.
Why it’s important:
Mastering natural light ensures your photos have the right balance of brightness and contrast.
Soft, natural lighting brings out the colors, textures, and details of your subject, creating a more visually appealing image.
4. Experiment with Angles and Perspectives
One of the simplest ways to improve your iPhone travel photos is to change your perspective.
Most people take photos from eye level, but experimenting with different angles can make your images stand out.
By shooting from a low or high angle, you can add drama, depth, and a fresh perspective to your travel shots.
How to implement:
For landscapes, try getting low to the ground to create a sense of depth and emphasize the foreground.
This technique works especially well for beaches, fields of flowers, or urban environments with interesting textures like cobblestone streets.
For cityscapes or architectural shots, capture the scene from a higher vantage point—perhaps from a balcony or hilltop—to showcase the scope and scale of the area.
Don’t be afraid to tilt your camera slightly to create diagonal lines, which can add a dynamic, modern feel to your images.
Why it’s important:
Changing your angle can transform an ordinary photo into something special.
By breaking away from the typical eye-level perspective, you can highlight different aspects of your environment and bring a sense of creativity and originality to your travel photos.
5. Take Advantage of Portrait Mode for Beautiful Depth
One of the standout features of the iPhone camera is Portrait Mode, which allows you to take photos with a blurred background, also known as the bokeh effect.
This feature is perfect for capturing portraits or close-ups with a professional, DSLR-like quality.
How to implement:
Switch to Portrait Mode when photographing people, animals, or objects where you want the focus to be on the subject.
Position your subject at the appropriate distance (typically within 2–8 feet), and let the camera automatically blur the background while keeping the subject sharp.
You can also use the Depth Control slider to adjust the level of background blur, making it more or less pronounced based on your preference.
While Portrait Mode is often used for people, don’t limit it to just portraits.
Try using it to photograph food, flowers, or other detailed objects during your travels for a crisp, focused shot with a soft, dreamy background.
Why it’s important:
Portrait Mode adds depth and emphasis to your subject, making your travel photos look more polished and professional.
It’s an easy way to elevate everyday shots and create striking images with minimal effort.
6. Use HDR Mode for Perfect Exposure in High-Contrast Scenes
High Dynamic Range (HDR) is a powerful tool for photographing scenes with both very bright and very dark areas, such as a sunset over the ocean or a city skyline at dusk.
HDR combines multiple exposures into one balanced image, ensuring that details in both the highlights and shadows are preserved.
How to implement:
Enable HDR by tapping the HDR icon in your iPhone’s camera app or let your iPhone automatically choose when to use it.
When photographing high-contrast scenes—such as a brightly lit sky with a darker foreground—HDR will take multiple shots at different exposures and merge them into one photo.
This results in a well-balanced image with detail in both the lightest and darkest parts of the scene.
Why it’s important:
HDR allows you to capture scenes with challenging lighting conditions that would otherwise result in blown-out highlights or lost shadows.
By using HDR, you can ensure your travel photos have the right exposure balance, making them more visually striking and detailed.
7. Clean Your Lens for Crystal-Clear Photos
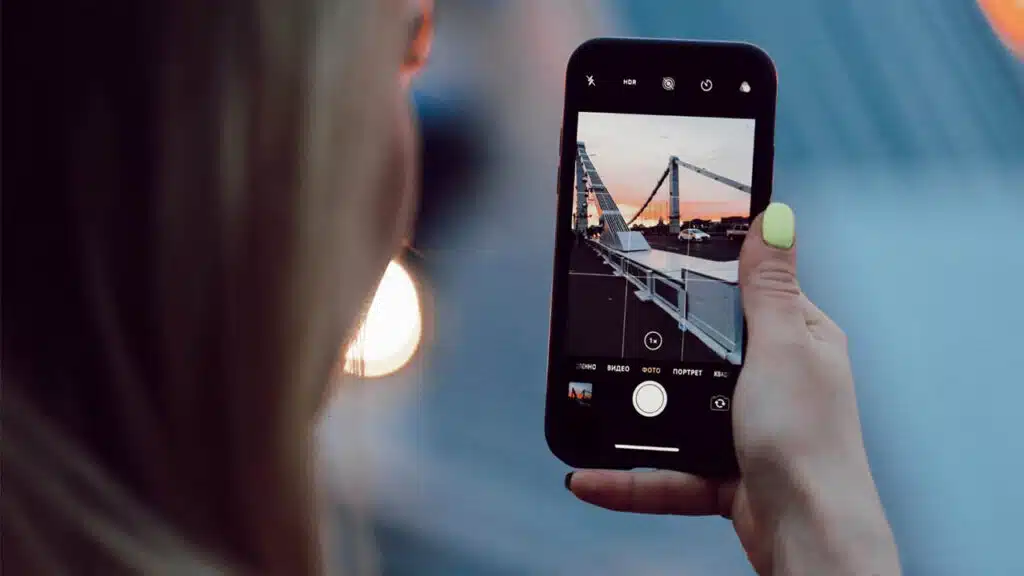
It may sound basic, but one of the easiest ways to improve your iPhone travel photos is to ensure that your lens is clean.
Dirt, dust, and smudges can cause your photos to appear hazy or blurry, reducing their overall quality.
How to implement:
Before you start taking photos, use a soft, microfiber cloth to gently wipe the lens of your iPhone.
Avoid using rough materials or your shirt sleeve, as these can scratch the lens.
If you’re traveling in dusty or sandy environments, consider carrying a lens cleaning cloth with you to ensure your lens stays clean throughout the day.
Why it’s important:
A clean lens guarantees that your photos will be sharp and clear.
Even the most advanced camera settings won’t help if your lens is dirty, so this simple step can make a big difference in the quality of your images.
8. Edit Your Photos for a Professional Finish
Editing is the final step in transforming a good photo into a great one.
By adjusting elements like brightness, contrast, saturation, and sharpness, you can enhance the overall look of your travel photos and bring out their best qualities.
How to implement:
Start with the Photos app on your iPhone, which offers basic editing tools such as exposure, contrast, highlights, shadows, and saturation.
For more advanced editing, apps like Snapseed and Adobe Lightroom provide additional features such as selective adjustments, curves, and filters.
Don’t over-edit your photos—aim for subtle enhancements that maintain the natural look and feel of the scene.
Adjust the white balance to correct any color casts, sharpen the image for clarity, and enhance the colors to make them pop.
Why it’s important:
Editing allows you to correct imperfections and enhance the visual appeal of your photos.
A few simple adjustments can make colors more vibrant, increase clarity, and bring out the details that were lost in the original image.
9. Use Burst Mode for Action Shots
When photographing action scenes or fast-moving subjects, it can be difficult to capture the perfect moment.
That’s where Burst Mode comes in handy. Burst Mode allows you to take a rapid series of photos, ensuring you don’t miss a single moment.
How to implement:
To activate burst mode, hold down the shutter button in the camera app, and your iPhone will take multiple photos in quick succession.
This feature is particularly useful for photographing moving subjects such as wildlife, sporting events, or children playing.
After capturing a burst, you can select the best photo from the series or keep several to capture different stages of the action.
Why it’s important:
Burst Mode increases your chances of capturing the perfect shot in fast-paced environments.
Whether you’re photographing wildlife on a safari or waves crashing on the shore, Burst Mode ensures you get the best possible image from the scene.
10. Capture Authentic Moments to Tell a Story
Travel photography is about more than just taking pretty pictures—it’s about capturing the essence of the place and telling a story.
Focus on capturing authentic moments that reflect the culture, people, and experiences of your travels.
These are the photos that will hold the most meaning and resonate with your audience.
How to implement:
Look for candid moments that reflect the local culture, whether it’s a street vendor selling food, children playing in a park, or locals going about their daily routines.
Don’t be afraid to interact with people—sometimes a friendly conversation can lead to the perfect shot.
Focus on capturing the small details that make a place unique, such as local art, food, or architecture.
These authentic moments will help tell the story of your journey and make your travel photos more personal and engaging.
Why it’s important:
Telling a story through your travel photos adds depth and meaning to your images.
By focusing on authentic, candid moments, you’ll capture the true essence of your travels and create photos that go beyond surface-level beauty.
Final Thoughts
With these 10 essential tips to improve your iPhone travel photos, you’ll be well on your way to capturing stunning, professional-quality images during your next adventure.
From mastering natural light to experimenting with angles and editing your shots, these techniques will help you make the most of your iPhone’s camera and take travel photos that truly stand out.
Whether you’re exploring new cities, hiking through nature, or documenting everyday moments, your iPhone can be your most powerful photography tool—just remember to practice, be patient, and have fun with it!