
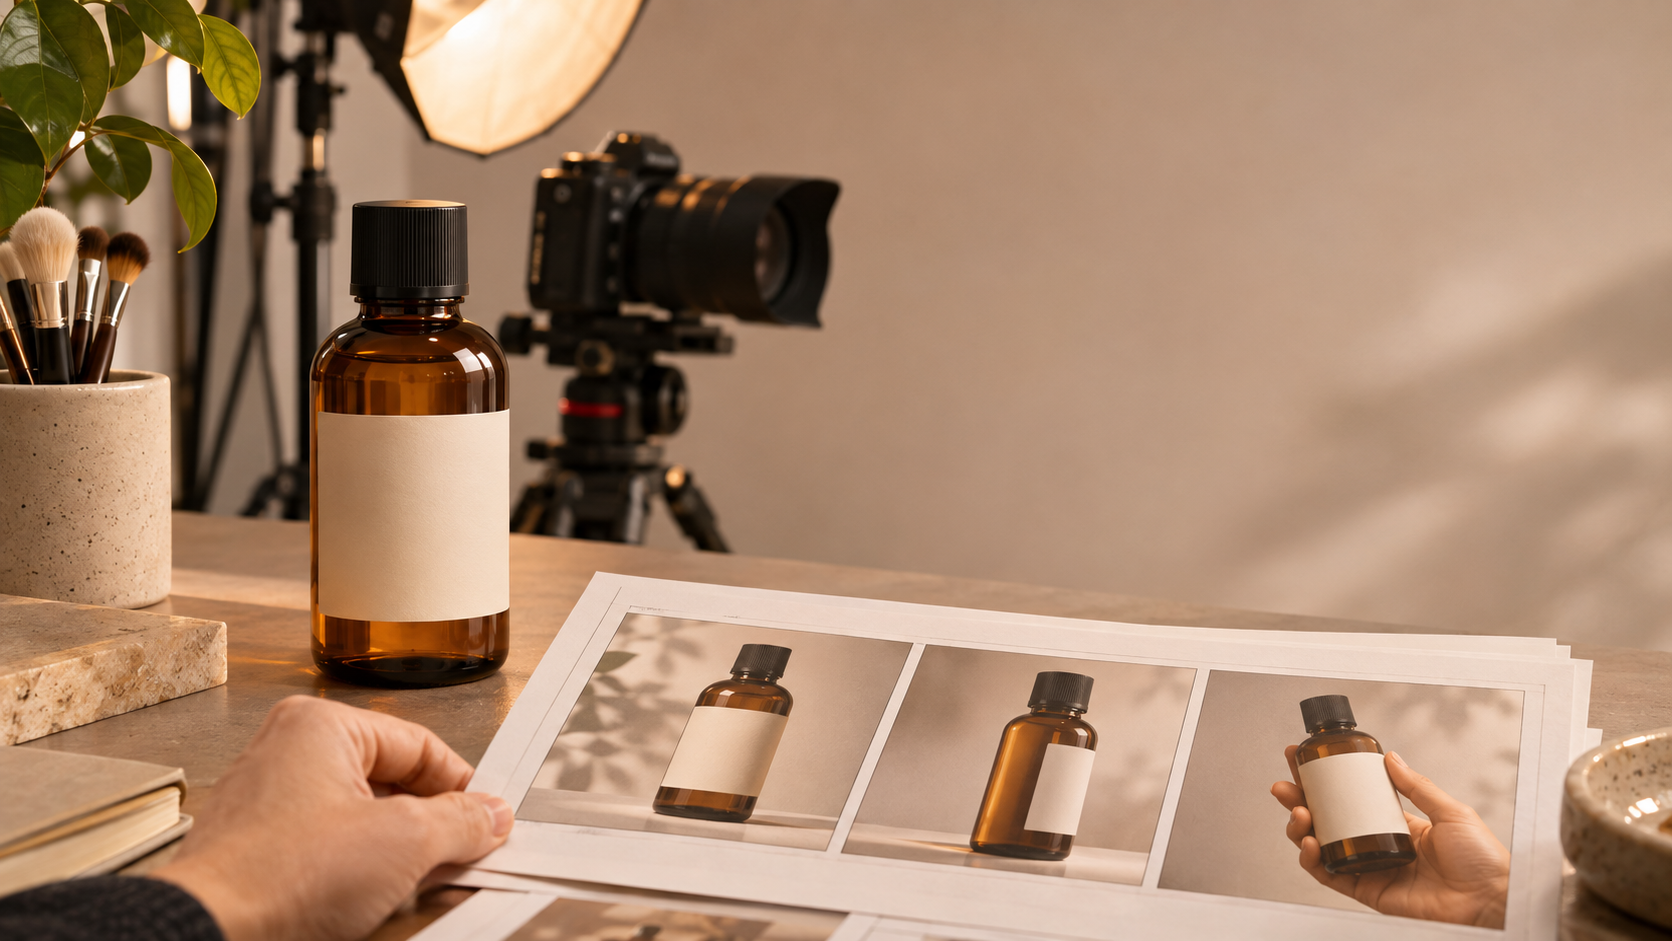
A bottle changes shape during a slow turn. A lid is open in one shot and sealed in the next. The voiceover names a feature while the image shows a different model. These errors can hide inside a polished, 10-second AI product video. Before approving the edit, compare each shot with the real product and with the shots beside it. The eight continuity checks below make that review repeatable.
Short AI product video continuity often combines separately generated clips, still images, graphics, and audio. A good-looking individual frame does not prove the whole sequence is accurate. Start with approved photos or a product model for the exact SKU, a shot list, and a short record of details that may and may not change. If you are still choosing a generation workflow, compare AI video generators for ecommerce against the level of product control you need.
Set Up a One-Page AI Product Video Continuity Card
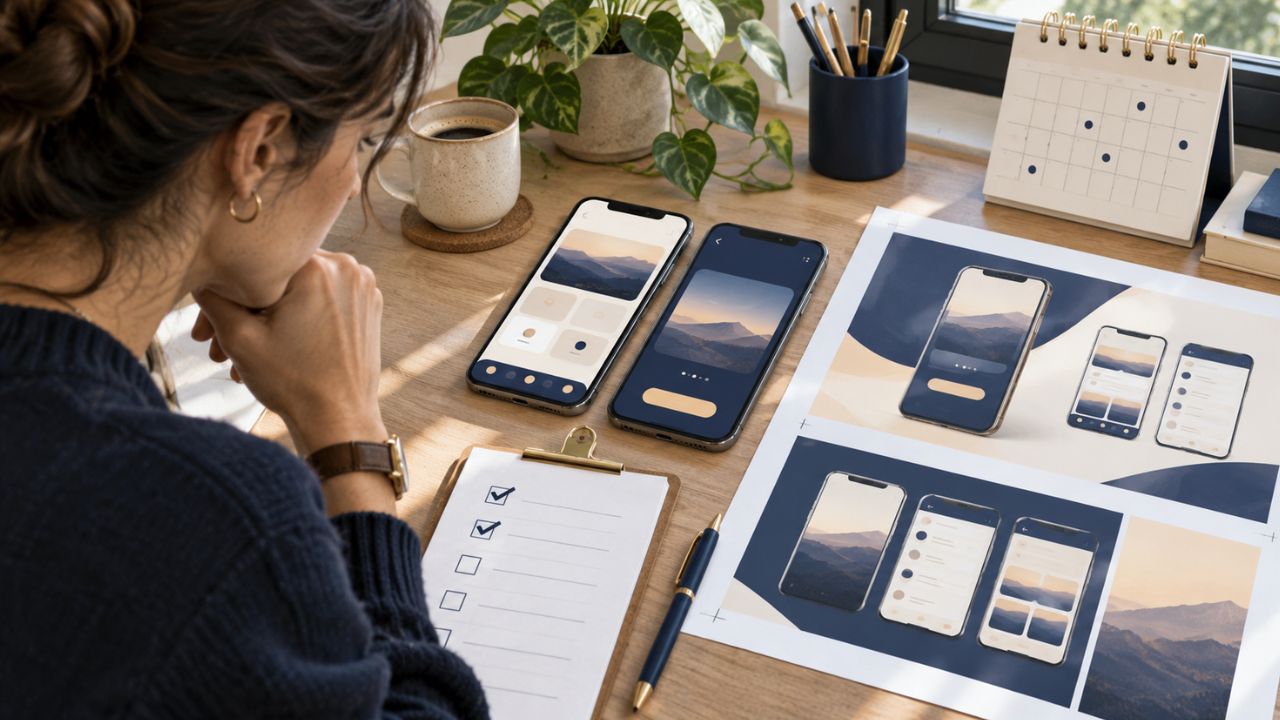
For each shot, note the approved SKU, reference asset, visible product angle, action at the start and end, background, light direction, camera movement, and words heard or seen. Mark a detail as fixed if a change would misrepresent the item; mark it as variable if the creative can change it. A new location can be intentional. A new cap shape on the same bottle cannot.
Run the first pass on the generated clips and a second pass on the actual edited export. Pause at each cut, then inspect the start, middle, and end of each shot. A single thumbnail or the first frame will miss errors that appear only when the product turns, or a hand touches it. The broader AI video creation workflow covers planning and finishing; this card is specifically for continuity approval.
| Record | Example for an illustrative three-shot coffee ad |
|---|---|
| Fixed product detail | Same 250 g pouch, label, closure, and roast name |
| Allowed scene change | Countertop shot to pouring shot to closing packshot |
| Action state | Sealed pouch → opened pouch → coffee poured |
| Reviewer decision | Approve, repair a shot, or replace it with real footage |
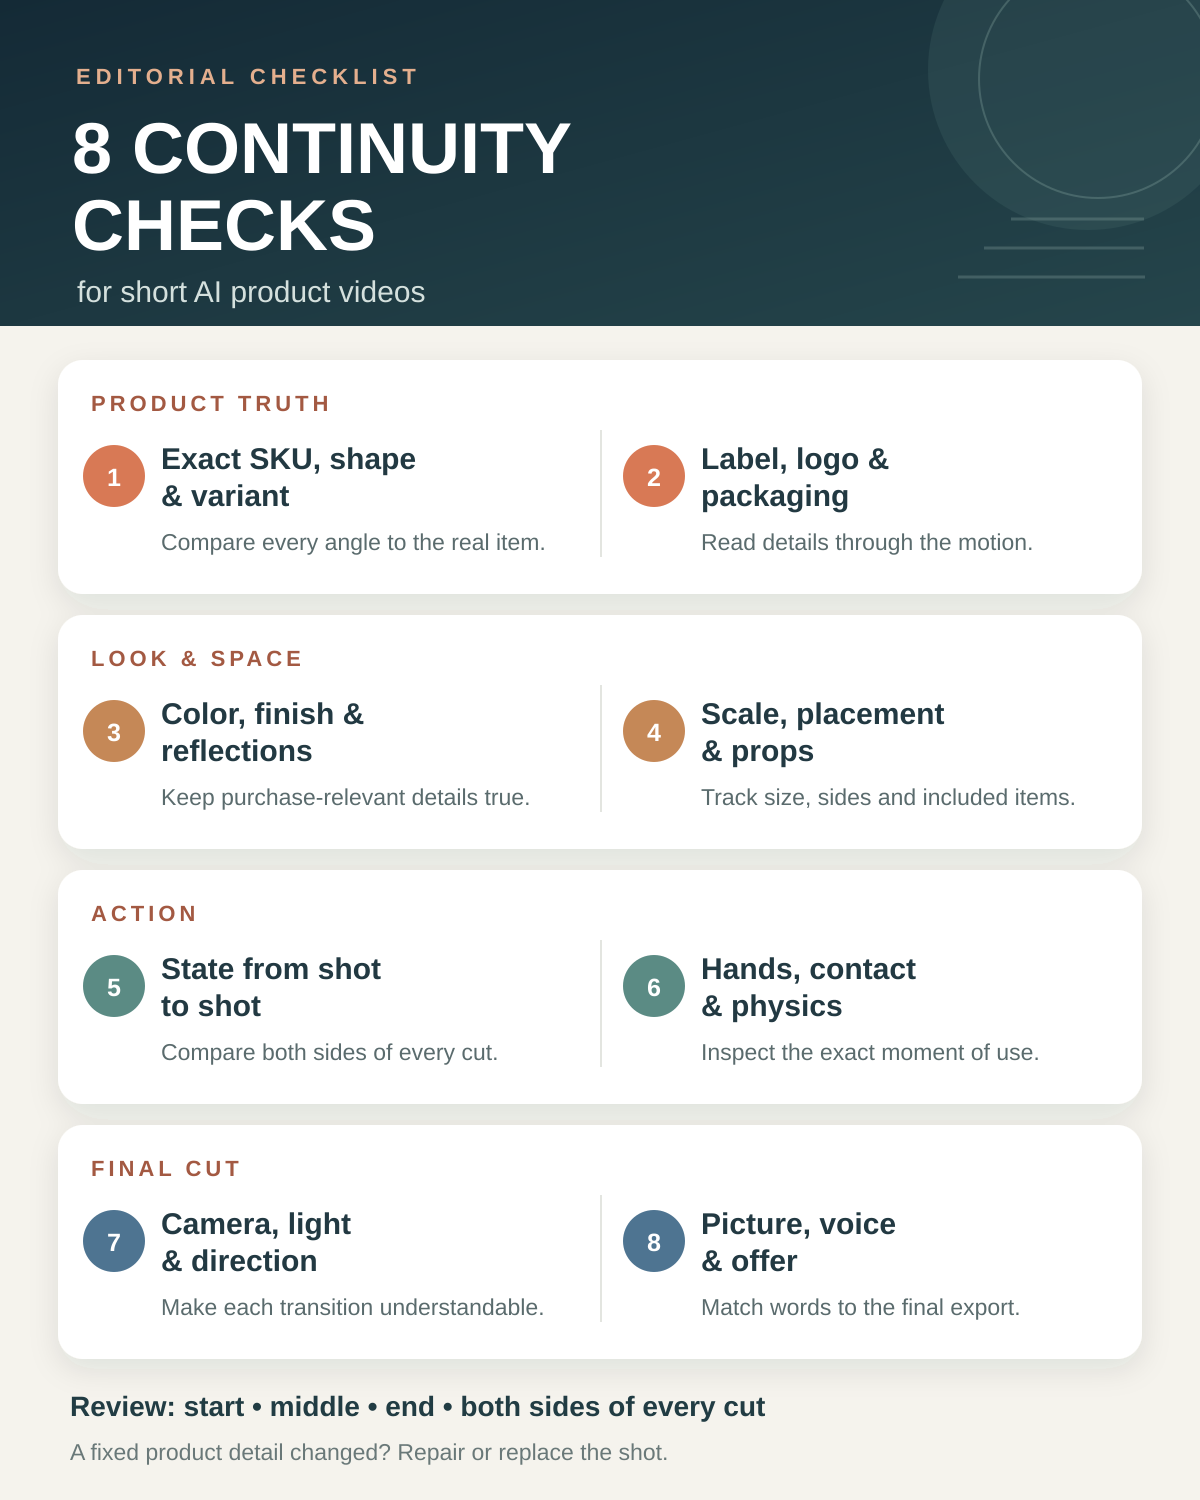
1. Check the Exact Product and Variant in Every Shot
Compare the clip with an approved front, side, and back view of the SKU being advertised. Look at its silhouette, dimensions, handle, ports, seams, cap, and any distinctive hardware. Then check the variant: a blue 500 ml bottle should not become a black 750 ml bottle after a cut. When the product rotates, inspect the newly exposed side instead of assuming that a convincing front view means the rest is correct.
Keep the same approved product references across shots and approve a key frame for each angle before animating it. Runway’s product-video workflow recommends consistent product references and shot-level key frames. This is a useful production control, though no reference method guarantees that every generated frame will be accurate.
If an essential feature disappears or changes, repair or reject the shot. A stylish crop cannot rescue a video that depicts another product. Reserve real footage or an accurate approved render for a feature that shoppers must inspect closely.
2. Check Labels, Logos, and Packaging Text
Read the label at every point where it is visible, particularly during a turn, zoom, or focus change. AI motion can turn a correct still into a misspelled brand, shifted logo, altered ingredient line, or an invented badge. Compare the result with the approved packaging artwork, including the position and orientation of each element. If the product has different packaging by market or production run, use the version that matches the advertised listing.
Check the outer box separately from the item inside. An ad can begin with one colorway on the carton and reveal another in the next shot. For a phone, beauty product, or supplement, even a small label change may imply a different configuration or formula.
If text cannot be held accurately through motion, shorten the generated close-up, replace it with an authentic packshot, or composite approved graphics in the edit. Do not cover a material error with a caption that makes a conflicting claim.
3. Check Color, Finish, and Reflections
Lighting is allowed to change how a surface looks, but it should not quietly turn the product into another finish. Compare the item against approved neutral-light images as well as the intended campaign look. Watch whether matte plastic becomes chrome, brushed metal turns into glass, or a fabric color shifts between adjacent shots. Highly reflective products deserve a close review because reflections can invent extra edges, openings, or logos.
Use one small set of consistent style references when generating related scenes. Runway’s reference guidance advises a cohesive palette, lighting, and mood rather than conflicting looks in one request. The reviewer still needs to distinguish a deliberate warm-light effect from a false product color. A neutral product plate near the end can make that decision easier for viewers, provided it shows the true item.
If the creative treatment changes a purchase-relevant shade or material, correct the image or choose a different shot. Color grading the entire edit may align backgrounds while leaving the product itself wrong.
4. Check Scale, Placement, and Props
Track where the product sits relative to a hand, table edge, cup, shelf, or other stable object. Does it change size from one view to the next without a camera move that explains the shift? Does a phone become wider than the person’s palm, or does a tabletop appliance suddenly fit into a small drawer? Perspective can legitimately alter apparent size, so compare physical relationships as well as screen pixels.
Make a simple scene map: product at center, cup to the right, window to the left. Then inspect adjacent frames at each cut. If the cup jumps sides, the product teleports, or the number of included items changes, the sequence needs a visible reset or a replacement shot. A new scene can establish a new layout; an unmarked jump within one continuous action is harder to follow.
Props also affect the product claim. A generated cable, accessory, or refill shown beside the item can look like an included component. Remove anything the listing does not actually include or make the distinction clear in accurate on-screen copy.
5. Check the Action State From Shot to Shot
Write the action as a sequence of states: unopened, lid removed, contents poured, lid replaced. At each cut, compare the last frame of the outgoing shot with the first frame of the incoming shot. The amount of liquid, position of a switch, open flap, screen setting, and location of a used component should follow the action. A product should not reset itself mid-demonstration unless the edit clearly begins a new example.
This is especially important when several short clips are generated separately. Adobe Firefly documents first and last frame inputs that guide the start and end of a generated clip. They can help plan an adjoining transition, but the finished motion and cut still require inspection. A match in the two endpoint images does not establish that every frame between them is coherent.
If the state cannot be reconciled, add an honest scene break, change the shot order, or regenerate the affected segment. Do not imply that a feature works through a continuous demonstration when the required operation is missing.
6. Check Hands, Contact, and Physical Behavior
Play interaction shots at normal speed, then pause around contact. Check whether fingers wrap around the correct surface, pass through a handle, change number, or release an object that keeps moving as if held. Look at the product’s hinge, button, cable, liquid, fabric, and shadow during the action. A plausible first frame may become an impossible physical demonstration half a second later.
Separate decorative motion from proof of function. A rotating beauty bottle can sell an aesthetic; a clip showing a safety latch, charging port, dispensing mechanism, or assembly step makes a more specific claim. Where the movement itself matters to a buyer, use verified real footage or a technically accurate render if generated motion cannot show it reliably.
Avoid hiding a failed interaction behind speed ramps or sound effects. Review the uncut source and the edited version. If a hand blocks the key moment, the clip may be attractive, but it does not show what the narration says it shows.
7. Check Camera Direction, Light, and the Cut
Two strong shots may still collide in the edit. Watch the last second before a cut and the first second after it. Does a rightward camera move suddenly become a leftward move with no visual reset? Does the product reverse its facing direction while a label stays on the same side of the screen? Does a shadow jump from left to right even though the scene is presented as the same tabletop?
Record intended camera movement in the shot list: locked-off close-up, slow push-in, or a turn around the product. Use a clearly different establishing angle when the location or lighting changes. A cutaway can make an intentional change understandable; it should not be used to conceal a product redesign.
Inspect the assembled video at its intended size as well as on a larger monitor. Small continuity errors can be obvious in a close-up, while an abrupt cut or distracting brightness shift may be more noticeable in a phone-sized feed.
8. Check That Picture, Voice, Captions, and Offer Tell the Same Story
The final continuity check crosses media. If the voice says “twist to open,” show the twist at that moment. If on-screen copy says “three colors,” the pictured variants and current listing should agree. Check that subtitles preserve the product name, model number, units, price, and any important qualification. An AI voice can pronounce a SKU differently from the caption, and an old end card can carry an expired offer into a new edit.
Listen through every cut for an audio jump, repeated word, or sound effect that implies an action absent from the image. Our AI voiceover video guide explains the wider narration and caption workflow; for continuity, compare each spoken line with the exact frames it accompanies. Check the final exported version, not only the editing timeline, including any vertical crop that may hide the product or a qualifying line.
If the video shows an AI-imagined use case rather than a demonstrated real outcome, make the claim proportionate to what is actually known. Correct the line or the visual before release instead of expecting viewers to infer the missing distinction.
A Fast Approval Pass for the Finished Video
Use the continuity card as a decision record, not a decorative checklist. First watch the final export without pausing to see whether the sequence makes sense. Then inspect each shot’s beginning, middle, and end against the approved SKU. Finally, compare both sides of every cut and check the audio, captions, and offer against the product listing. A version that fails a fixed product detail goes back for repair even if its motion looks impressive.
These eight continuity checks for short AI product videos will not make a generator perfectly reliable. They give the team a concrete way to approve an accurate clip, replace a misleading shot, and keep the product on screen consistent with th