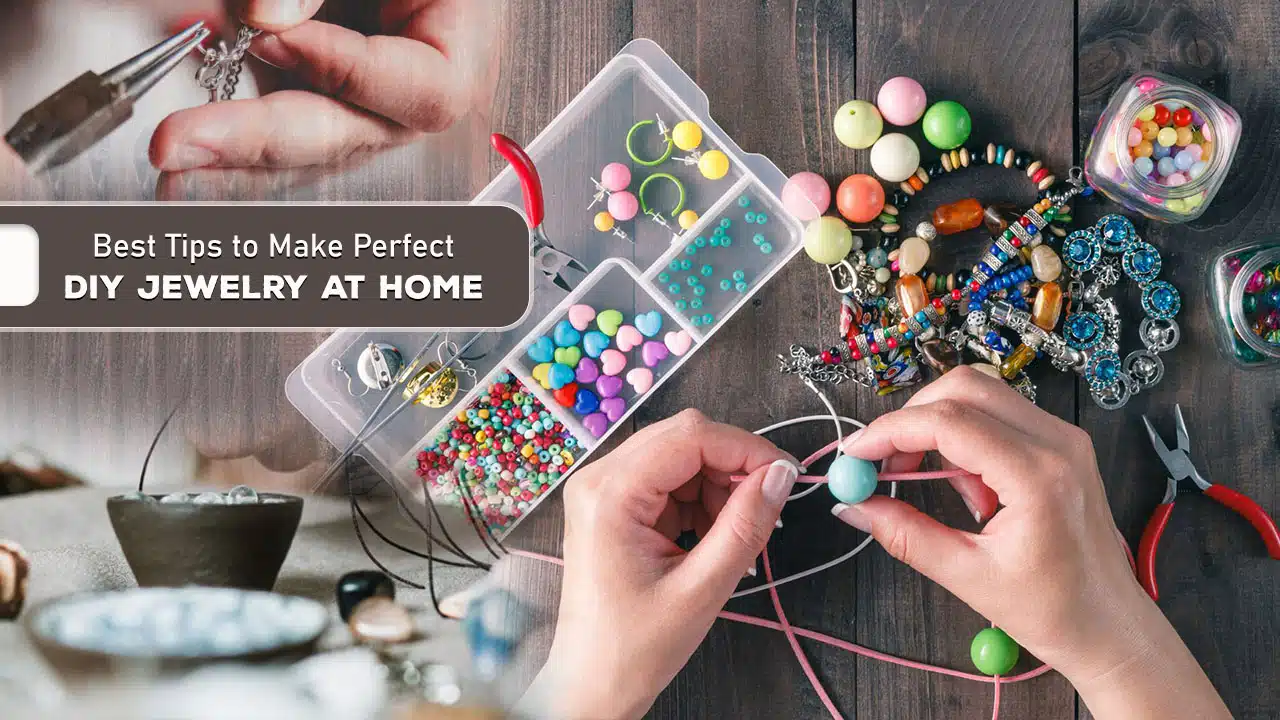
DIY jewelry-making is not only a fun and creative hobby, but it also allows you to create customized pieces that express your personal style. Whether you want to craft elegant earrings, trendy bracelets, or unique necklaces, making jewelry at home offers endless possibilities.
However, similar to any craft, crafting flawless DIY jewelry necessitates a combination of knowledge, practice, and a few tricks to master. In this guide, we’ll walk you through the ten best tips to make perfect DIY jewelry right at home. Let’s get started!
1. Choose Quality Materials
The first and most important step in making DIY jewelry is choosing high-quality materials. The type of materials you use will directly affect the appearance, durability, and overall quality of your finished pieces. Here are a few suggestions for choosing the right materials:
- Beads and Gemstones: Opt for high-quality glass, crystal, or natural gemstone beads instead of cheap plastic ones. These materials not only look more attractive but also have a much longer lifespan.
- Wires and Findings: When it comes to wires, choose options like sterling silver, gold-filled, or copper-coated jewelry wire. Ensure that the clasps, jump rings, and earring hooks you use are strong and reliable.
- Strings and Threads: Use a sturdy stringing material, such as nylon-coated wire or elastic cord, depending on the type of jewelry you’re making. For more intricate beadwork, use waxed thread or silk thread.
Using quality materials will give your jewelry a professional look and ensure that your creations last for years.
2. Gather the Essential Tools
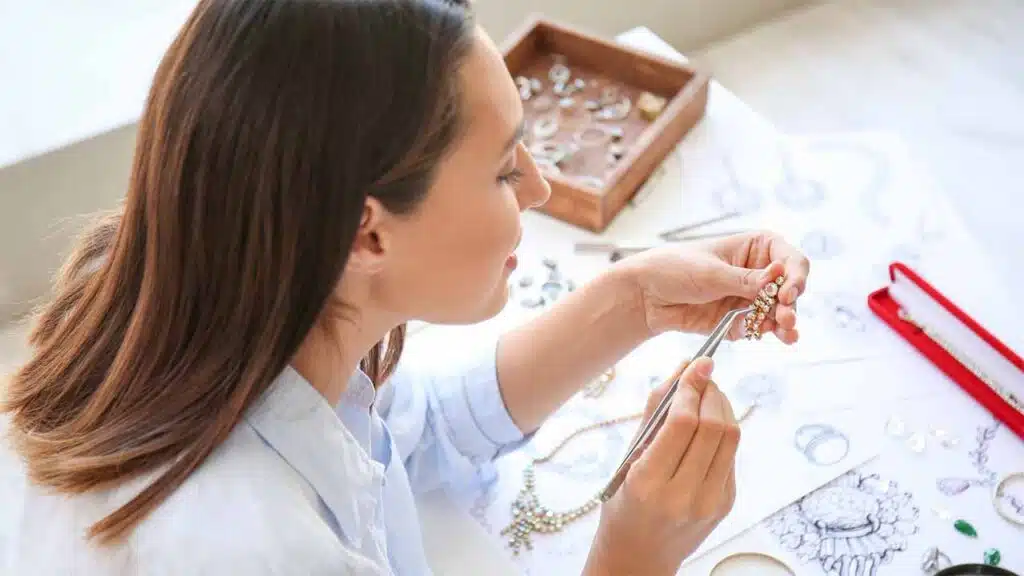
Jewelry-making involves the use of a few basic tools. Finding the right tools will simplify the process and improve the final product. These are the most essential tools for DIY jewelry-making:
- Round Nose Pliers: You can create loops, curls, and intricate designs with these pliers.
- Flat Nose Pliers: These are used for bending and holding wires securely, as well as for opening and closing jump rings.
- Wire Cutters: Essential for cutting metal wires, wire cutters are used to trim excess wire or cut through beading wire.
- Crimping Pliers: Use these pliers to secure clasps to jewelry and to close crimp beads.
- Bead Reamer and Tweezers: Use a bead reamer to enlarge holes in beads, and tweezers to handle small beads easily.
A proper toolkit will help you create flawless jewelry and make the crafting process much more efficient.
3. Plan Your Designs Ahead
Planning your designs ahead of time is crucial to creating professional-looking DIY jewelry. This can help you achieve the perfect balance of colors, textures, and shapes, while also making the assembly process more efficient. Here’s how you can plan your designs:
- Draw a Sketch: Draw a rough sketch of the jewelry piece you want to make. Include details like bead placement, colors, and overall dimensions.
- Create a Layout: Before you begin assembling, lay out all the components on a bead board or flat surface to see how they look together. Adjust the arrangement until you’re satisfied with the design.
- Color Schemes: Consider color theory when designing your jewelry. Complementary colors can make your pieces stand out, while monochromatic schemes create an elegant and cohesive look.
Proper planning will save you time and frustration during the creation process and help you achieve more aesthetically pleasing results.
4. Master Basic Techniques
Before diving into complex designs, it’s essential to master some basic jewelry-making techniques. These fundamental skills will form the foundation of your jewelry-making journey:
- Opening and Closing Jump Rings: Properly opening and closing jump rings is important for creating secure connections in your jewelry.
- Wire Wrapping: Learn how to create wrapped loops with wire, which can be used to attach beads, make charms, or link components together.
- Crimping Beads: Necklaces and bracelets use crimping beads to secure their clasps. Mastering this technique ensures that your jewelry stays securely fastened.
- Knotting: Knotting is particularly important for beaded necklaces and bracelets, especially those made with pearls. The knots keep beads from rubbing against each other and protect the jewelry from breaking.
Taking the time to learn these essential skills will help you create polished and professional-looking jewelry pieces.
5. Invest in a Bead Board
A bead board is a great investment for any DIY jewelry-maker. It allows you to design your jewelry pieces before you start assembling them, ensuring you’re pleased with the final design. Bead boards usually have a variety of compartments and channels to hold beads, clasps, and wires in place.
- Benefits of Using a Bead Board:
- It helps you visualize your jewelry layout.
- It provides measurements to help determine the length of your necklace or bracelet.
- It keeps beads organized, making it easier to see all your components at a glance.
- It helps you visualize your jewelry layout.
Using a bead board is particularly useful for complex designs, as it helps you experiment with different arrangements and prevents mistakes.
6. Practice Proper Wire Handling
Wire is a common material in jewelry-making, and handling it properly can make a big difference in your finished pieces. Here are some tips for working with wire:
- Use the Right Gauge: Different jewelry projects require different wire thicknesses (gauges). Thicker wires (e.g., 18-20 gauge) are good for structural elements, while thinner wires (e.g., 24-26 gauge) are suitable for wrapping beads.
- Avoid Kinks: When working with wire, try to avoid creating kinks. To straighten wire, gently pull it through your fingers or use nylon-jaw pliers.
- Leave Extra Length: Always cut a bit more wire than you think you need. This gives you flexibility to make adjustments and reduces the risk of running out of wire during wrapping.
By learning to handle wire correctly, you’ll create smoother, more even loops and wraps, resulting in a more polished look.
7. Secure Your Work with Proper Finishing
The finishing touches are what make the difference between an amateur and a professional piece of jewelry. Here’s how to properly finish your jewelry to ensure durability:
- Use Crimp Beads Properly: When using beading wire, always secure it with crimp beads. Make sure to flatten the crimp beads with crimping pliers to hold the wire firmly in place.
- Add Jewelry Glue: Use a small dab of jewelry glue to secure knots, especially in elastic bracelets. Make sure the glue dries completely before wearing the jewelry.
- Check Clasps: Ensure that all clasps are securely attached and function properly before finishing. Clasps should be easy to open and close but strong enough to hold the jewelry securely.
A secure finish will not only improve the appearance of your jewelry but also prevent breakage.
8. Mix and Match Materials
Mixing and matching materials is a great way to make unique, eye-catching jewelry. You can use a variety of materials to add texture, contrast, and interest to your designs:
- Beads and Chains: Combine beads and chains for a balanced look. You can use metal chains as a base and add beads or charms for decoration.
- Natural Elements: Add natural elements like shells, wood beads, or stones for a bohemian touch.
- Ribbons and Fabric: Ribbons, suede cords, and other fabric materials add a soft texture to your jewelry, giving it a romantic and feminine feel.
Experimenting with different materials will help you create unique pieces that showcase your personal style.
9. Practice Patience and Precision
Jewelry-making is an art that requires patience and precision. Working too quickly or without paying attention to detail can lead to mistakes that affect the quality of your final piece. Here are some tips for maintaining precision:
- Take Breaks: If you’re working on a complex piece, take breaks to avoid frustration. This will help you stay focused and maintain a high level of craftsmanship.
- Measure Twice: Always measure twice before cutting or crimping. This will help you avoid wasting materials and ensure your jewelry pieces are the right length.
- Handle Small Components Carefully: Use tweezers to pick up and place small beads, especially when working with intricate patterns.
Jewelry-making can be a rewarding experience, but it’s important to take your time and pay attention to the details.
10. Jewelry-making Takes Practice
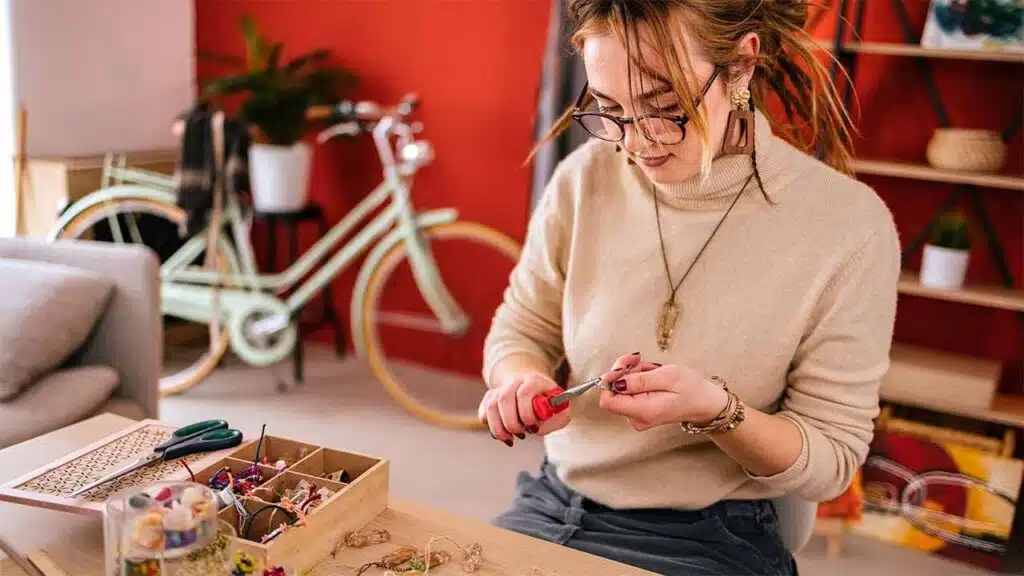
Like any skill, jewelry-making takes practice. Don’t lose hope if your initial pieces lack perfection. With each new project, you’ll improve your skills and learn new techniques. Here are a few suggestions for practicing:
- Start with Simple Projects: Begin with simple designs, such as stretch bracelets or beaded earrings, before moving on to more complex projects.
- Learn from Mistakes: Mistakes are part of the learning process. Assess your mistakes and devise ways to avoid them in future projects.
- Take Online Classes: There are many free or affordable online classes and tutorials available for jewelry-making. These can help you learn new techniques and expand your skills.
The more you practice, the more confident you’ll become in your abilities to create beautiful jewelry at home.
Conclusion
Making DIY jewelry at home is a creative and fulfilling activity that allows you to express yourself through beautiful, handmade pieces. With the right materials, tools, and techniques, you can create jewelry that looks just as professional as anything you’d find in a store.
By following the ten tips we’ve outlined—choosing quality materials, gathering essential tools, planning your designs, mastering basic techniques, using a bead board, handling wire properly, securing your work, mixing materials, practicing patience, and, most importantly, practicing regularly—you’ll be well on your way to making perfect DIY jewelry at home. Remember, jewelry-making is an art that takes time to master, so enjoy the process and let your creativity shine!