Beeswax wraps have become a popular alternative to plastic wrap, offering an eco-friendly, reusable solution for food storage. However, to ensure their longevity and effectiveness, proper care and maintenance are essential.
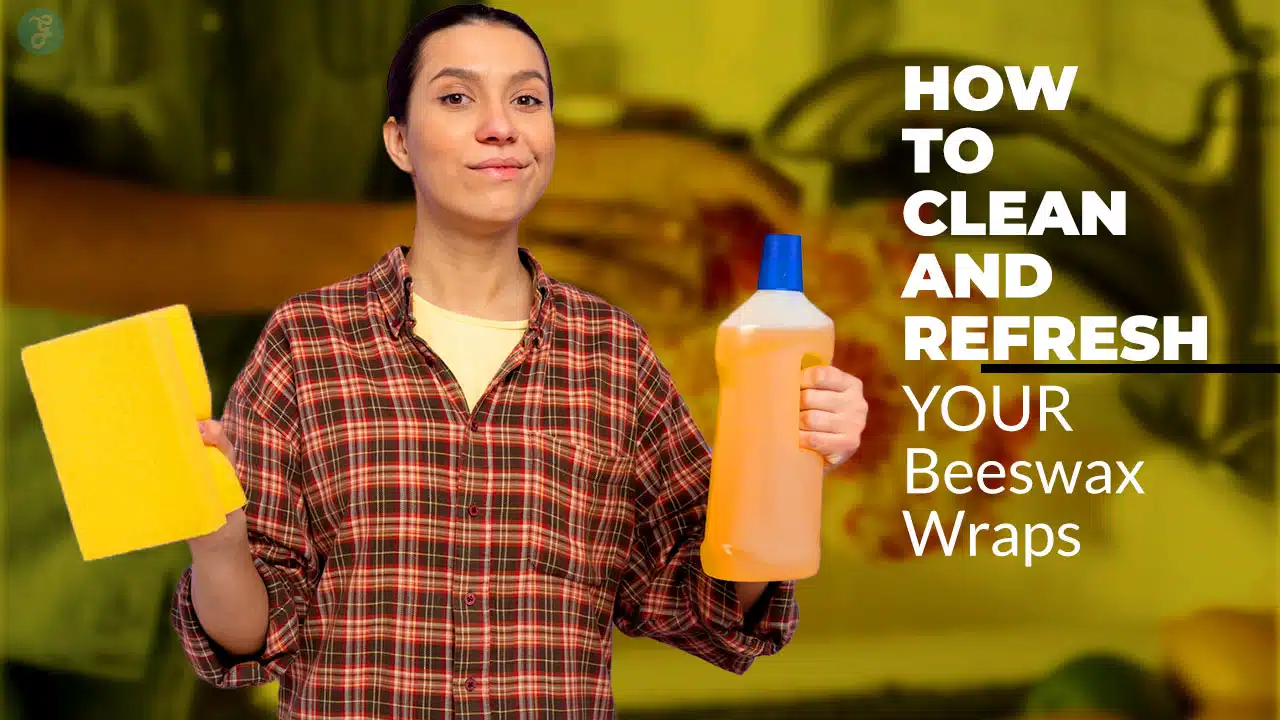
If you’re wondering how to clean and refresh your beeswax wraps, this guide will walk you through the entire process step by step.
By following these simple techniques, you can keep your wraps fresh, hygienic, and sticky for continued use. Whether you’re new to beeswax wraps or looking for the best way to maintain them, this guide has you covered. Additionally, we will include practical tables and well-researched data to help you understand the benefits of regular upkeep.
Why Proper Cleaning and Maintenance Matters
Taking good care of your beeswax wraps not only extends their life but also ensures safe food storage. Here’s why proper cleaning and refreshing are essential:
| Benefit | Description |
| Preserves Reusability | Well-maintained wraps can last up to a year or more, reducing waste. |
| Prevents Bacterial Growth | Cleaning removes food particles, ensuring a hygienic surface. |
| Maintains Stickiness | Regular care prevents the wax from wearing down prematurely. |
| Enhances Eco-Friendliness | Prolonging their use minimizes plastic waste and environmental impact. |
Essential Supplies for Cleaning Beeswax Wraps
To maintain the longevity of your beeswax wraps, using the right cleaning supplies is crucial. Proper tools and products help remove dirt and bacteria while preserving the integrity of the wax coating. Before you start cleaning, gather these essential items:
| Supplies | Purpose |
| Mild dish soap | Cleans without stripping wax or leaving residues. |
| Cool water | Prevents wax from melting while effectively rinsing dirt. |
| Soft sponge or cloth | Gently scrubs dirt away without damaging the wrap. |
| Air-drying rack or towel | Ensures even drying and prevents mold growth. |
| Optional refresher kit | Used to reapply wax when wraps lose effectiveness. |
How to Clean Your Beeswax Wraps Safely
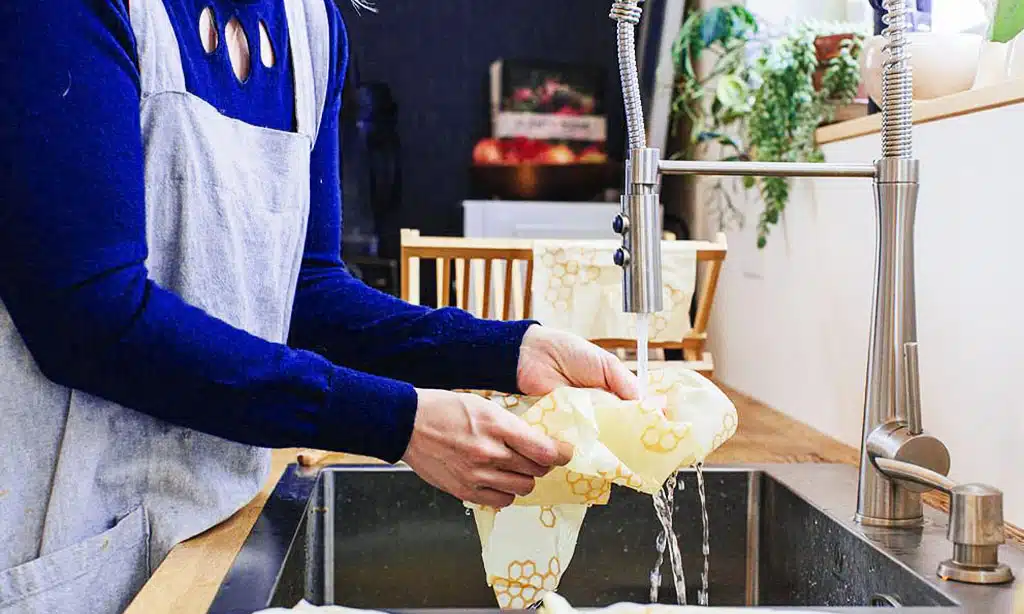
Regular cleaning of your beeswax wraps ensures they remain fresh and effective. Here’s how you can clean them safely:
Step 1: Rinse with Cool Water
Proper cleaning begins with rinsing, a crucial step in maintaining the integrity of your beeswax wraps. Removing food debris efficiently while ensuring the wax remains intact helps to keep your wraps fresh and functional for long-term use.
Gentle rinsing not only removes surface particles but also prevents wax degradation, which extends the lifespan of your wraps. Using the right water temperature ensures that the wax remains intact while effectively removing debris. Here’s how to do it correctly:
- Always use cool or lukewarm water, as hot water can melt the beeswax.
- Gently shake off excess food debris before rinsing.
Step 2: Use a Mild Soap for Deep Cleaning
After rinsing off debris, the next crucial step in how to clean and refresh your beeswax wraps is using a gentle, eco-friendly soap. Choosing the right soap is essential for maintaining the wraps’ functionality while ensuring they remain free from harmful residues.
A well-selected soap will effectively remove oils and food particles without stripping away the protective wax coating, helping to extend the lifespan of your wraps.
- Choose an eco-friendly, mild dish soap free from harsh chemicals to prevent wax deterioration.
- Avoid antibacterial soaps or alcohol-based cleaners, as they can break down the wax and reduce the wrap’s effectiveness.
- Using pH-balanced soap helps preserve the wax coating longer, maintaining the wrap’s pliability and stickiness.
- Opt for natural ingredients like Castile soap, which provides gentle yet effective cleaning without compromising the integrity of the wax.
Step 3: Gently Scrub with a Soft Sponge
After rinsing and using mild soap, it’s time to gently scrub your beeswax wraps. Proper scrubbing removes any remaining debris while maintaining the wax coating’s integrity. The right technique ensures your wraps stay in excellent condition for multiple uses.
- Lightly scrub the wrap with a soft sponge or cloth.
- Avoid using abrasive materials like steel wool that can wear down the wax coating.
- Circular motions help remove stuck-on food without damaging the wrap.
Step 4: Rinse and Air-Dry
The final step in how to clean and refresh your beeswax wraps is proper rinsing and drying. This process is crucial because even the best cleaning efforts can be undone if wraps are not dried correctly. Ensuring that no soap residue is left behind keeps your wraps hygienic, and following the correct drying process prevents mold growth.
Proper drying also helps maintain the integrity of the wax coating, ensuring that your wraps remain functional for an extended period.
- Rinse thoroughly with cool water to remove soap residue.
- Lay the wraps flat on a drying rack or hang them to air dry naturally.
- Avoid direct sunlight or heat sources, which can cause the wax to soften or crack.
How to Refresh Your Beeswax Wraps for Extended Use
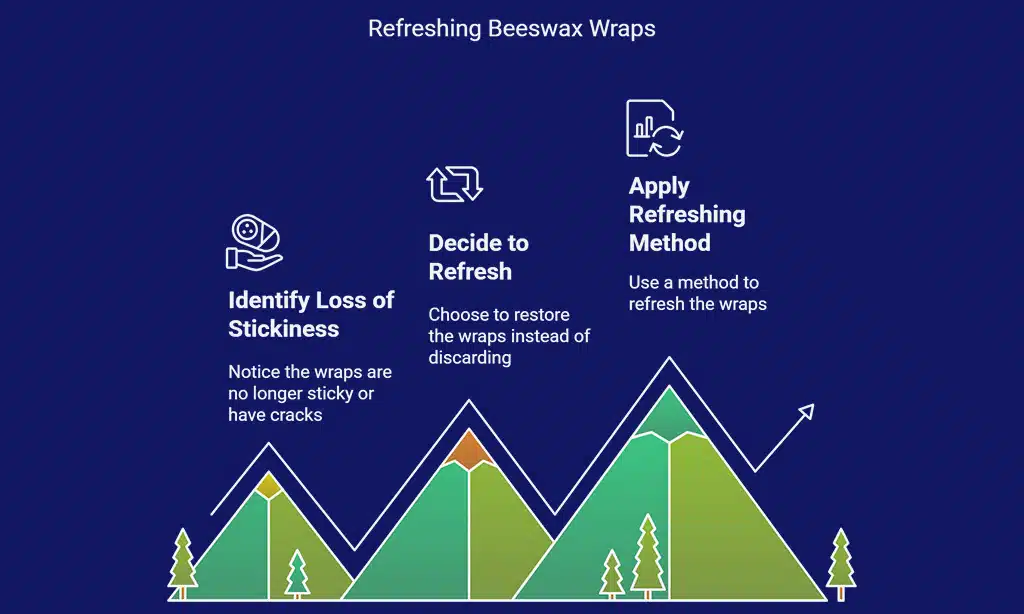
Over time, beeswax wraps may lose their stickiness or develop cracks. Instead of discarding them, follow these steps to refresh and restore their effectiveness.
Step 1: Check for Wear and Tear
Before refreshing your beeswax wraps, it’s important to assess their condition thoroughly. Over time, wraps may develop cracks, lose their stickiness, or show signs of wear due to frequent use and exposure to different food items.
Identifying these early can help you determine whether a simple refresh or a full re-waxing is necessary. Additionally, monitoring their condition regularly will ensure they remain hygienic and functional.
- Inspect wraps for dry, cracked, or peeling wax, which can indicate that the coating is wearing off.
- If the wrap still has wax but lacks stickiness, a quick refresh by warming it slightly may restore its tackiness.
- Small cracks and thinning areas indicate the need for minor repairs, while larger sections of missing wax might require a full re-waxing.
- Check for any lingering odors or stains that may indicate the wrap is nearing the end of its usability and should be replaced.
Step 2: Melt and Reapply Beeswax (Optional)
If your beeswax wraps have lost their stickiness or developed cracks, refreshing them with a new layer of beeswax can restore their usability. This process is simple and can significantly extend the lifespan of your wraps, reducing waste and ensuring they remain a practical, eco-friendly alternative to plastic wrap.
- Materials Needed:
- Grated beeswax or beeswax pellets
- Parchment paper
- Baking sheet
- Oven (set to 150°F/65°C)
- Process:
- Place the beeswax wrap on parchment paper-lined baking sheet.
- Sprinkle grated beeswax evenly over the wrap.
- Place in the oven for 2-3 minutes until wax melts.
- Remove from the oven and use a brush to spread the wax evenly.
- Let it cool and solidify before using again.
Step 3: Store Properly for Longevity
Proper storage is key to ensuring your beeswax wraps remain effective and long-lasting. Incorrect storage can lead to premature wear, loss of stickiness, or even damage to the wax coating. By following the right storage methods, you can keep your wraps in excellent condition for months to come.
| Storage Tip | Benefit |
| Keep in a cool, dry place | Prevents premature wax melting. |
| Fold or roll wraps | Avoids deep creases that weaken wax coating. |
| Store away from heat | Maintains flexibility and effectiveness. |
Common Mistakes to Avoid When Cleaning Beeswax Wraps
Even with proper care, small mistakes can reduce the effectiveness of your beeswax wraps. Understanding these pitfalls will help you avoid damage and extend their usability. To prolong the lifespan of your wraps, avoid these common mistakes:
| Mistake | Consequence |
| Using hot water | Melts the wax, rendering wraps ineffective. |
| Scrubbing too hard | Wears down the protective wax coating. |
| Using harsh detergents | Strips wax, reducing the wrap’s stickiness. |
| Leaving them damp | Encourages mold growth. |
| Storing near heat | Causes wax to become brittle and crack. |
Takeaways
Learning how to clean and refresh your beeswax wraps is essential for maintaining their effectiveness and sustainability. With proper care, these wraps can last for months, helping you reduce plastic waste while keeping food fresh.
By following these simple steps, you can enjoy the benefits of reusable food wraps while contributing to an eco-friendly lifestyle.
Beeswax wraps are a fantastic addition to any kitchen, but they do require the right cleaning and storage methods. By investing a little time in maintenance, you can make the most out of your wraps, keeping them fresh and sticky for as long as possible.