A well-planned home automation electrical wiring system gives connected devices reliable power, data, and control. The best setup combines standard electrical circuits, low-voltage cables, network equipment, and planned control points.
New construction makes it easiest to install these systems, but you can also upgrade existing homes. Good planning helps devices work together and makes future changes easier.
What Should Home Automation Wiring Include?
A complete system should support lighting, climate control, security, networking, entertainment, shades, and connected devices. The electrical system supplies power, while low-voltage cables carry data and control signals.
A central wiring area can bring network, AV, security, and automation connections into one organized location.
Most homes benefit from these core components:
- Cat6 or Cat6A Ethernet for access points, TVs, cameras, offices, and fixed smart home devices.
- Fiber or conduit in areas where higher bandwidth or later expansion may be useful.
- PoE for compatible cameras, wireless access points, doorbells, and controllers.
- Dedicated control wiring for shades, sensors, keypads, or control panels.
- Clearly labeled patch panels, cables, and termination points.
These parts work best when planned as one system rather than added one at a time. Structured planning also makes repairs easier. It gives homeowners and technicians a clear picture of how the system connects.
Plan Cable Paths Before Devices
Start by deciding where cables can run before choosing specific switches, hubs, or other products. Look for attics, basements, utility rooms, closets, chases, and open wall cavities. Well-planned cable paths reduce unnecessary opening of walls and make later service easier.
Use this process before rough-in:
- Mark the router, network switches, patch panels, and automation equipment.
- Identify rooms that need Ethernet, cameras, speakers, displays, shades, sensors, or controls.
- Reserve conduit or pull strings for likely future upgrades.
- Keep line-voltage and low-voltage wiring separated as required by applicable codes.
- Photograph each run before insulation or drywall covers it.
Photos and cable labels can save time during repairs or upgrades. A simple wiring map also helps technicians trace hidden cables. Keep these records with electrical and network documents.
Choose the Right Type of Cable
The right cable type depends on the device, distance, speed, environment, and signal type. Cat6 works well for many residential network runs. Cat6A can provide higher performance where higher speeds or extra capacity are needed.
Fiber may be useful between network areas or in locations where greater bandwidth could matter later. Not every automation product uses Ethernet, so some systems may need coaxial, speaker, alarm, thermostat, or manufacturer-specific cable.
An installer should confirm which cable is approved for each location before closing walls.
Plan Wiring Room by Room
Room-by-room planning helps prevent missed connection points and reduces dependence on wireless systems. Living rooms may need Ethernet behind televisions, power for displays, speaker wiring, and conduit for future AV equipment.
Media rooms often need more speaker, network, projector, and automation connections.
Useful locations to plan include:
- Ceiling points for wireless access points.
- Exterior entrances and corners for security cameras.
- TV walls for Ethernet, coaxial, power, and AV conduit.
- Windows for motorized shade wiring.
- Offices for wired network access.
- Mechanical areas for a smart thermostat or HVAC controls.
Each room should support current equipment and likely future needs. This approach creates smart wiring that remains useful as products change. It can also reduce the need for visible cables or major renovation later.
Lighting, Switches, and Automation Controls
Lighting is a major part of smart home automation. Many systems need neutral conductors, compatible dimmers, relays, larger switch boxes, or centralized control panels. If you plan to install smart switches, tell your electrician before the wiring is complete.
A smart control may require more box space than a standard switch. The type of light fixture also affects how you should design the circuit. Some fixtures use standard switching, while others use dimmers, smart bulbs, or centralized lighting controls.
Planning the control method early can prevent compatibility problems. It can also reduce the chance that you’ll need to reopen finished walls.
Networking Is the Backbone
Many smart home devices depend on a stable network, even when they use Wi-Fi. Hardwired Ethernet can reduce wireless congestion and give access points a faster, more stable connection. It can also improve performance for cameras, TVs, hubs, and remote controls.
A smart speaker may work well over Wi-Fi because it usually needs limited bandwidth. Cameras, entertainment systems, and network equipment often benefit more from a wired connection. Smart home technology works best when wired and wireless systems support each other.
Treat the network as part of the home’s core infrastructure. Wi-Fi should provide flexibility, while Ethernet supports fixed devices that need stable performance.
New Construction vs Retrofit Wiring
New construction gives homeowners more freedom because framing is still open. You can route cables before insulation, and drywall makes access more difficult. This is often the best stage to add conduit, Ethernet, speaker cable, shade wiring, camera lines, and spare routes.
It is also the easiest time to create a future-proof smart home wiring plan. Adding an extra cable while walls are open usually costs less than adding it later. Spare pathways can also make later technology changes easier.
Retrofit projects need more careful planning. If you are researching how to remodel smart home wiring, start by looking for routes through attics, basements, crawl spaces, closets, and service chases. These areas may let new cables reach key rooms without major wall damage.
Wireless products can reduce construction work in an existing home. Still, fixed devices may benefit from hardwired connections when access is practical.
Centralize and Label the System
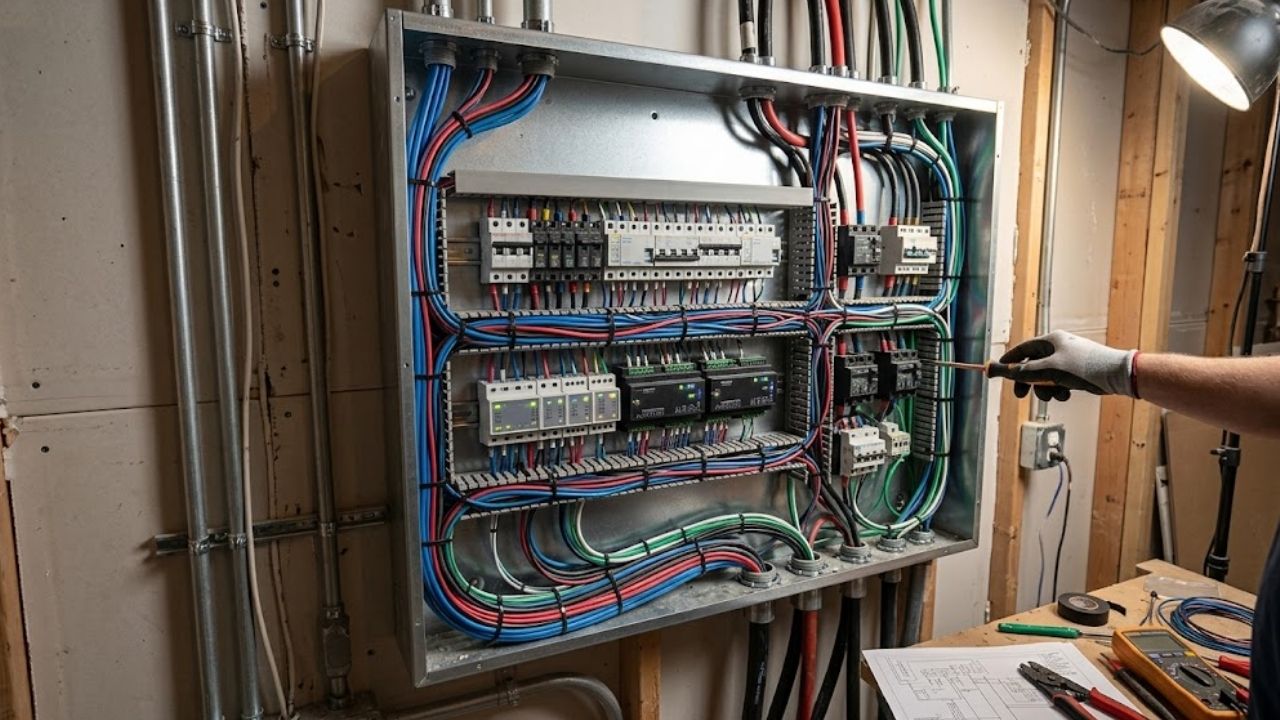
A structured wiring panel, rack, or equipment area can keep network switches, patch panels, hubs, and low-voltage cables organized. The space should have enough power, ventilation, access, and room for later equipment. Avoid locations with moisture, excessive heat, or difficult access.
Label both ends of every cable. Use clear names that identify the room and device each run serves. This makes troubleshooting much faster and helps future technicians understand the system.
Keep a wiring diagram with panel schedules, network records, and equipment documents. Good records become more useful as the home changes over time.
When to Use a Licensed Electrician
A qualified electrician should handle line-voltage work where required by law. This can include new circuits, service changes, receptacles, switches, lighting controls, and hardwired automation equipment. Permit and inspection rules vary by jurisdiction.
Some areas also regulate low-voltage work. Check local requirements before work begins. Equipment should also be listed and approved for its intended use. For homeowners planning a smart home electrical installation, Grounded Electric can assess how automation equipment fits into the existing electrical system.
An electrician can also identify where new circuits, boxes, controls, or concealed wiring may be needed. Early planning can prevent problems after walls and finishes are complete.
Prepare for Future Upgrades
No smart platform lasts forever, so the home’s infrastructure should be able to change. Conduit, spare Ethernet, accessible junction points, extra rack space, and documented routes make future upgrades easier. The goal isn’t to predict every future device, but to leave practical options available.
Before walls are closed, consider these steps:
- Add spare conduit from the equipment area to the attic, basement, or major media locations.
- Run extra Ethernet to useful rooms and ceiling locations.
- Leave service loops where appropriate.
- Photograph wall cavities before insulation and drywall.
- Keep a digital record of cable labels and equipment locations.
These steps often cost much less during construction than after walls are finished. They also make it easier to add cameras, access points, shades, controls, or entertainment equipment. Clear documentation helps each future upgrade start with better information.