
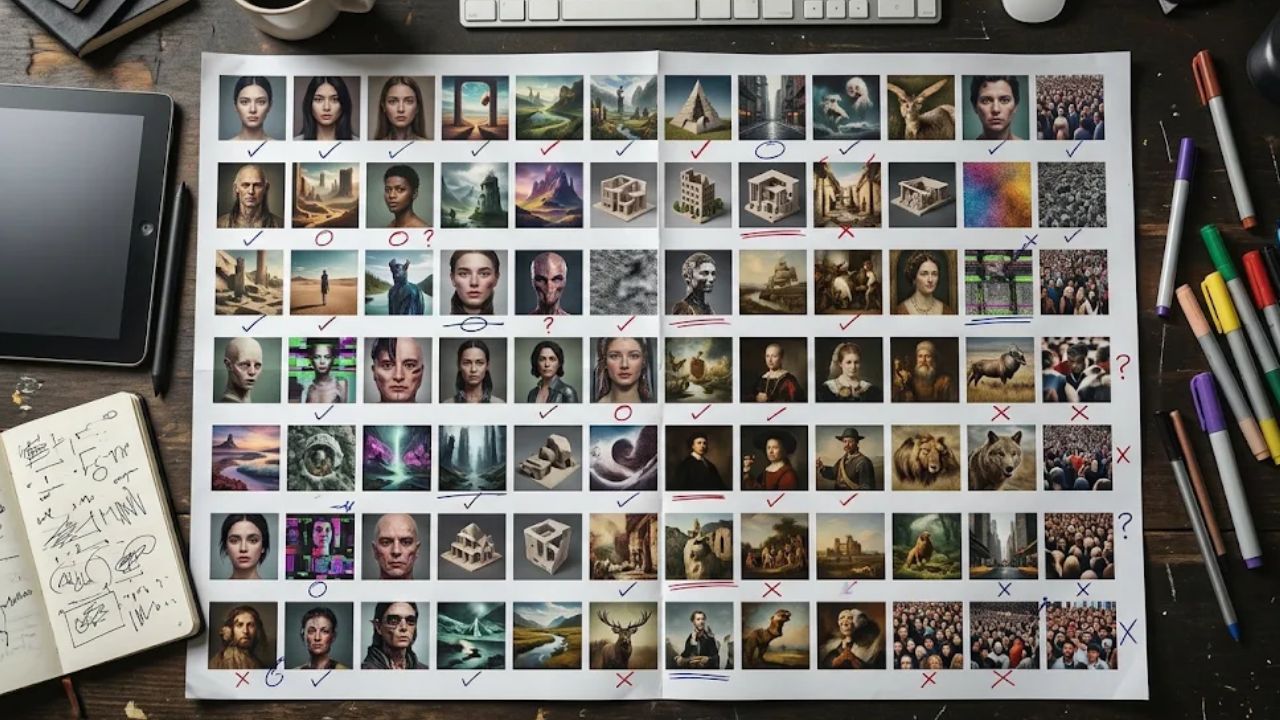
“Use the third lamp in the top row” sounds like a clear approval until someone adds another image to the folder. AI image contact sheets put a batch of variations on one page, but the grid earns its place in a review only if a designer can retrieve the exact image an editor picked. These seven test cases follow that decision from the first export to the final handoff.
What We Tested
On November 20, 2026, three small, controlled exports tested how a contact sheet represents its inputs. A four-tile sheet kept its expected count even after a duplicate replaced one candidate. Sorting filenames as text put take 10 ahead of take 2. Filling a thumbnail from a wide source removed a red dot that remained visible when the whole frame fit inside the tile.
The checks used deliberately simple graphics, so each change was easy to isolate. They demonstrate what can go wrong in a review layout. The remaining four cases are acceptance tests you can run on your own AI-generated images, where differences in lighting, product details, and composition are harder to spot.
How to Run the Seven Tests on AI Image Contact Sheets
Start with a small batch you know well. Keep the original files, a list of their IDs, and one sentence describing the decision. “Choose an amber lamp image for a wide banner with copy on the left” gives the reviewer a way to distinguish two attractive options. Give each candidate a stable ID before laying out the grid. Keep that ID through revisions and give each revision its own version number.
1. Replace One Candidate With a Duplicate
Start with four candidates labeled A, B, C, and D. Make a test copy of the sheet and replace C with a second copy of B. Ask the reviewer to check the export against the batch list. Counting four occupied tiles gives the expected answer even though one candidate never reached the review.
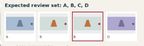
A passing check identifies both the repeated ID and the missing one. For a working batch, account for intentional exclusions too. If C was withdrawn because it showed the wrong product, record that decision and remove C from the expected list. Otherwise, the next person to rebuild the sheet may put it back. Checking IDs catches this particular substitution. If two different IDs carry the same image, open the suspect pair and compare their source files.
2. Change the Sort and Try to Retrieve the Same Image
Export three candidates named take-1, take-2, and take-10. Record a selection, then sort the filenames as text and rebuild the sheet. In the controlled export, take-10 occupied the middle tile. A note saying “use the middle one” would now select a different source from the one in numeric order.
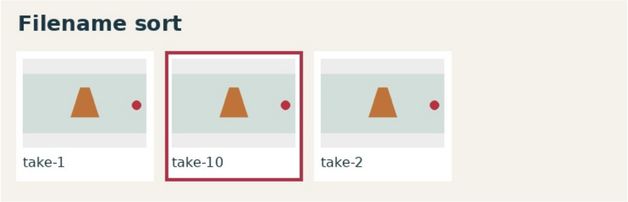
Send the original selection note to someone who has only the rebuilt sheet and the source folder. The case passes when they retrieve the same file. Zero-padding filenames can make an intended sequence easier to read. A persistent ID beside each tile keeps the approval usable even when the layout changes for a different reason, such as the removal of a rejected option.
3. Compare a Fitted Thumbnail With a Filled Tile
Pick a wide image with an important detail near an edge. Export it twice into equal-size boxes. Fit the entire frame in one box and fill the other box by cropping the image. Compare the two previews before opening the original. In the controlled export, the central shape survived both treatments. Only the fitted preview retained the red dot on the right.
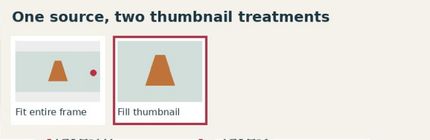
For a concept review, the case passes when a reviewer can see the complete composition or can tell immediately that a tile shows a crop. For a placement review, show the actual delivery crop and label its purpose. The distinction matters when a missing detail is a lamp’s pull chain, a bag strap, or the space reserved for a headline. A reviewer who sees only the cropped thumbnail may request an unnecessary regeneration.
4. Ask Whether a One-Change Comparison Really Has One Change
Set two candidates side by side. Suppose the question is whether warmer lighting suits the lamp. Write down what should stay fixed, such as the shade shape, camera angle, background, and placement. Then cover the filenames and ask the reviewer to describe everything that changed.
If the warmer image also has a wider shade and a tighter crop, a vote for it tells you which complete concept the reviewer prefers. It tells you little about their lighting preference. The comparison passes as a lighting test when the important fixed details match closely enough for the reviewer to judge the light. When they differ, keep the pair available for concept selection or make a controlled edit of the same source. Reusing prompt wording alone does not establish that the outputs match.
5. Put a Near-Duplicate Pair Through a Full-Size Check
Choose two images that look interchangeable at thumbnail size. Pick a detail with consequences for the job. On the lamp, that might be where the stem meets the base. Ask the reviewer to shortlist from the sheet, then open both originals at full size and inspect the same area side by side. A plausible-looking joint in the grid may turn out to float above its mounting point.
Record whether the larger view changes the choice and why. The workflow passes when the reviewer can reach the exact originals and report a defect against the correct ID. An image can fail while the review process passes. If the batch contains dozens of variants, reserve this closer inspection for the shortlist and any doubtful tile. Edge placement, hands, and generated lettering are useful targets for a prepublication image check.
6. Try the Shortlist in the Intended Placement
Take the strongest two candidates out of the grid and place each in the actual layout. For a banner, use the real headline, its expected line breaks, and the planned crop. For a product card, view the image at the size a shopper will see. A beautifully centered lamp can lose to an off-center one once a headline occupies the left third of the frame.
Before reviewing, name the details that must survive. For the banner, the shade outline might need to stay clear of the headline while the switch remains visible on mobile. The case passes for a placement when the selected version meets those conditions in its delivered layout. If one image works for the banner and another works for the card, record two approvals. A single winner for the whole sheet would discard a useful distinction.
7. Hand the Approval to Someone Who Missed the Review
Give a second editor the exported sheet, the source folder, and one approval note. Include a plausible distraction such as an older version of the chosen image. Ask the editor to retrieve the approved master, identify its intended placement, and say whether any work remains. Let them do it without hints from the person who made the selection.
A useful note reads, “LAMP-07, version 3, wide homepage banner. Approved with the left-side headline. Use the master in the approved folder. Mobile crop still needs review.” The case passes if the recipient retrieves that exact file and leaves the mobile crop pending. When a prompt change explains why an earlier version was rejected, the accompanying prompt revision records can preserve that context without crowding the grid.
What to Fix Before the Next Review
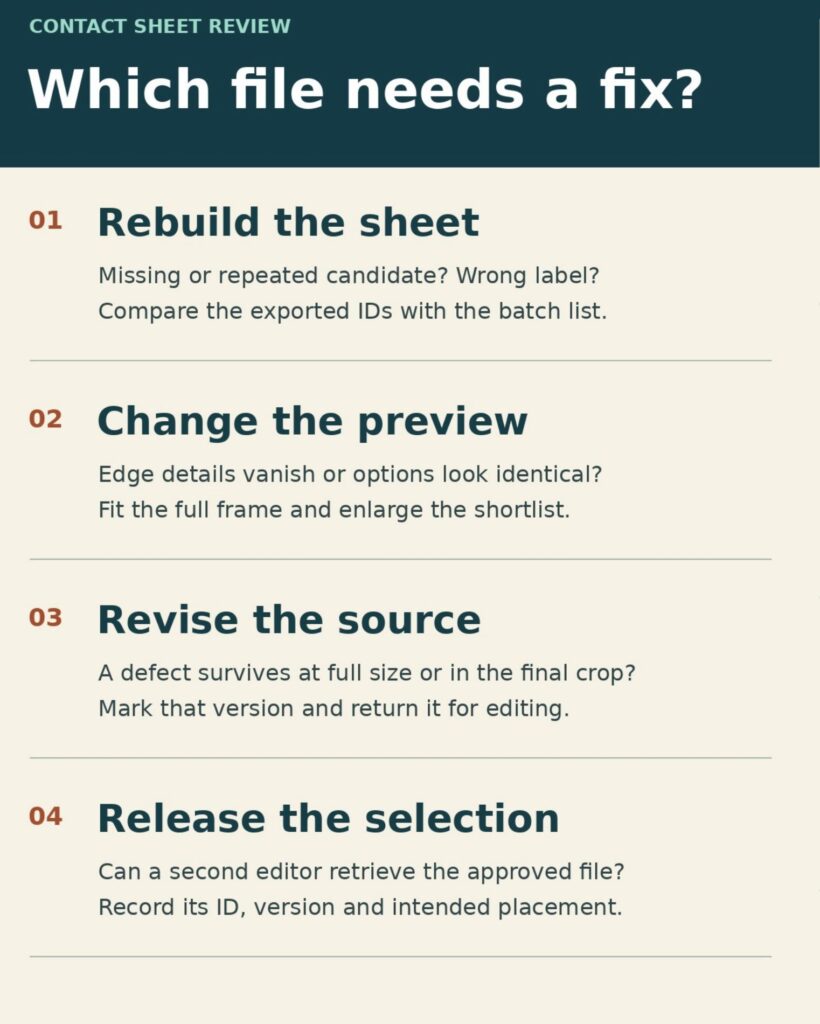
A missing candidate calls for a new sheet. An edge detail lost only in the thumbnail calls for a different preview. A defect visible in the approved-size image goes back to the source editor.
When AI Image Contact Sheets Are Ready for Handoff
Keep the exported sheet with the approval note long enough for another editor to repeat the selection. If they can find the right master but cannot tell which crop was approved, add the placement. If they can identify the tile but cannot find its source, fix the ID mapping. AI image contact sheets have done their job when the next person can open the chosen file and know exactly where it belongs.