In the modern digital age, learning is no longer confined to the classroom. Teachers, instructors, coaches, and content creators are leveraging video as one of the most effective ways to teach, inspire, and share their expertise with the masses. If you’re creating a how-to tutorial, a lecture, or a mini-course, video content has become the tool of choice—and the best news is, you don’t have to spend a fortune on software or gain years of experience to get started. Try pairing your content with tools like a text to speech solution to make your videos more accessible and inclusive.
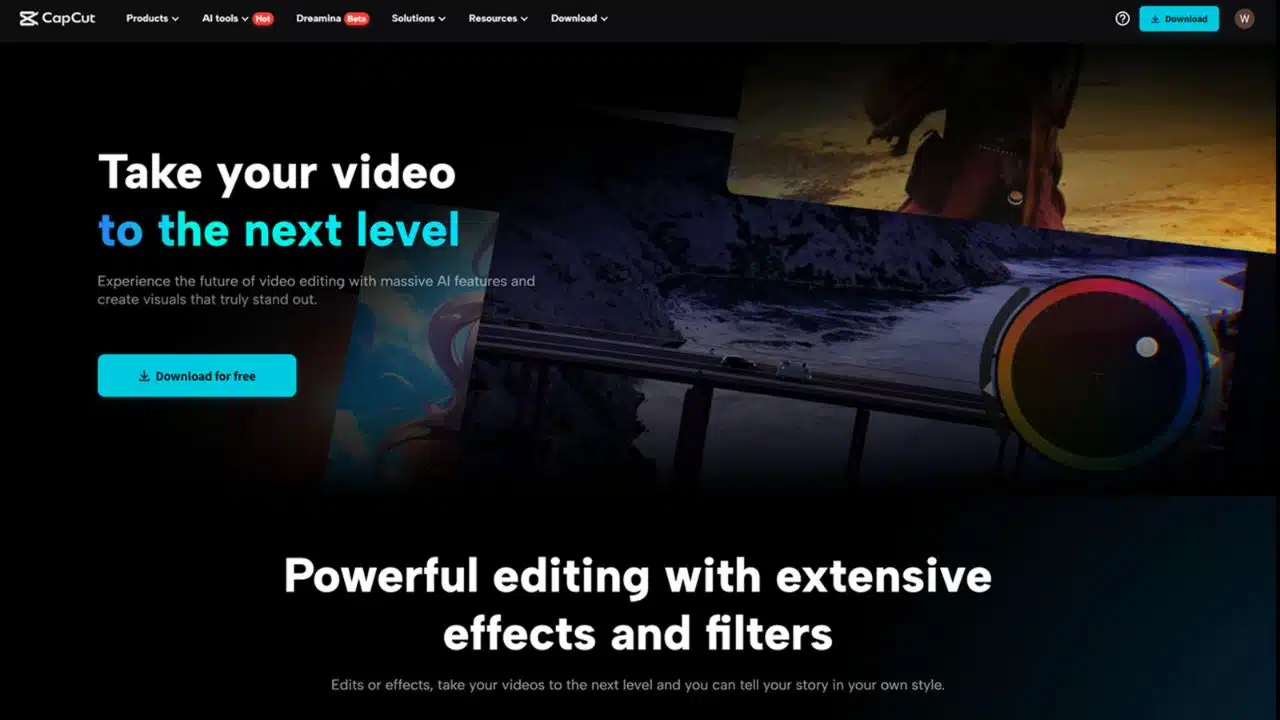
With CapCut Desktop Video Editor, you can quickly make professional, interesting, and understandable teaching videos that others will watch. It is free, simple to use, and packed with features that make video both effective and enjoyable.
If you’re a novice with video editing or just want to know a faster method, this guide will walk you through the steps of how to create awesome learning videos using CapCut Desktop.
Why CapCut Desktop Video Editor is Ideal for Educational Content
You can open Table of Contents
show
CapCut began as a smartphone video editor, but its desktop version has elevated it to a whole new level. For teachers, it provides the ideal combination of ease of use and functionality.
This is how CapCut Desktop Video Editor stands out for educational video creators:
-
It’s free and doesn’t watermark your videos.
-
It has a clean, intuitive interface, making it beginner-friendly.
-
Offers integrated auto-captions, screen recording, and voiceovers.
-
Supports several aspect ratios for YouTube, Instagram, TikTok, and so on.
-
Has stock music, audio effects, filters, and transitions built in.
No matter what you teach, math, marketing, mindfulness, or mechanics—CapCut assists you in making your lessons come alive. If you want to elevate your video quality even further, consider experimenting with an AI video generator to streamline animations or scene creation.
Step 1: Plan Your Educational Content
Take a few minutes to script out your video before you begin editing. Careful planning will pay off in hours of editing time later on.
Ask yourself:
-
Why was this video made?
-
Who do you address?
-
What are the key points you need to cover?
-
How long should the video be?
Split your content into chapters or sections, particularly if your video is lengthy. It will be easy to edit and easy for viewers to understand.
You may utilize a straightforward script or bullet points as a reminder during shooting or voiceover recording.
Step 2: Record or Capture Your Footage
Instructional videos come in numerous formats:
-
You are speaking directly to the camera [talking head]
-
Screenshots [for software demonstrations or tutorials]
-
Slideshows or presentations
-
Whiteboard or work area video
CapCut currently doesn’t support native screen recording, but you can record your screen using free apps such as OBS Studio, Loom, or Xbox Game Bar, and then import the video into CapCut.
Ensure your sound and video are clear. Proper lighting and good sound [even with poor-quality equipment] can make a huge difference in how professional your video will be.
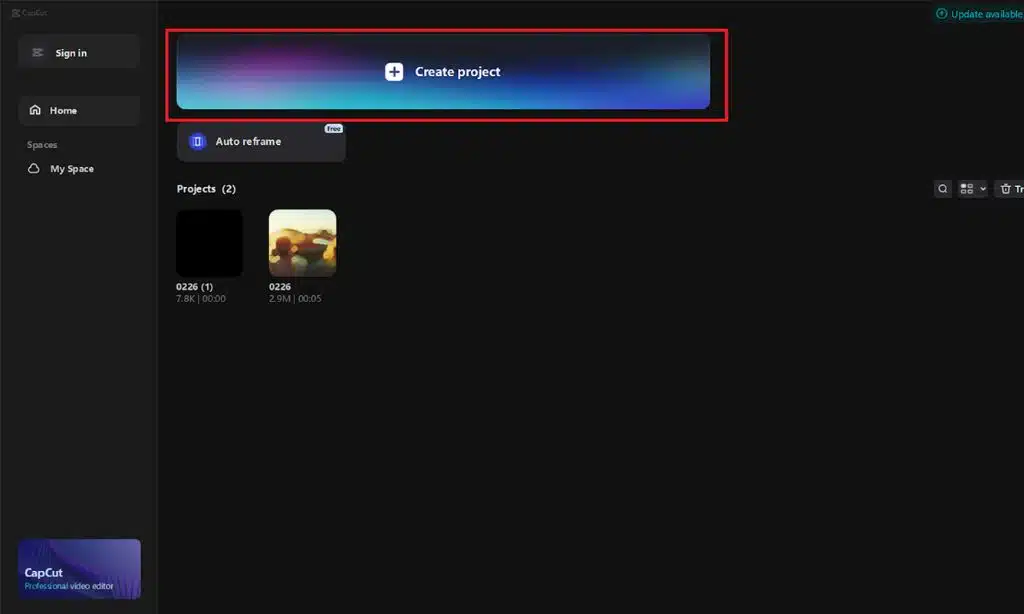
Step 3: Begin a New Project in CapCut
After you’ve obtained your videos, launch CapCut Desktop and create a new project.
Select your aspect ratio according to where you will upload your video:
16:9 for YouTube or websites
9:16 for Reels, or a mobile-first website
1:1 on Instagram posts
Import all your media—video clips, photos, audio, slides—via the Import button or by dragging and dropping files into the media panel.
Step 4: Edit Your Video Timeline
Now you get to create your video from scratch. Drag your primary clips to the timeline and begin editing.
Use basic tools like:
-
Trim and split to eliminate mistakes or pauses
-
Drag and drop to reorder chunks.
-
Zoom in and cut precisely along the timeline
Keep a good flow. If you pause often while talking, eliminate those pauses. Viewers appreciate it when the information flows smoothly. You might also want to experiment with a voice changer during editing to enhance audio elements or add creative effects to parts of your video.
Step 5: Add Text, Titles, and On-Screen Instructions
This is where CapCut excels for teachers. Incorporating visual aids makes your lessons more accessible and easier to comprehend.
Use the Text tab to enter:
-
Titles and section headings
-
Key terms or definitions
-
Step-by-step guidance
-
Labels and annotations
CapCut has many professional text templates with animated features. You can adjust the fonts, color, size, and movement according to your instruction method or style.
Step 6: Add Voiceover or Narration
CapCut Desktop allows you to easily add voiceovers, even after you’ve recorded your video.
To create a voiceover:
- Select the “Audio” tab.
- Choose “Voiceover”.
- Hit record and talk into your mic.
You can also import a pre-existing audio recording if you prefer to record your narration beforehand.
Voiceovers are particularly helpful for:
- Explaining concepts
- Walking people through processes
- Embedding commentaries into video recordings
Adjust the volume, remove dead space, and synchronize the audio with the visuals for optimal output.

Step 7: Use Auto-Captions for Accessibility
Adding subtitles not only increases the accessibility of your content, but also engages viewers, particularly on social media where a lot of people view without sound.
CapCut’s Auto-Caption mode is a game changer:
-
Press “Text” > “Auto Captions
-
Choose your language
-
CapCut will generate subtitles automatically from your audio
You can then rewrite the text, change the style, and place it wherever is best. It’s fast, accurate, and saves hours of work.
Step 8: Add Images, Slides, and Visual Aids
If your lesson includes charts, diagrams, or slides, you can simply add those to your timeline.
CapCut enables you to:
-
Resize and reposition screenshots
-
Animate them using keyframes
-
Overlay images on video or audio
This is ideal for topics such as science, computer programming, history, or any topic where contextual understanding is boosted by visuals.
You may also use frames or filters to give your slides a consistent look.
Step 9: Add Background Music [Optional]
While not required for every educational video, some light background music can help keep your audience engaged, especially in longer videos or intro/outro segments.
CapCut also has a library of royalty-free music you can draw from. Just make sure the sound is low enough not to interfere with your voice.
You can add sound effects to transitions or to highlight key points [such as a “ding” sound when an important takeaway appears].
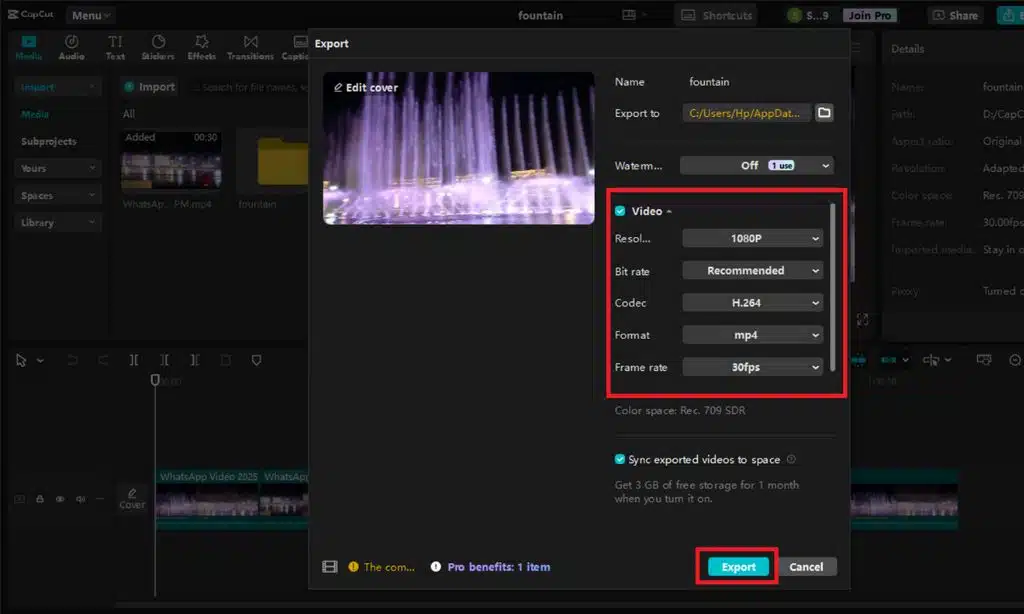
After your video is edited and ready to go, it’s time to export.
Click “Export” at the top right.
Select your resolution [1080p works best on most devices]
Adjust your frame rate [default is 30fps]
Save your file and select where you’d like to save it. CapCut will render the video, and you’re done! You can now upload it to YouTube, include it in an online course, or share it on social media.
Bonus Tips for Educational Creators:
Use branding: Add a logo or consistent color scheme when designing a set of channels or courses. Keep it short and to the point: If something is lengthy, divide it into small, bite-sized pieces. Involve others: Invite your readers to reply, give something a go, or ask questions later. Practice makes perfect: Your initial videos will probably be a little rough around the edges, and that’s okay. You’ll be improving with each one you do.