Fashion accessories are a great way to express your personality and add flair to any outfit. While store-bought options are convenient, they can also be expensive and lack a personal touch.
Fortunately, making your own accessories at home is not only budget-friendly but also a fantastic way to showcase your creativity.
In this guide, we’ll explore seven easy DIY fashion accessories you can create with minimal supplies. Whether you’re a beginner or an experienced crafter, these projects are perfect for anyone looking to add unique, personalized touches to their wardrobe.
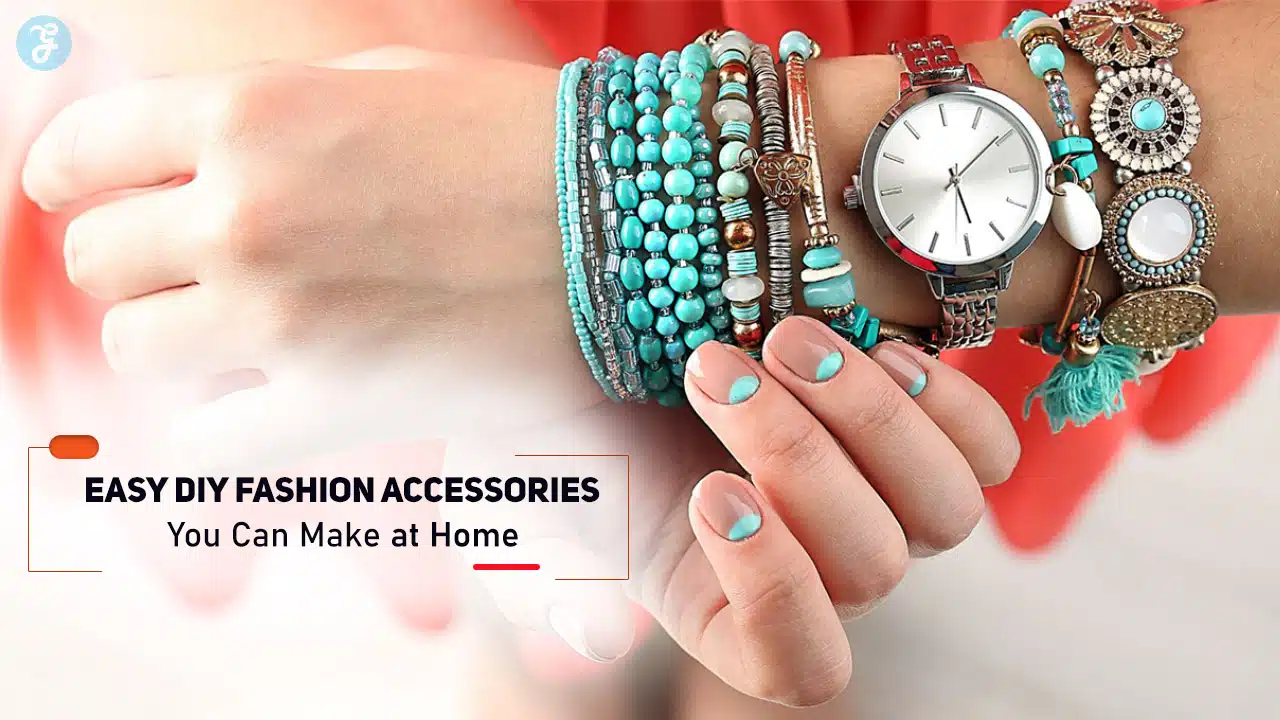
1. Handmade Beaded Bracelets
Beaded bracelets are versatile, easy to make, and suitable for any occasion. You can customize them with colors, materials, and designs to match your wardrobe or gift them to friends. They’re also beginner-friendly, requiring minimal tools and effort.
Materials Needed
- Assorted beads (glass, wood, acrylic, or gemstone)
- Elastic cord or jewelry wire
- Scissors
- Crimp beads (if using wire)
- Jewelry pliers
Step-by-Step Instructions
- Design Your Pattern: Lay out your beads in the desired order. Experiment with color combinations, sizes, and textures.
- Cut the Cord: Measure your wrist and add an extra inch. Cut the cord or wire accordingly.
- String the Beads: Carefully thread the beads onto the cord, following your design.
- Secure the Ends: If using elastic cord, tie a strong double knot and apply a drop of clear nail polish to secure it. For wire, use crimp beads and pliers to fasten the ends.
- Trim the Excess: Cut off any extra cord or wire, ensuring the ends are neat.
Customization Ideas
- Add charms for a personalized touch.
- Use letter beads to spell out names or inspirational words.
- Combine multiple bracelets to create a stacked look.
2. Trendy Fabric Headbands
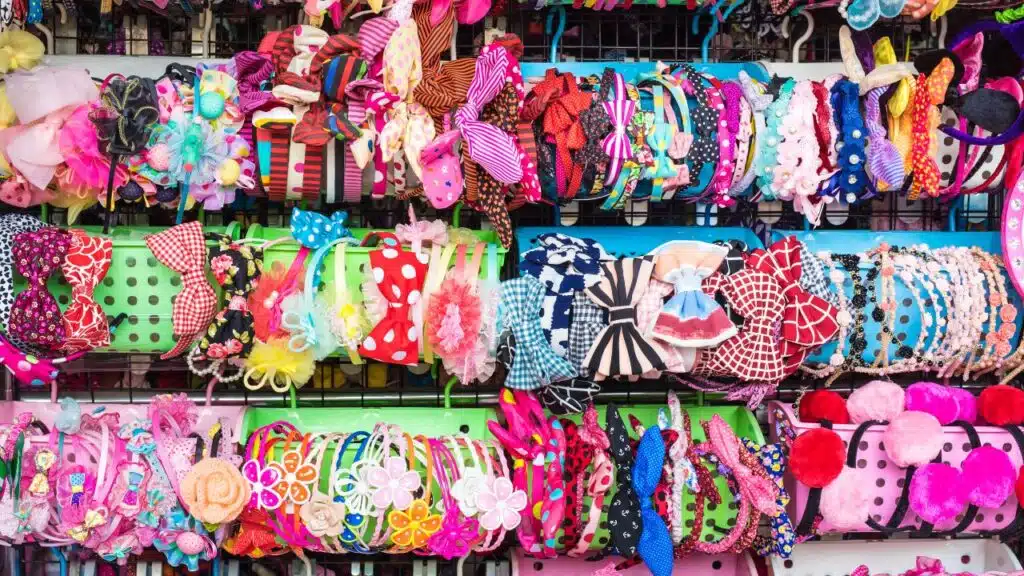
Fabric headbands are fashionable, functional, and incredibly easy to make. They’re perfect for keeping hair in place while adding a pop of color or pattern to your outfit. Plus, they’re an excellent way to repurpose old clothes or fabric scraps.
Materials Needed
- Stretchy or cotton fabric
- Needle and thread or a sewing machine
- Scissors
- Elastic band (optional for adjustable styles)
Step-by-Step Instructions
- Cut the Fabric: Measure your head and cut a strip of fabric that’s about 3 inches wide and long enough to wrap around your head with a slight overlap.
- Create the Base: Fold the fabric lengthwise with the right sides facing each other. Sew along the open edge to create a tube.
- Turn Inside Out: Flip the fabric tube right side out for a clean look.
- Add Elastic (Optional): Sew a short piece of elastic to the ends of the fabric for a stretchable fit.
- Finish the Ends: Overlap the fabric ends and sew them together securely.
Customization Ideas
- Add embellishments like bows, buttons, or rhinestones.
- Use bold patterns or mix and match fabrics for a quirky style.
- Try making knotted or braided versions for extra flair.
3. Statement Earrings from Polymer Clay
Polymer clay is lightweight, versatile, and comes in a variety of colors. It’s an ideal medium for crafting statement earrings that are both trendy and unique.
Materials Needed
- Polymer clay (various colors)
- Earring hooks and jump rings
- Rolling pin
- Clay cutters or cookie cutters
- Needle or skewer
- Baking sheet
Step-by-Step Instructions
- Condition the Clay: Knead the clay until it’s soft and pliable.
- Roll It Out: Use a rolling pin to flatten the clay to about 1/8-inch thickness.
- Cut Shapes: Use clay cutters or cookie cutters to create your desired shapes, such as circles, triangles, or abstract forms.
- Make Holes: Use a needle or skewer to create small holes for attaching hooks or jump rings.
- Bake the Clay: Place the shapes on a baking sheet and follow the clay package instructions for baking time and temperature. Let them cool completely.
- Assemble the Earrings: Attach earring hooks using jump rings and pliers.
Customization Ideas
- Blend colors for a marbled effect.
- Add metallic paint or glitter for extra glam.
- Experiment with layering shapes for a 3D look.
4. DIY Tassel Necklaces
Tassel necklaces are chic, playful, and easy to pair with any outfit. They’re simple to create and can be customized with different colors and materials to suit your style.
Materials Needed
- Embroidery thread or yarn
- Necklace chain or cord
- Jump rings and clasps
- Scissors
- Cardboard (for tassel-making)
Step-by-Step Instructions
- Make the Tassel: Wrap the embroidery thread around a piece of cardboard about 20–30 times. Slide it off and tie one end tightly. Cut the loops at the other end.
- Secure the Tassel: Wrap an additional thread around the top to create the “neck” of the tassel and secure it with a knot.
- Attach to the Necklace: Use a jump ring to connect the tassel to the chain or cord.
- Add a Clasp: If your chain doesn’t have one, attach a clasp using pliers.
Customization Ideas
- Combine multiple tassels for a layered look.
- Use beads or charms along the chain for added detail.
- Experiment with different lengths for a dramatic effect.
5. No-Sew Tote Bags
Tote bags are versatile and eco-friendly, perfect for carrying groceries, books, or daily essentials. With a no-sew technique, you can create stylish bags in no time using just an old T-shirt or fabric.
Materials Needed
- Old T-shirt or sturdy fabric
- Scissors
- Ruler and chalk (optional for marking)
Step-by-Step Instructions
- Cut the T-Shirt: Remove the sleeves and neckline to create the bag’s opening.
- Create the Handles: Trim the top to form two sturdy handles.
- Tie the Bottom: Cut small slits along the bottom edge and tie the strips together to close the bag.
- Customize the Bag: Add fabric paint, patches, or stencils to personalize your tote.
Customization Ideas
- Use tie-dye techniques to add vibrant colors.
- Add iron-on designs or embellishments for a polished look.
- Repurpose patterned fabric for a unique touch.
6. DIY Wire Rings
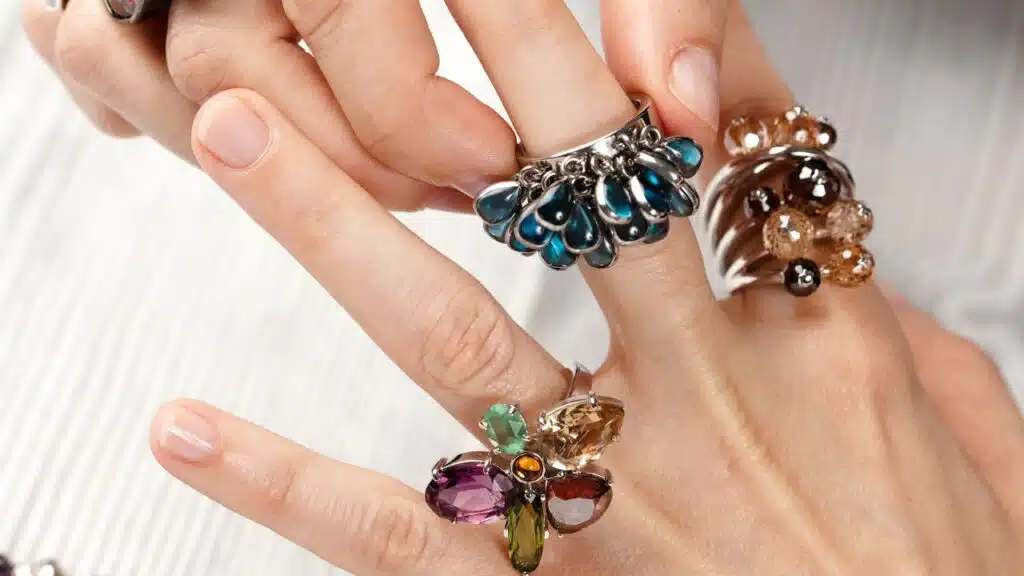
Wire rings are minimalistic, trendy, and surprisingly easy to make. With a bit of practice, you can create intricate designs like spirals, hearts, or initials.
Materials Needed
- Jewelry wire (18–20 gauge)
- Wire cutters
- Round-nose pliers
- Ring mandrel or cylindrical object
Step-by-Step Instructions
- Cut the Wire: Measure and cut about 6 inches of wire.
- Shape the Ring: Wrap the wire around the mandrel to form the base.
- Add a Design: Use pliers to create spirals, loops, or other decorative elements.
- Secure the Ends: Tuck any sharp edges to avoid discomfort.
Customization Ideas
- Use colored wire for a playful look.
- Add beads or small gems for extra sparkle.
- Stack multiple rings for a layered style.
7. Decorative Hair Clips
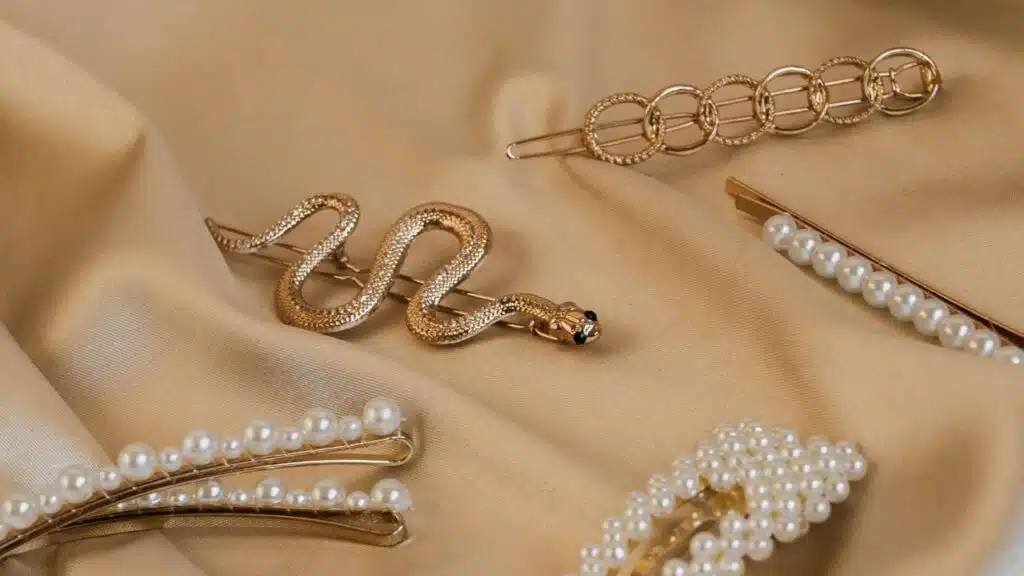
Decorative hair clips are a quick and easy way to add personality to your hairstyle. Whether you prefer bold designs or subtle accents, you can make clips that perfectly match your aesthetic.
Materials Needed
- Plain hair clips or barrettes
- Hot glue gun
- Rhinestones, pearls, or fabric flowers
- Ribbon or lace (optional)
Step-by-Step Instructions
- Choose Your Design: Plan the layout of your embellishments before gluing.
- Attach Embellishments: Use a hot glue gun to secure rhinestones, pearls, or other decorations to the clip.
- Let It Dry: Allow the glue to dry completely before using the clip.
Customization Ideas
- Create seasonal designs, such as snowflakes for winter or flowers for spring.
- Use metallic spray paint to give clips a luxurious finish.
- Combine different materials like lace and beads for a unique texture.
Conclusion
Crafting your own fashion accessories is not only cost-effective but also a fulfilling creative outlet.
These seven DIY projects offer endless possibilities for personalization, ensuring your accessories are as unique as you are. Whether you’re making beaded bracelets, fabric headbands, or decorative hair clips, the process is fun and rewarding.
So gather your supplies, let your imagination run wild, and start creating stylish accessories that reflect your personality and flair.