
Repairit is a repair tool that would resolve your file loss problem. The Wondershare team wants to make sure everything is taken care of. The reason why they keep updating the software from time to time to make sure it won’t get outdated and incompatible with the current operating system of devices in the market. In the Repairit 3.0 review: best solution for your photo repair, users mentioned that they have not regrated getting a photo repair software.
Images and pictures are one the necessary files that you probably want to keep. However, it can get corrupted or destroyed by a virus or some technological malfunctions for specific reasons. Photos taken for a few reasons would certainly involve capturing those important moments you would like to treasure. It would be very frustrating to know that they are damaged or disappeared. So, taking advantage.
The New Repairit 3.0
The renew Repairit version provides a new set of features that performs flawlessly. It has become a dedicated photo repair tool. Here are the new Repairit in store for us:
-
Advance photo repair.
The Repairit team believed that there is something more that they can do. Hence the advanced photo repair. It can fix more critical issues. It can repair photos corrupt, even the severe ones.
The Wondershare team doesn’t want to give its users any frustrations if important photos are not restored. That is why the team has come up with an advanced photo repair option in the new version. It will be another chance to repair your distorted or corrupted photo if not done by the standard photo repair procedure.
-
Quick Photo Repair
The Repairit 3.0 offers easy steps in photo repair. You don’t have to consume too much time clicking series of steps before you have your photo restored. The new version or Repairit provides an easy way to revive and recover your images.
-
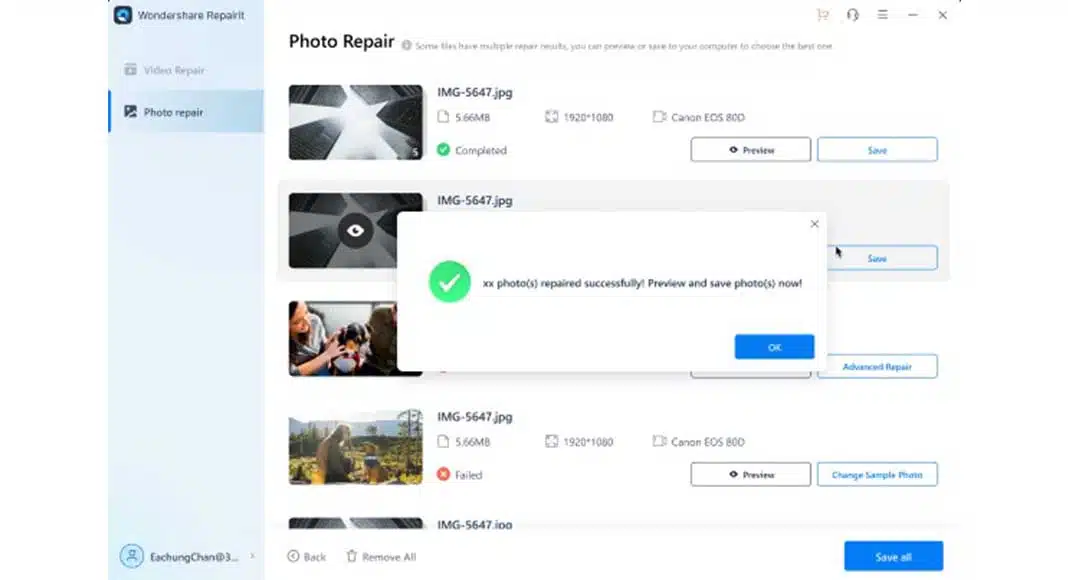
Preview Repaired Photos.
The preview version will allow you to check the photo restored. You can either edit it again or save it into your desired folder if you are satisfied with it.
The preview feature of the software will give you the chance to check on the repaired photo. It would be a great advantage, so you don’t have to go through the hassle of saving it first and reviewing it. It would be time-consuming. The preview feature will save you time along the way.
-
Batch Photo Repair
You don’t have to repair the photos one by one. The new version is made even more convenient for you. You can fix more than one photo simultaneously. It would be an inconvenience if you have too many images to recover, but you have to do it one by one. It could be time-consuming.
The Batch Photo Repair feature of the new version of repair would be a good solution. You can select as many photos and have them repaired at the same time. So, you don’t have to fix it one by one.
-
User-friendly interface.
The team believed that the repair tool should be for everyone who wishes to have their files recovered. With the more improved interface, you will follow through with the steps until you have your files and images recovered.
-
Support all device types.
The Repairit software can work great for either Mac or Windows. You can download it and run it smoothly into your device. It also supports and repairs corrupted images from flash drives, SD cards, memory sticks, external hard drives, and even digital cameras and phones.
The new UI for Repairit 3.0
The new Repairit has photo repair software free download. Once you download the software, you will have the below interface.
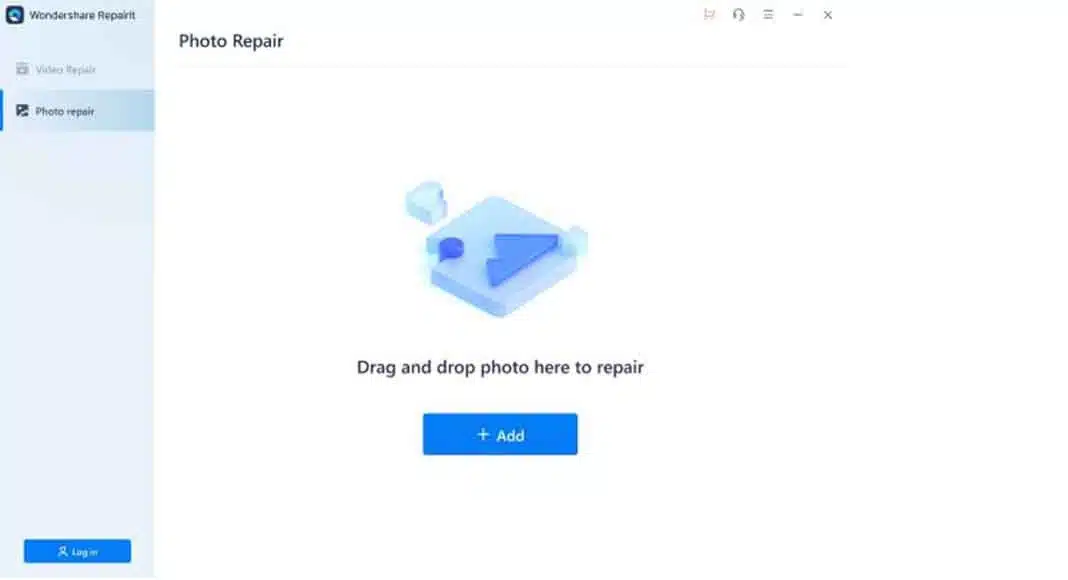
The new UI of the software, as you can see, is straightforward. You don’t need to go through the technical aspect of the photo repair software. You can just follow the pop-up instruction.
Steps in Photo Repair using Repairit for Windows
- Run the download Repairit, then click on the photo repair feature from the sidebar

- Click on the Add button. It will then direct you to a window that allows you to choose the storage where the photos or images are located.
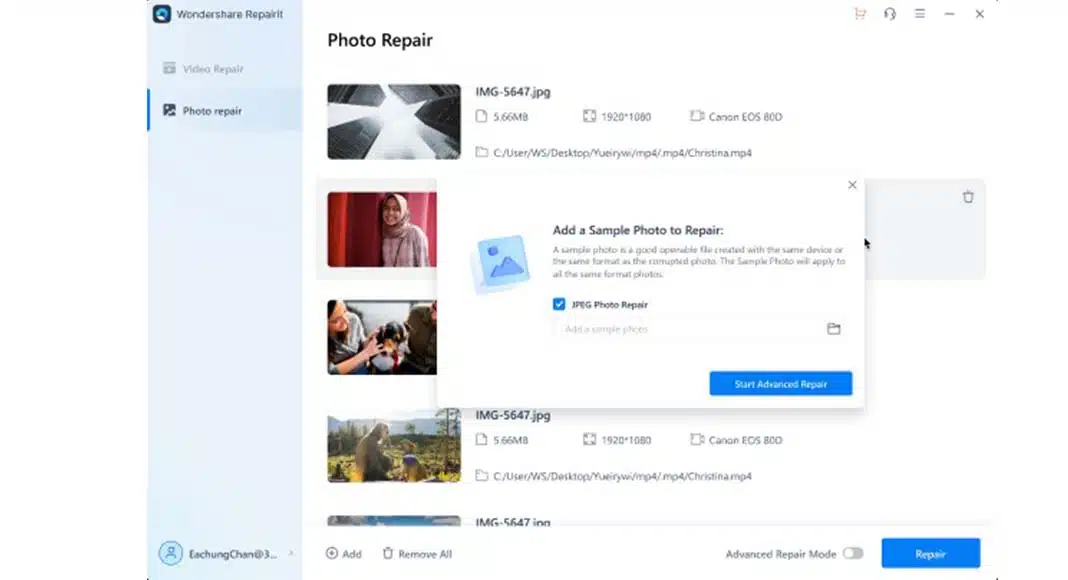
- You can select multiple images then click repair.
- It will then start repairing, and you will get a pop-up confirmation in seconds once it has been repaired or restored. It will give you the option to either save or apply the advanced repair mode.
- If you choose to take the advanced repair mode, you can set it and click repair.
- Once done, it will give you a pop-up notification, then provides the option to save to your chosen storage.
Steps in Photo Repair using Repairit for Mac
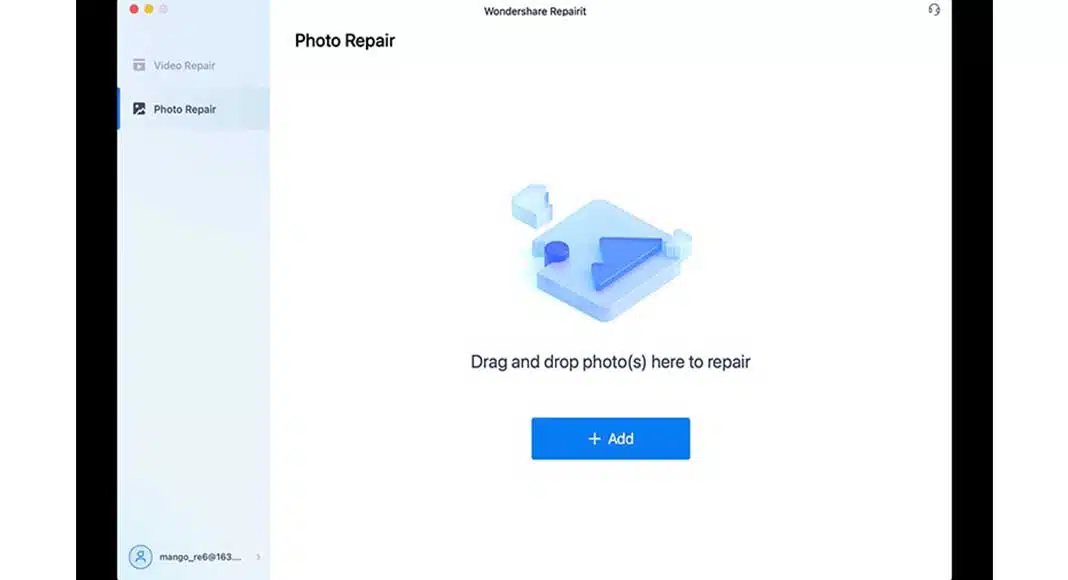
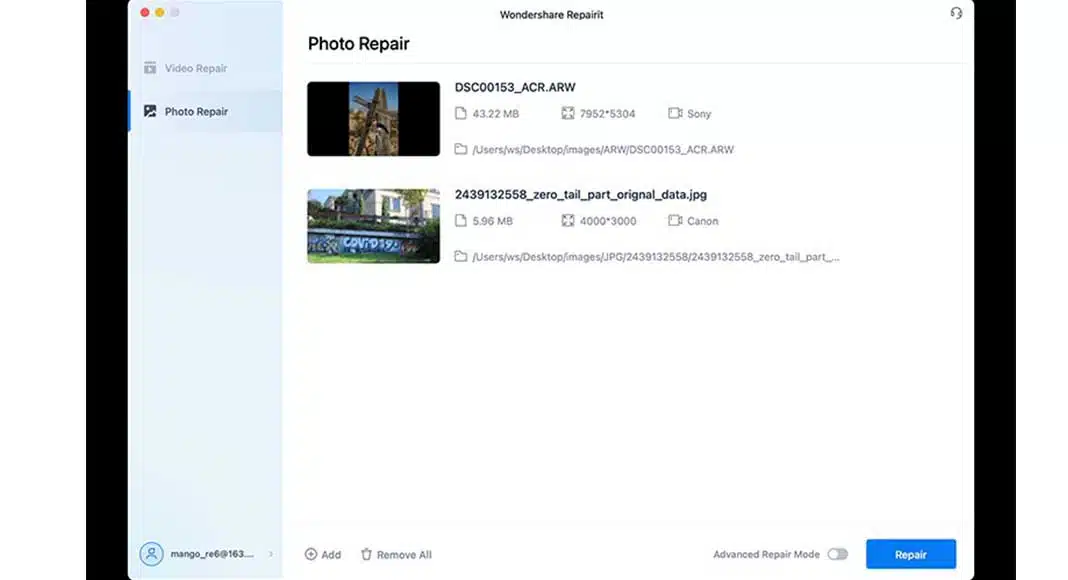
- Laund the Repairit app on your Mac device and go to the Photo Repair tab.
- It will provide you the option to add photos. Click the button and select the images that you want to repair.
- Once selected, the list will appear in the app. You can then click repair.
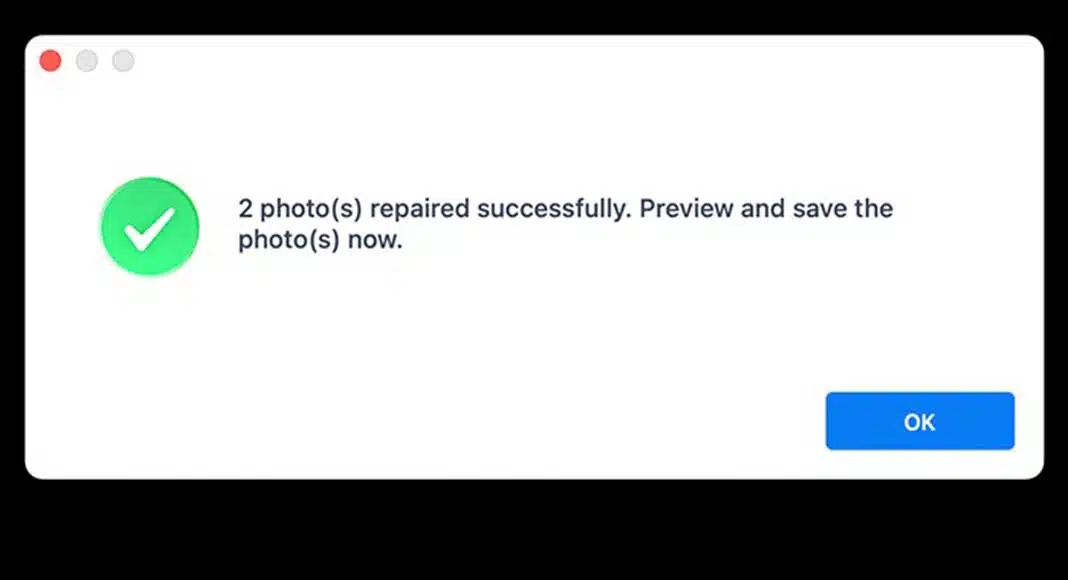
- The repaired photo will pop up for you to review. You can then save it if you are satisfied with the outcome. Other you can tick on the advanced repair feature in the lower right corner of the app.
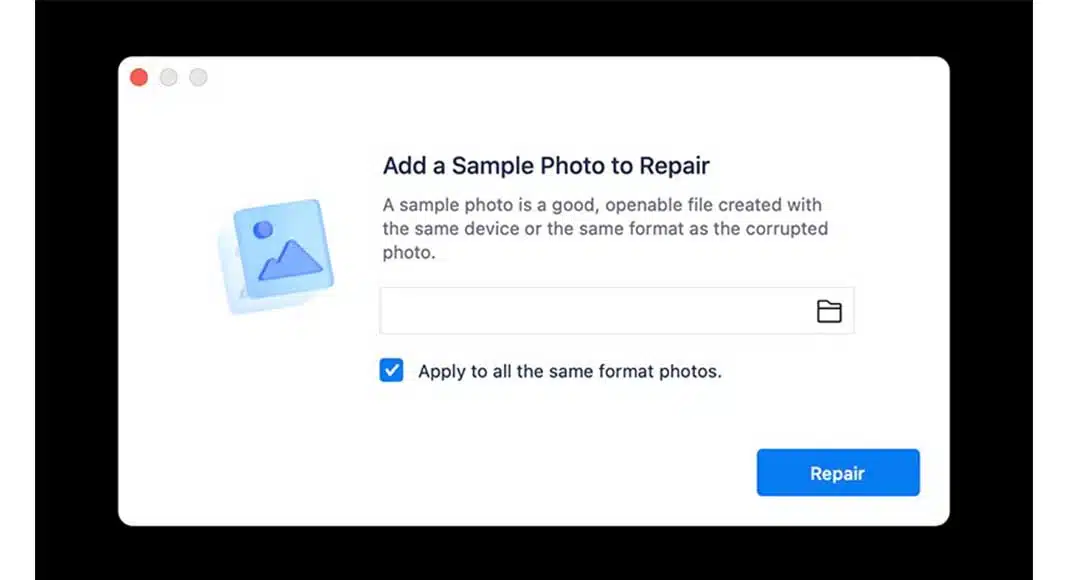
- When you choose Advanced Repair, you can upload the set of photos to repair further and click on the Repair button.
- It will give you a pop-up window once the repair is done, then you have to save it to your desired folder on your device.
Conclusion
Images and photos you save are essential. Some of it is probably taken to capture significant events. The Wondershare team recognizes this circumstance and comes up with an improved version of photo repair tool. The Repairit 3.0 Review: Best Solution for Your Photo Repair will show you how the software can be beneficial to you. If you have important images that you want to recover, you can download the Repairit 3.0 software for free, and it will never disappoint you. The straightforward interface and its easy-to-navigate software are just a few of the countless features of the new Repairit 3.0. The convenience it provides you will be remarkable.