Unlock the Power of Copilot on Windows 10: A Step-by-Step Guide

Enable Copilot Windows 10 Guide

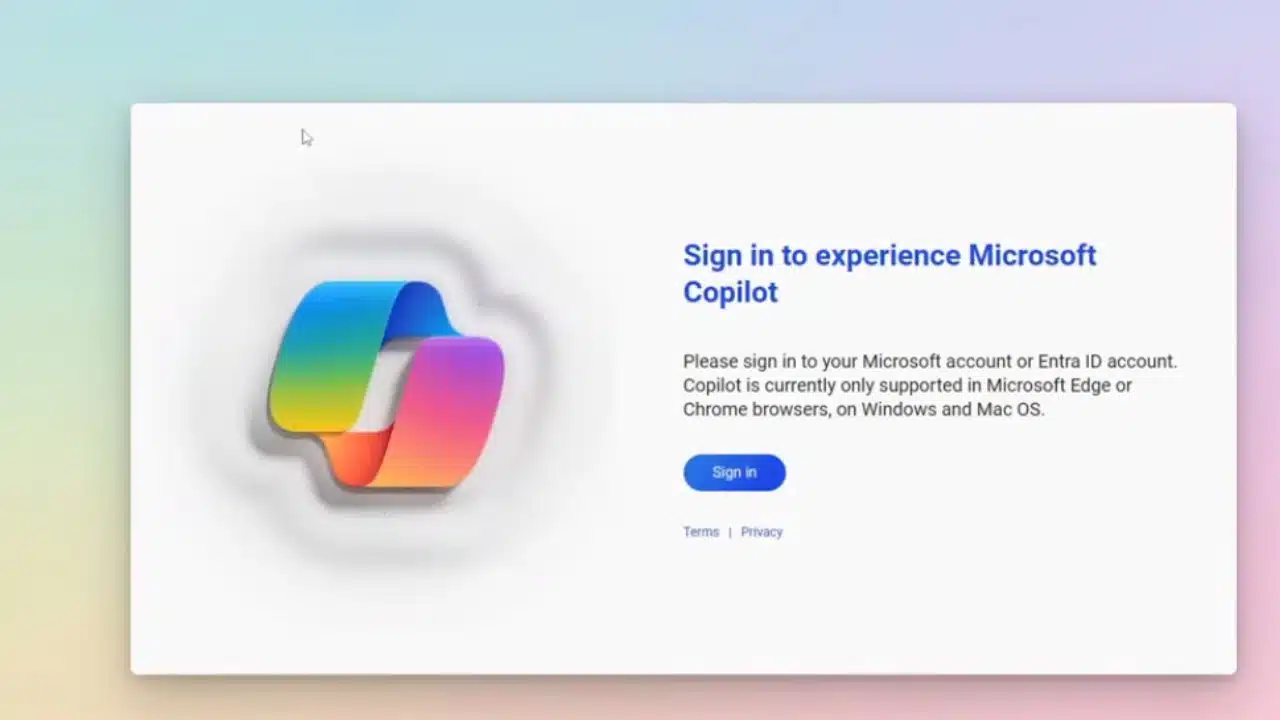
In a surprising move, Microsoft recently announced the expansion of Copilot, its AI-powered assistant, to Windows 10.

If you’re eager to experience this innovation but not planning an immediate upgrade to Windows 11, here’s a detailed guide on how to enable Copilot on your Windows 10 system.

To embark on this journey, you’ll need to enlist in the Windows Insiders Program, make adjustments in the system registry, and utilize a third-party app. However, proceed with caution, as these modifications come with potential risks such as encountering bugs or instabilities. Always back up essential data before venturing into such in-depth system changes.

Here’s a step-by-step guide on how to enable Copilot on Windows 10:

  1. Download and Install Windows 10 Build: Ensure you have Windows 10 build 19045.3754 or a newer version. As of now, this build is accessible in the Release Preview Channel but will soon be available to all Windows 10 users.

  2. Update Microsoft Edge: Keep Microsoft Edge up to date by installing the latest version. Visit edge://settings/help and apply any available updates.

  3. Download ViVeTool: Get ViVeTool from GitHub, extract the archive, and place it in a convenient folder.

  4. Use ViVeTool: Open Command Prompt as Administrator, navigate to the ViVeTool folder using the CD command, and execute the command: vivetool /enable /id:46686174,47530616,44755019. Restart your computer afterward.

  5. Access Windows Registry Editor: Launch Windows Registry Editor by pressing Win + R, typing regedit, and navigating to Computer\HKEY_CURRENT_USER\SOFTWARE\Microsoft\Windows\Shell\Copilot\BingChat

  6. Modify Registry Values: Double-click the IsUserEligible value and change its data from 0 to 1. Ensure you are signed into Windows with your Microsoft Account to prevent the value from resetting upon system restart.

  7. Restart Your Computer: Give your system a restart to apply the changes.

  8. Show Copilot Icon: Right-click the taskbar, select “Show Copilot (preview) button,” and witness the Copilot icon appearing to the right of the notification center button.

By following these detailed steps, you’ll successfully enable Copilot on Windows 10, enhancing your user experience with the latest AI capabilities. Keep in mind the importance of backing up data and proceeding cautiously with system modifications.

Feel free to explore the newfound features and possibilities that Copilot brings to your Windows 10 environment. Whether you’re a tech enthusiast or someone curious about the latest advancements, this guide empowers you to unlock the potential of Copilot seamlessly.



Subscribe to Our Newsletter

Related Articles

Top Trending

How to Teach Letters to Kids
8 Ways to Teach Letters to Kids Who Hate Sitting Still
Alphabet Magic vs 123 Magic Number Fun
Alphabet Magic vs 123 Magic Number Fun: Which Skill Does Each App Actually Target?
How to Promote a Blog Post After Publish
10 Best Ways to Promote a Blog Post After Hitting Publish
How to Help a Child Who Refuses to Count Aloud
Articleify 7th anniversary
Happy 7th Anniversary of ArticleIFY: The Journey from a Small Room to Global Horizons

Technology & AI

SEO Agency vs In-House SEO vs Freelancer
SEO Agency vs In-House SEO vs Freelancer: A Decision Framework for Small Teams
ImagineLab Voice Lab vs Murf AI
ImagineLab Voice Lab vs Murf AI: I Tried Multilingual Narration from the Same Script
Best Document Collaboration Tools
10 Best Online Document Collaboration Tools for Teams
Important Signs When Should Raise Prices on Your SaaS
10 Signs It's Time to Raise Prices on Your SaaS
Nostalgia economy
The Nostalgia Economy Is Selling Us a Past We Never Lived

GAMING

Intentional Screen Time
How to Spend Your Screen Time More Intentionally
Complete Guide on Game Programgeeks
Game Programgeeks: A Complete Guide on PC, Game Dev, and Tech
Online Color Game Philippines
Online Color Game Philippines: What Every Beginner Should Know Before Playing
Ways to Reduce Game Development Costs
12 Ways Studios Cut Game Development Costs
NFT game development cost
How Much Does NFT Game Development Cost? A Realistic Budget Breakdown

Business & Marketing

Email Marketing Agency vs DIY Platform
Email Marketing Agency vs DIY Platform: When Outside Help Adds Value
Critical Path Method
The Critical Path Method Explained in Plain English
Time to Value: How SaaS Teams Can Reach Results Faster
How to Onboard New Team Members With a Self-Serve Wiki
How to Document Team Processes for Better Teamwork

EdTech & E-Learning

How to Teach Letters to Kids
8 Ways to Teach Letters to Kids Who Hate Sitting Still
Alphabet Magic vs 123 Magic Number Fun
Alphabet Magic vs 123 Magic Number Fun: Which Skill Does Each App Actually Target?
Alphabet Magic vs ABC Kids: Which Offers Clearer Letter Practice
Alphabet Magic vs ABC Kids: Which Gives Clearer Uppercase and Lowercase Practice?
Alphabet Magic vs LetterSchool comparison review
Alphabet Magic vs LetterSchool: Letter-Tracing Accuracy on the Same Letters [A Hands-on Review]
Alphabet Magic Trace and Phonics vs Teach Your Monster to Read
Alphabet Magic Trace and Phonics vs Teach Your Monster to Read: Which Is Best?

Software & Apps

Best Document Collaboration Tools
10 Best Online Document Collaboration Tools for Teams
Important Signs When Should Raise Prices on Your SaaS
10 Signs It's Time to Raise Prices on Your SaaS
Best CRM Tools for Small Marketing Teams
10 CRM Tools for Small Marketing Teams Worth Using
SaaS partnership tools
10 Best Tools for Managing SaaS Partnerships and Integrations
White-Label SaaS Platform to Resell
8 Best White-Label SaaS Platforms to Resell