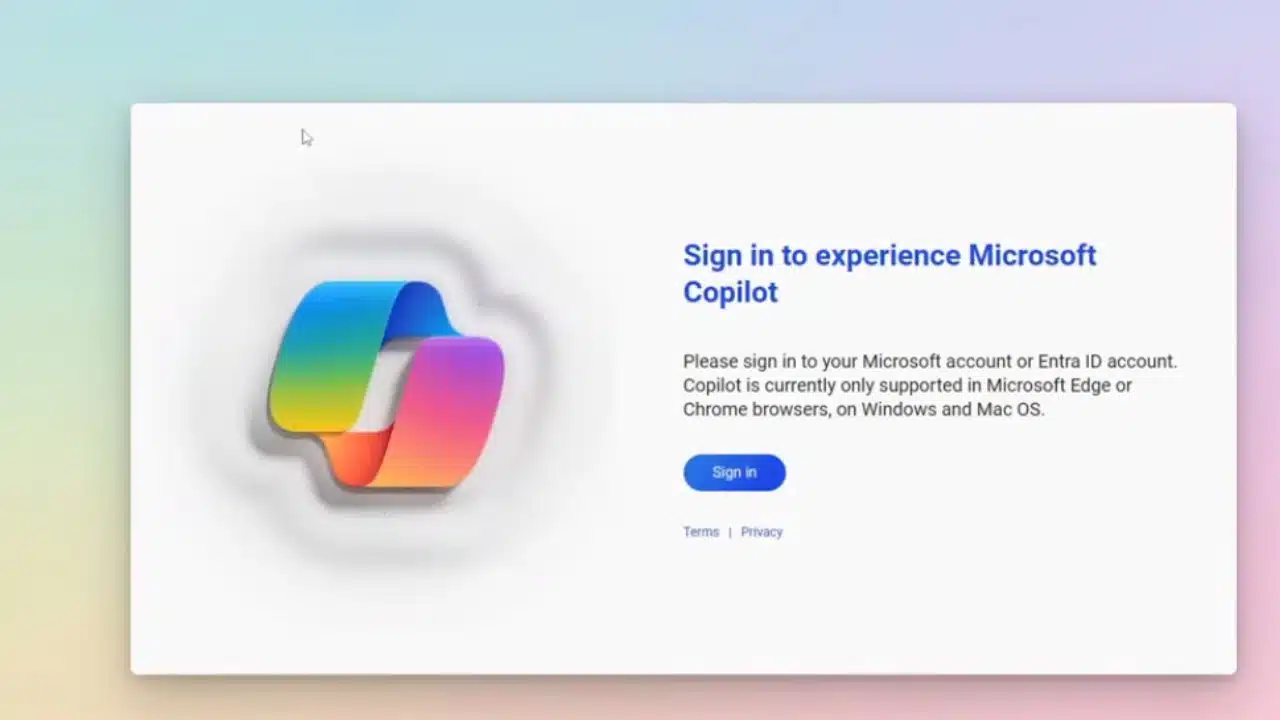
In a surprising move, Microsoft recently announced the expansion of Copilot, its AI-powered assistant, to Windows 10.
If you’re eager to experience this innovation but not planning an immediate upgrade to Windows 11, here’s a detailed guide on how to enable Copilot on your Windows 10 system.
To embark on this journey, you’ll need to enlist in the Windows Insiders Program, make adjustments in the system registry, and utilize a third-party app. However, proceed with caution, as these modifications come with potential risks such as encountering bugs or instabilities. Always back up essential data before venturing into such in-depth system changes.
Here’s a step-by-step guide on how to enable Copilot on Windows 10:
-
Download and Install Windows 10 Build: Ensure you have Windows 10 build 19045.3754 or a newer version. As of now, this build is accessible in the Release Preview Channel but will soon be available to all Windows 10 users.
-
Update Microsoft Edge: Keep Microsoft Edge up to date by installing the latest version. Visit edge://settings/help and apply any available updates.
-
Download ViVeTool: Get ViVeTool from GitHub, extract the archive, and place it in a convenient folder.
-
Use ViVeTool: Open Command Prompt as Administrator, navigate to the ViVeTool folder using the CD command, and execute the command:
vivetool /enable /id:46686174,47530616,44755019. Restart your computer afterward. -
Access Windows Registry Editor: Launch Windows Registry Editor by pressing Win + R, typing regedit, and navigating to Computer\HKEY_CURRENT_USER\SOFTWARE\Microsoft\Windows\Shell\Copilot\BingChat
-
Modify Registry Values: Double-click the IsUserEligible value and change its data from 0 to 1. Ensure you are signed into Windows with your Microsoft Account to prevent the value from resetting upon system restart.
-
Restart Your Computer: Give your system a restart to apply the changes.
-
Show Copilot Icon: Right-click the taskbar, select “Show Copilot (preview) button,” and witness the Copilot icon appearing to the right of the notification center button.
By following these detailed steps, you’ll successfully enable Copilot on Windows 10, enhancing your user experience with the latest AI capabilities. Keep in mind the importance of backing up data and proceeding cautiously with system modifications.
Feel free to explore the newfound features and possibilities that Copilot brings to your Windows 10 environment. Whether you’re a tech enthusiast or someone curious about the latest advancements, this guide empowers you to unlock the potential of Copilot seamlessly.