A lot of beginners think AI video starts with text prompts. Sometimes it does. But in my experience, the cleaner and more controlled path often starts with a still image. That is why image-to-video workflows matter so much. When you start with an image, you are not asking the AI to invent the whole scene from scratch. You are giving it a visual anchor. The subject, mood, lighting, composition, background, and visual direction are already there. The AI’s job becomes simpler: add motion, depth, camera movement, and life.
This is especially useful when you want consistency. Text-to-video AI is great for imagination, but image-to-video is better when you already know what the scene should look like. If I am creating content for an article, social post, explainer, product visual, or brand campaign, I usually prefer starting with a strong base image first. That gives me more control before I enter the video generation stage.
At Editorialge Media LLC, we now look at content through a larger digital venture studio lens: media, technology, SaaS, e-learning, and creative tools working together. So, I do not see image-to-video AI as a toy. I see it as a practical production workflow. First, create or select a clean image. Then animate it. Then edit it. Then publish it properly.
That is the mindset behind this beginner’s guide.
What Is Image-to-Video AI?
Image-to-video AI is a process where an AI model takes a still image and turns it into a moving video clip. The image acts as the starting frame or reference. Then the model adds motion, camera movement, atmosphere, transitions, or subject animation.
Adobe describes image-to-video AI as a way to turn a static image into a video, useful for social posts, quick clips in a timeline, or special effects scenes. Adobe also says its Firefly image-to-video generator is designed for all skill levels, from beginners to creative professionals. In simple terms, you upload an image and tell the AI what should move.
For example:
Animate this image with a slow cinematic camera push-in. Add subtle movement to the background lights. Keep the subject stable. Realistic motion. No face distortion.
That is image-to-video AI in practice.
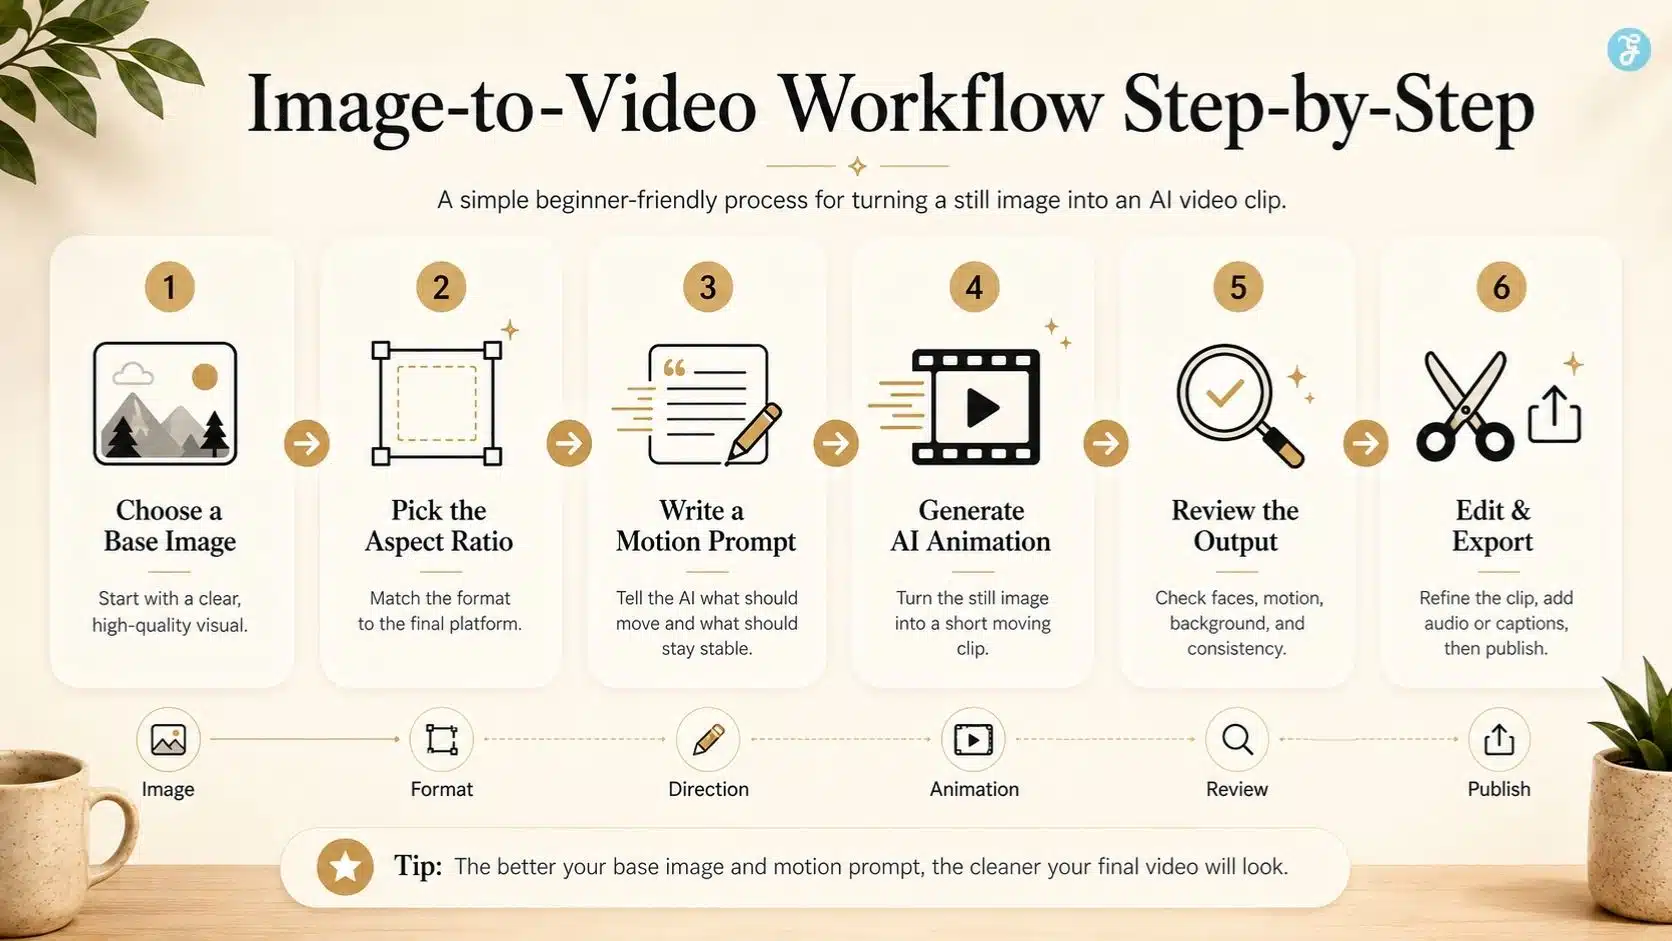
Image-to-video Workflows Explained Simply
A beginner-friendly image-to-video workflow usually follows this structure:
| Step | What You Do | Why It Matters |
| 1 | Choose or create a base image | This becomes the visual foundation |
| 2 | Check the image quality | Poor images create poor video results |
| 3 | Select the aspect ratio | Prevents awkward cropping later |
| 4 | Write a motion prompt | Tells the AI what should move |
| 5 | Generate short video clips | Short clips are easier to control |
| 6 | Review the output | Check faces, hands, text, and motion |
| 7 | Edit manually | Add captions, cuts, audio, and pacing |
| 8 | Export for the platform | Match YouTube, Reels, TikTok, or LinkedIn |
The important point is this: the still image is not the final creative asset. It is the starting frame of your video.
Why Image-to-Video Is Easier Than Text-to-Video for Beginners
Text-to-video starts from imagination. Image-to-video starts from evidence. That difference matters.
| Text-to-Video | Image-to-Video |
| Starts with a written prompt | Starts with a visual reference |
| More creative freedom | More visual control |
| Harder to keep subjects consistent | Easier to preserve the subject |
| Good for new ideas | Good for planned scenes |
| Can drift visually | More grounded in the uploaded image |
| Better for concept discovery | Better for production control |
Google’s Veo 3.1 documentation says the model can accept up to three reference images to guide generated video content, including images of a person, character, or product to preserve the subject’s appearance. Runway also highlights Gen-4’s ability to create consistent characters, objects, and locations using visual references.
That tells us why image-to-video is becoming important. The industry is moving toward control, not just surprise.
When Should Beginners Use Image-to-Video AI?
Use image-to-video when you already have a visual direction.
It works especially well for:
| Use Case | Why It Works |
| Product visuals | Keeps the product shape and style consistent |
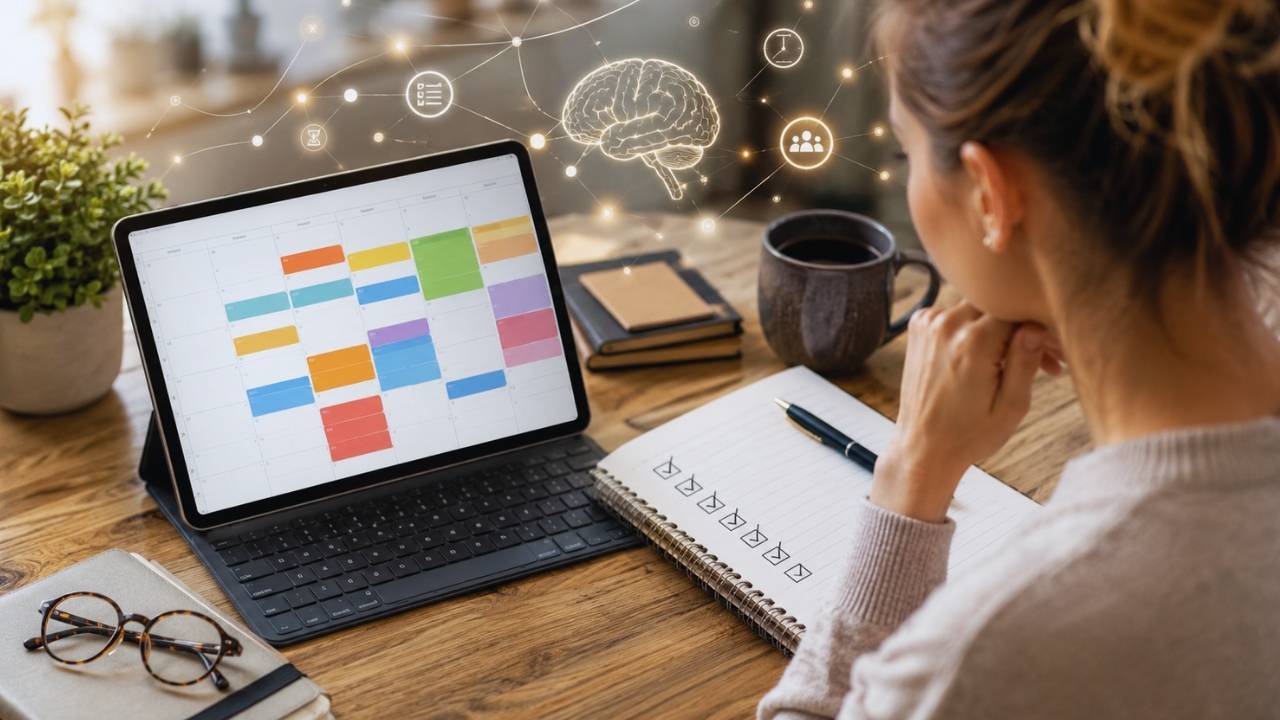
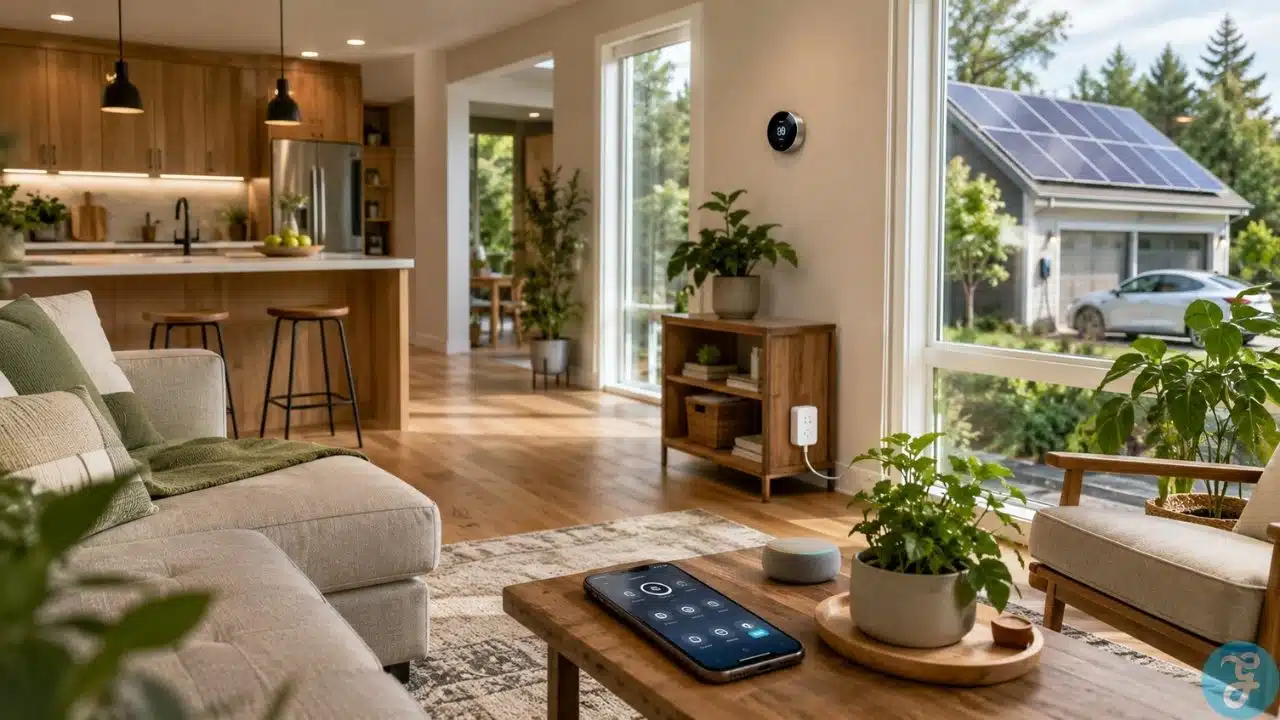
| Creator/workspace scenes | Maintains a planned composition |
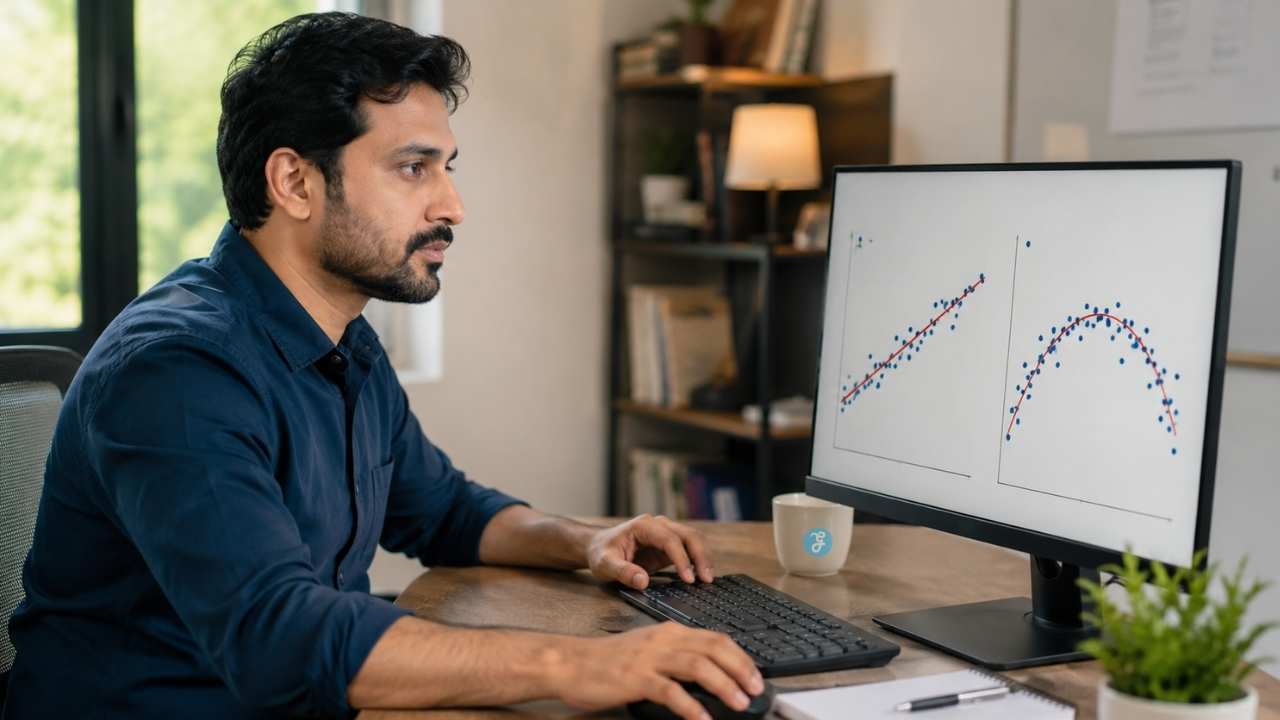
| Educational explainers | Animates diagrams or concept visuals |
| Social media posts | Turns static images into short motion clips |
| Blog visuals | Adds movement to article graphics or hero images |
| Brand storytelling | Keeps color, mood, and tone consistent |
| Character scenes | Preserves face, outfit, and setting better |
| Course content | Makes static lesson visuals more engaging |
If I am creating a featured image, infographic, or concept scene for an article, I can later turn that image into a short video for Facebook, Instagram, Threads, YouTube Shorts, or LinkedIn. That is the real benefit: one visual can become multiple content assets.
My Image-to-Video Workflows Explained
This is the practical workflow I follow as a creator.
Step 1: Start With A Clear Goal
Before opening any tool, decide what the video should do.
Ask:
- Is this for social media?
- Is this for an article?
- Is this for an explainer?
- Is this for a product?
- Is this for a course?
- Is this for a brand visual?
A video made for Instagram Reels should not be planned the same way as a website hero video. The goal decides the format, pacing, and motion.
Step 2: Create Or Choose The Base Image
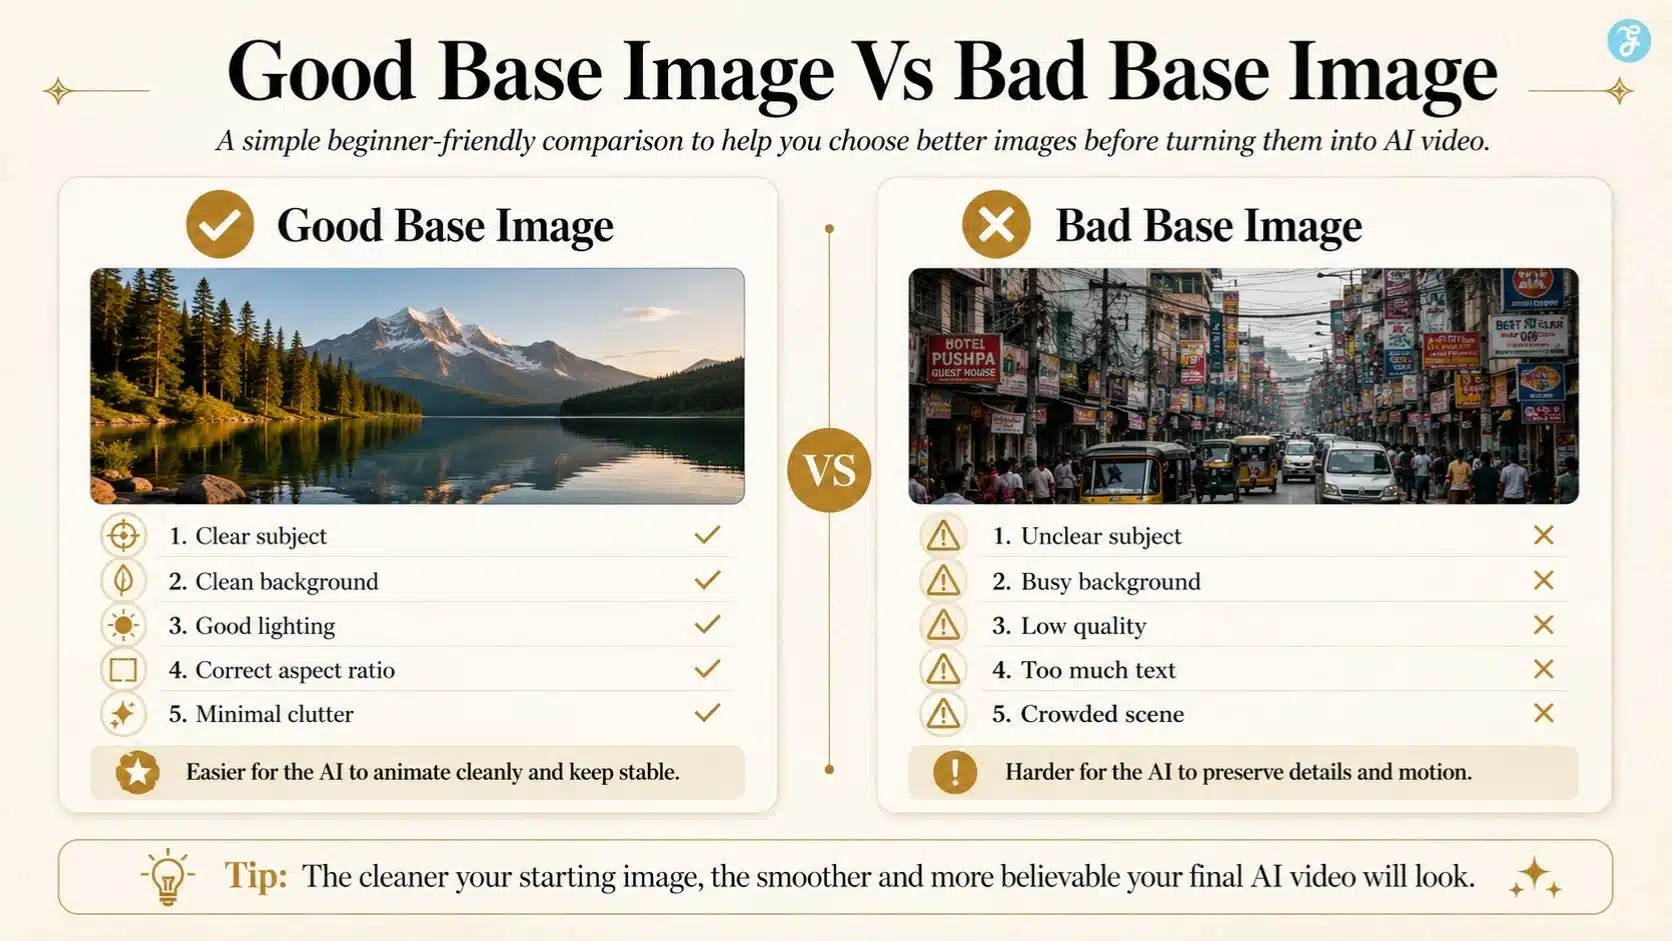
The base image is everything. A strong base image should have:
- One clear subject
- Clean background
- Strong composition
- Good lighting
- Correct aspect ratio
- No messy text
- No unnecessary small details
- Space for captions if needed
For AI-first visual planning, I would create the base image using ImagineLab first, then use that image as the visual reference for the video generation stage. This gives the workflow more control because the visual direction is already set before motion begins.
Step 3: Pick The Right Aspect Ratio Early
Do not wait until export to think about aspect ratio.
| Platform | Recommended Beginner Ratio |
| YouTube Long-Form | 16:9 |
| Website Hero Video | 16:9 |
| YouTube Shorts | 9:16 |
| TikTok | 9:16 |
| Instagram Reels | 9:16 |
| Facebook Reels | 9:16 |
| Instagram Feed | 4:5 or 1:1 |
| LinkedIn Feed | 4:5 or 16:9 |
| Pinterest Idea Pins | 9:16 |
If the final video is for Reels, start with a vertical image. If the final video is for a blog or YouTube, start with a landscape image. Cropping later can ruin the composition.
Step 4: Write A Motion Prompt
A motion prompt tells the AI how to animate the image.
A weak motion prompt:
Make this move.
A better motion prompt:
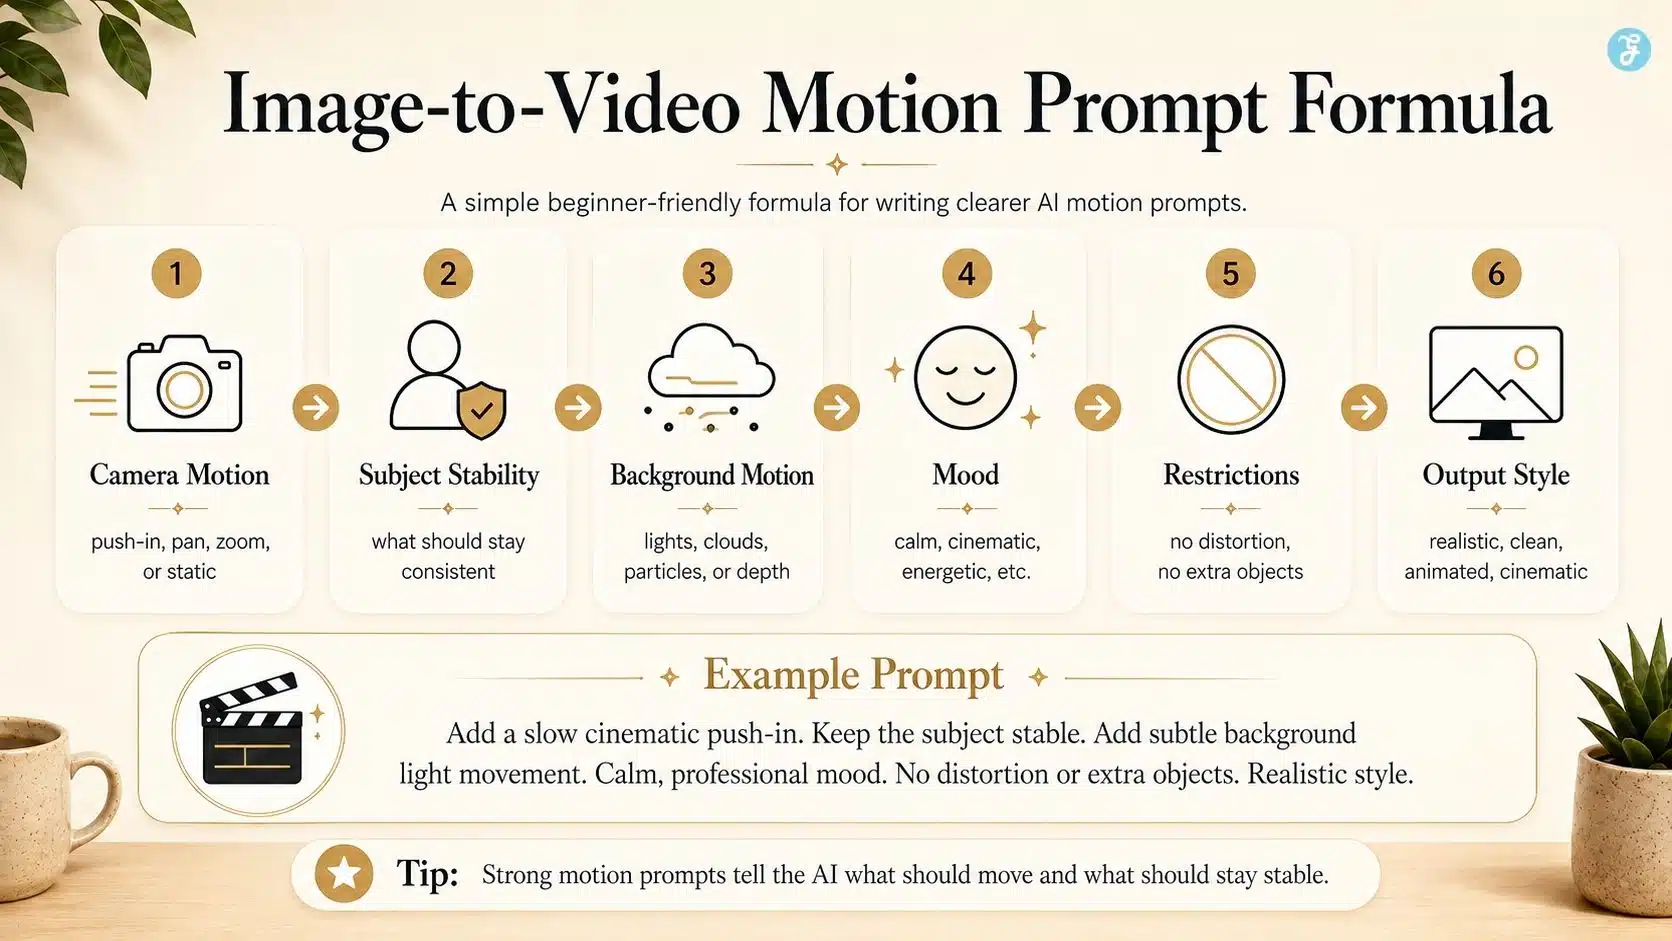
Add a slow camera push-in. Keep the subject stable. Add subtle background motion and soft light movement. Realistic style. No face distortion. No object warping.
A good image-to-video prompt usually includes:
| Prompt Element | Example |
| Camera motion | Slow push-in, gentle pan, static camera |
| Subject motion | Slight head movement, natural blinking, subtle hand movement |
| Background motion | Moving light, soft wind, floating particles |
| Mood | Calm, cinematic, energetic, professional |
| Restrictions | Keep face stable, no distortion, no extra objects |
| Output style | Realistic, animated, cinematic, clean |
Google’s Veo prompting guidance emphasizes creative control, including style, movement, lighting, and detailed direction when generating video. The same idea applies strongly to image-to-video prompting.
Step 5: Generate Short Clips First
Do not try to create a long video from one image. Start with 4–8 seconds. Short clips are easier to review, easier to regenerate, and easier to edit. If you need a 30-second video, create several short clips and stitch them together. That gives you more control over pacing.
Step 6: Review The Output Carefully
This is where beginners need patience.
Check:
- Did the subject stay consistent?
- Did the face change?
- Did the hands distort?
- Did the background warp?
- Did the camera move too much?
- Did new objects appear?
- Did text become unreadable?
- Did the clip match the intended mood?
An AI video can look impressive at first glance, but it fails during close review.
Step 7: Edit Like A Human
The AI-generated clip is not the final video.
After generation, edit manually:
- Trim weak frames
- Add captions
- Add voiceover
- Add music
- Adjust pacing
- Add brand elements
- Add transitions
- Resize if needed
- Review legal and ethical issues
This is where the creator’s judgment matters.
Best Types Of Images For Image-to-Video AI
Not every image is suitable for animation.
| Image Type | Works Well? | Why |
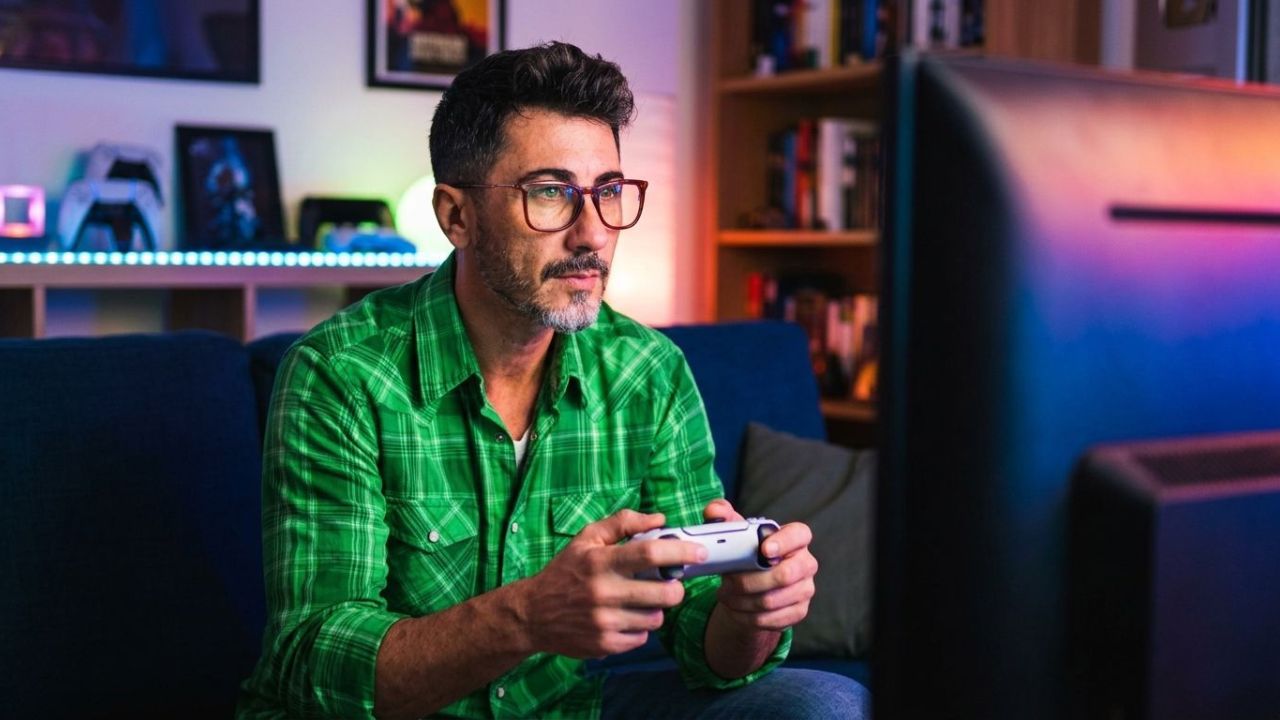
| Clean portrait | Yes | Easy to add subtle motion |
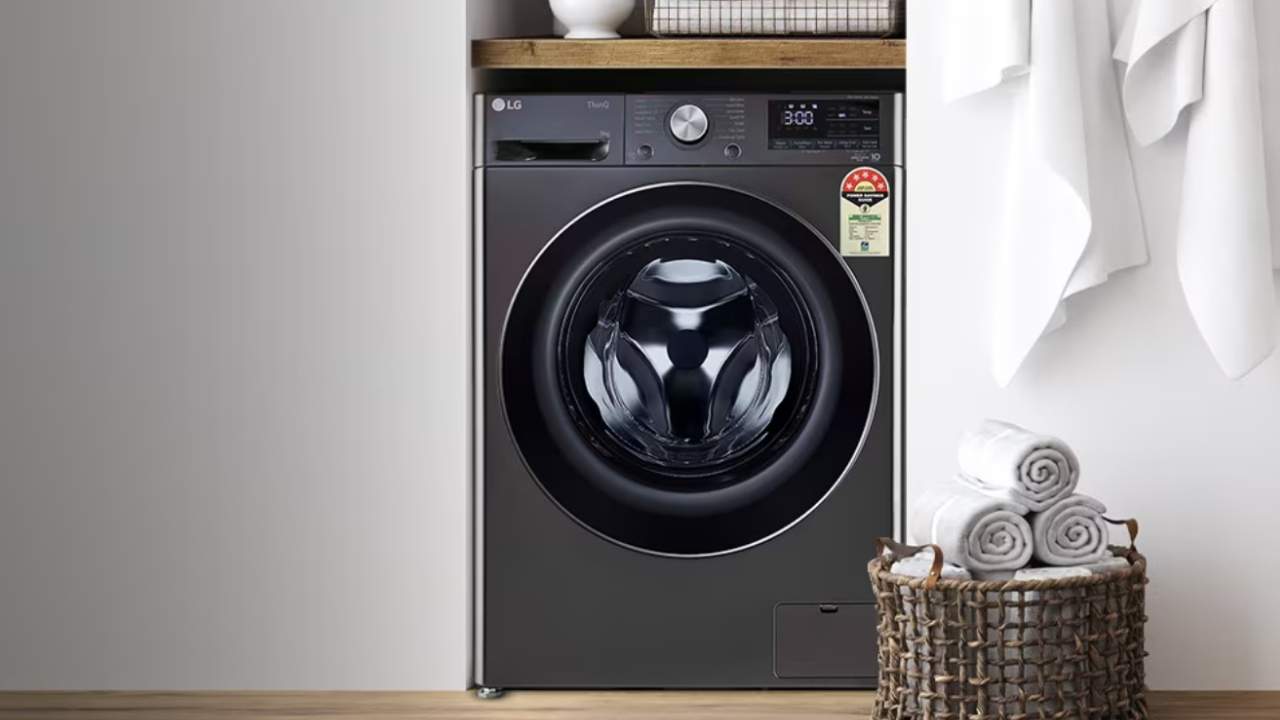
| Product photo | Yes | Good for controlled movement |
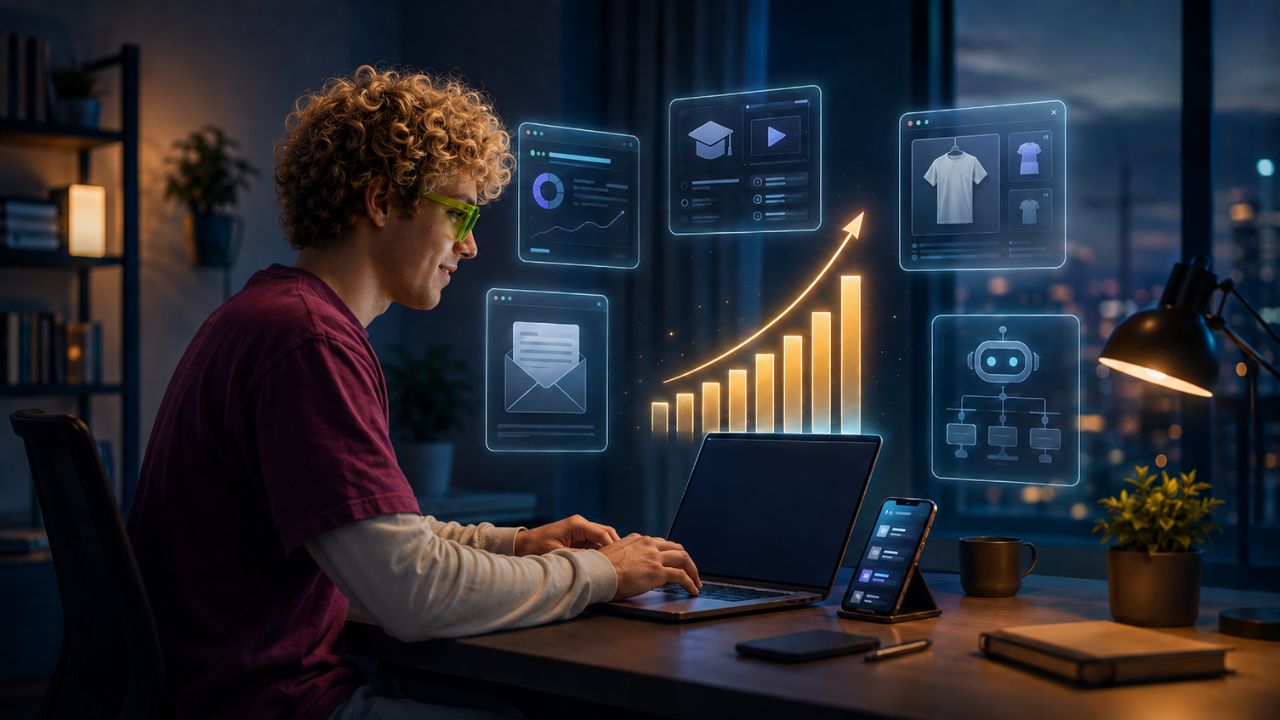
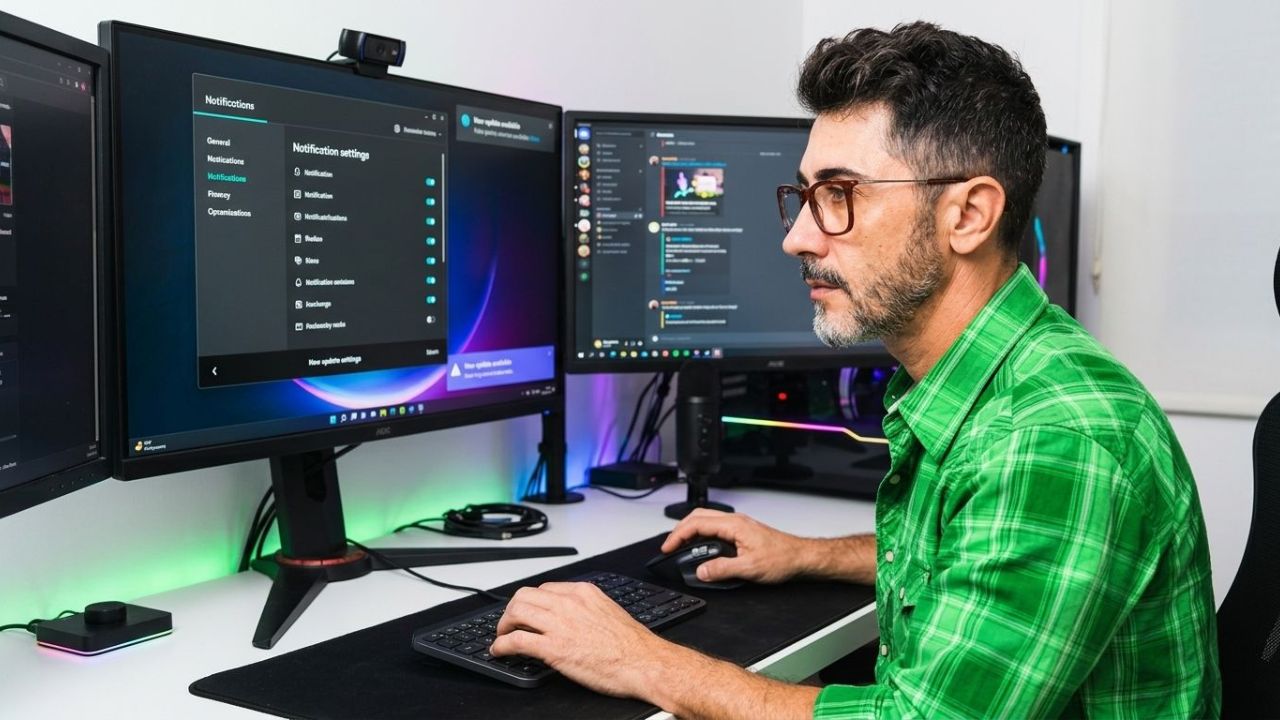
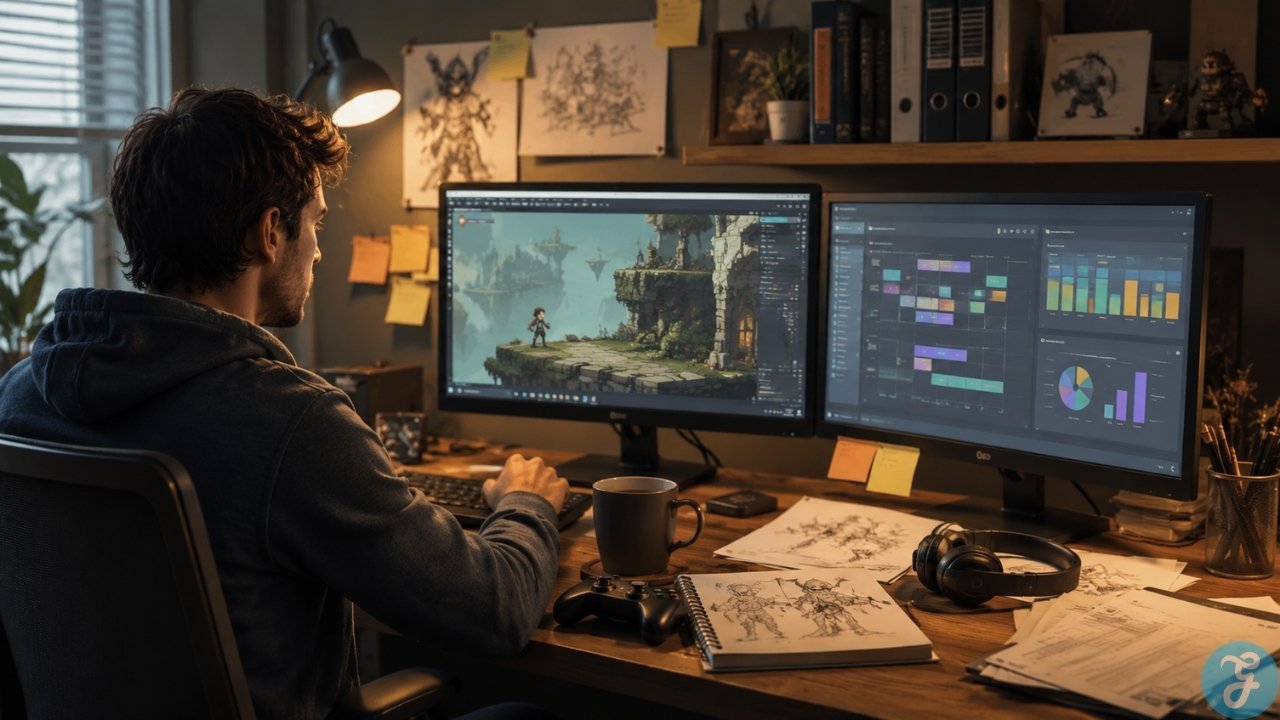
| Workspace scene | Yes | Great for creator/process videos |
| Landscape scene | Yes | Easy to animate clouds, light, and water |
| Infographic with lots of text | No | Text may distort |
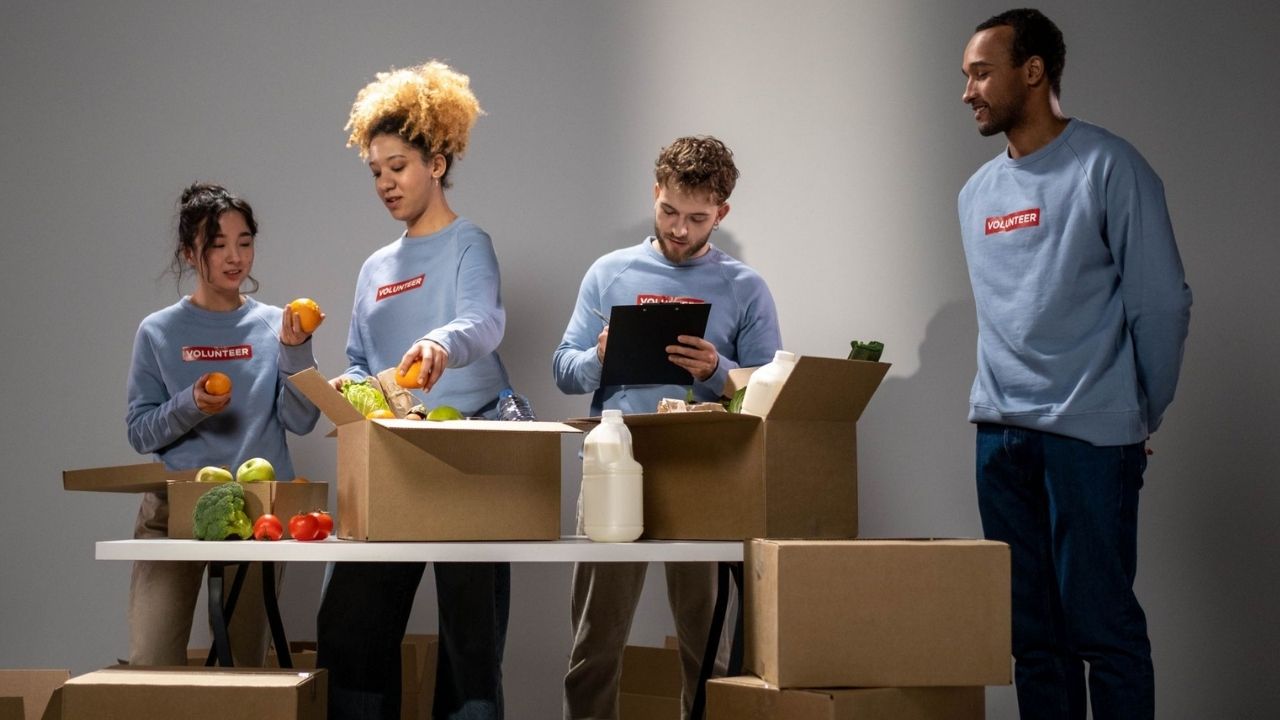
| Crowded group image | Risky | Faces and bodies may warp |
| Complex hand pose | Risky | Fingers may distort |
| Logo-heavy design | Risky | Logos may change during motion |
| Low-resolution image | No | Motion may amplify flaws |
My rule is simple: if the image already looks cluttered, the video will probably look worse.
Motion Types Beginners Should Use First
Start with a simple motion.
| Motion Type | Beginner Friendliness | Best For |
| Slow push-in | Very easy | Featured images, portraits, product shots |
| Gentle pan | Easy | Landscapes, workspaces, wide scenes |
| Subtle background movement | Easy | Office, city, nature, abstract scenes |
| Light movement | Easy | Cinematic mood |
| Floating particles | Moderate | Tech and futuristic visuals |
| Subject blinking | Moderate | Talking-head style images |
| Hand movement | Harder | More risk of distortion |
| Walking motion | Hard | Often breaks body logic |
| Complex action | Very hard | Not ideal for beginners |
Beginners should not start with complex movements. Start with controlled motion and clean camera direction.

Example Image-to-Video Prompts For Beginners
Here are practical prompts you can use as templates.
| Use Case | Prompt |
| Creator Workspace | Add a slow cinematic camera push-in. Keep the creator’s face and hands stable. Add subtle monitor glow and soft background light movement. Realistic style. |
| Product Visual | Slowly rotate the camera around the product. Keep the product shape, logo, and color unchanged. Add soft studio lighting and clean shadows. |
| Landscape Scene | Add gentle wind movement to trees and slow cloud motion. Keep the composition stable. Cinematic natural lighting. |
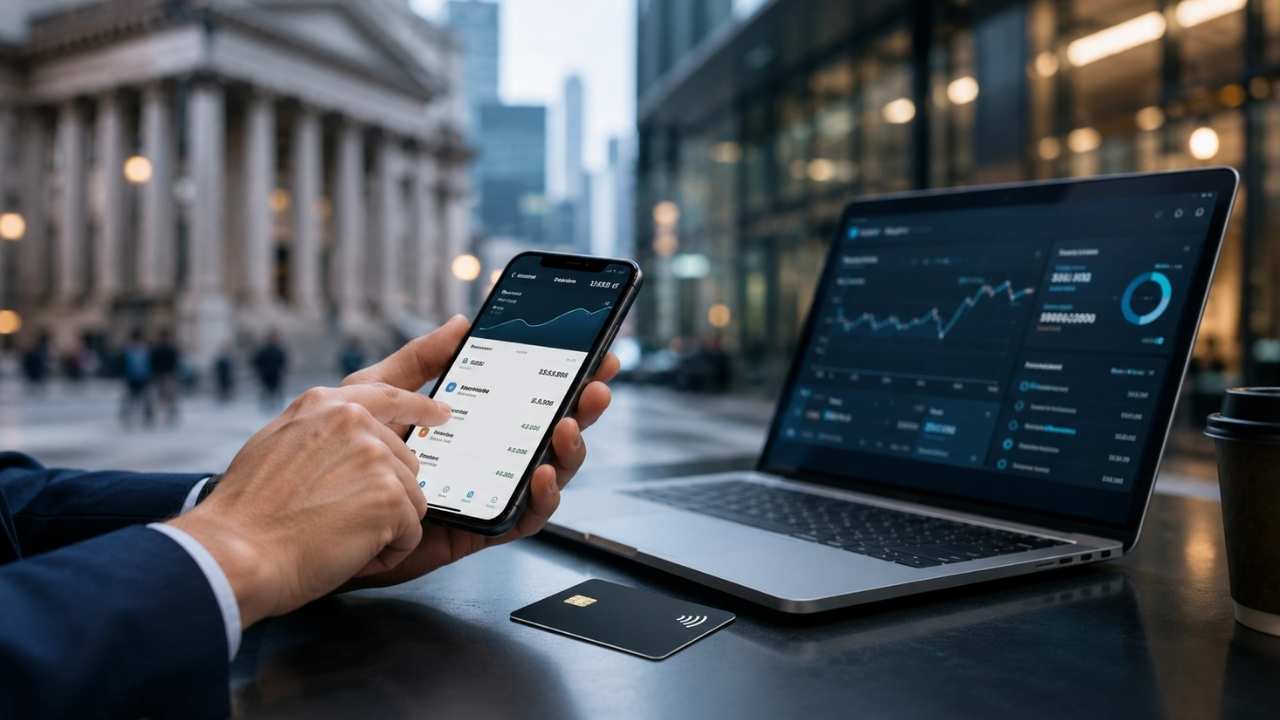
| AI Tool Interface | Add subtle screen glow, small UI animation, and a slow zoom-in. Keep all major layout elements stable. |
| Educational Graphic | Add light motion to icons and smooth transitions. Do not distort text. Keep layout clean and readable. |
| Social Media Clip | Add quick but smooth camera movement, subtle background motion, and energetic pacing. Keep subject stable and clean. |
For most beginner projects, I would include the phrase: keep the subject stable. That one line can improve results.
Common Image-to-Video Mistakes Beginners Make
Beginners usually make the same mistakes.
| Mistake | Why It Hurts |
| Uploading a cluttered image | AI cannot identify what to preserve |
| Asking for too much motion | The output becomes unstable |
| Using images with text | Text often breaks during animation |
| Ignoring aspect ratio | Cropping ruins the final video |
| Using low-quality images | Video generation amplifies defects |
| Not giving motion direction | AI guesses randomly |
| Not reviewing small details | Errors become visible after publishing |
| Treating the first output as final | Good results usually need iteration |
The biggest mistake is expecting the AI to understand your intention without direction. The image gives visual context. The prompt gives motion context. You need both.
Image-to-Video AI For Social Media
Image-to-video works very well for social content because most social videos are short, visual, and mobile-first.
A single static image can become:
- Reel intro
- TikTok hook
- Facebook short
- YouTube Shorts clip
- LinkedIn motion post
- Pinterest vertical video
- Website teaser
- Article promotion video
For example, if I have a strong featured image for an article, I can animate it with a slow push-in, add a hook line, add captions, add music, and export it as a 9:16 vertical video. That is a smart reuse workflow.
Image-to-Video AI For Blog And SEO Content
For blog content, image-to-video helps in two ways.
First, it gives you richer media assets. A pillar or cluster article can have a featured image, infographics, and short embedded video clips.
Second, it helps repurpose the article for distribution. Instead of just sharing the link, you can create a short AI-assisted video teaser.
For SEO and content experience, this matters because users engage better when complex ideas are supported visually. But the video should still be useful. Do not add AI motion just because it looks nice. Use video when it explains, demonstrates, previews, or supports the article.

Image-to-Video Vs Traditional Animation
Image-to-video AI is not the same as traditional animation.
| Image-to-Video AI | Traditional Animation |
| Faster to create | Slower but more precise |
| Good for short clips | Better for complex scenes |
| Limited control | Full creative control |
| Can distort details | Cleaner if professionally made |
| Great for social content | Better for polished production |
| Lower skill barrier | Higher skill requirement |
For beginners, image-to-video is a strong starting point. But for highly controlled brand campaigns, professional animation still has advantages. The smart workflow is not “AI or traditional.” It is using the right method for the job.
Copyright, Consent, And Disclosure
Image-to-video creates legal and ethical questions because the source image matters.
Before animating an image, ask:
- Do I own the image?
- Did I create it?
- Is it licensed?
- Does it include a real person?
- Do I have permission to animate that person?
- Does it include a copyrighted character, logo, artwork, or product?
- Will viewers think the motion is real?
Adobe says Firefly is trained on licensed and public domain content and positions its image-to-video outputs as commercially safe, but creators still need to check the specific tool terms and use case. TikTok also requires creators to label AI-generated content that contains realistic images, audio, or video, especially where primary subjects are shown saying or doing something they did not actually do.
So, if you animate a realistic person, a cloned face, a public figure, or a lifelike scene, be careful. Consent and labeling matter.
My Practical Beginner Checklist
Before generating image-to-video, use this checklist:
| Checklist Item | Done? |
| The image has one clear subject | ☐ |
| The aspect ratio matches the final platform | ☐ |
| The image has no important small text | ☐ |
| The background is not too cluttered | ☐ |
| The motion prompt is clear | ☐ |
| The subject stability instruction is included | ☐ |
| The clip length is short | ☐ |
| The output is reviewed manually | ☐ |
| Rights and consent are checked | ☐ |
| Captions, audio, and editing are added later | ☐ |
This checklist saves time because most bad AI videos come from poor preparation.
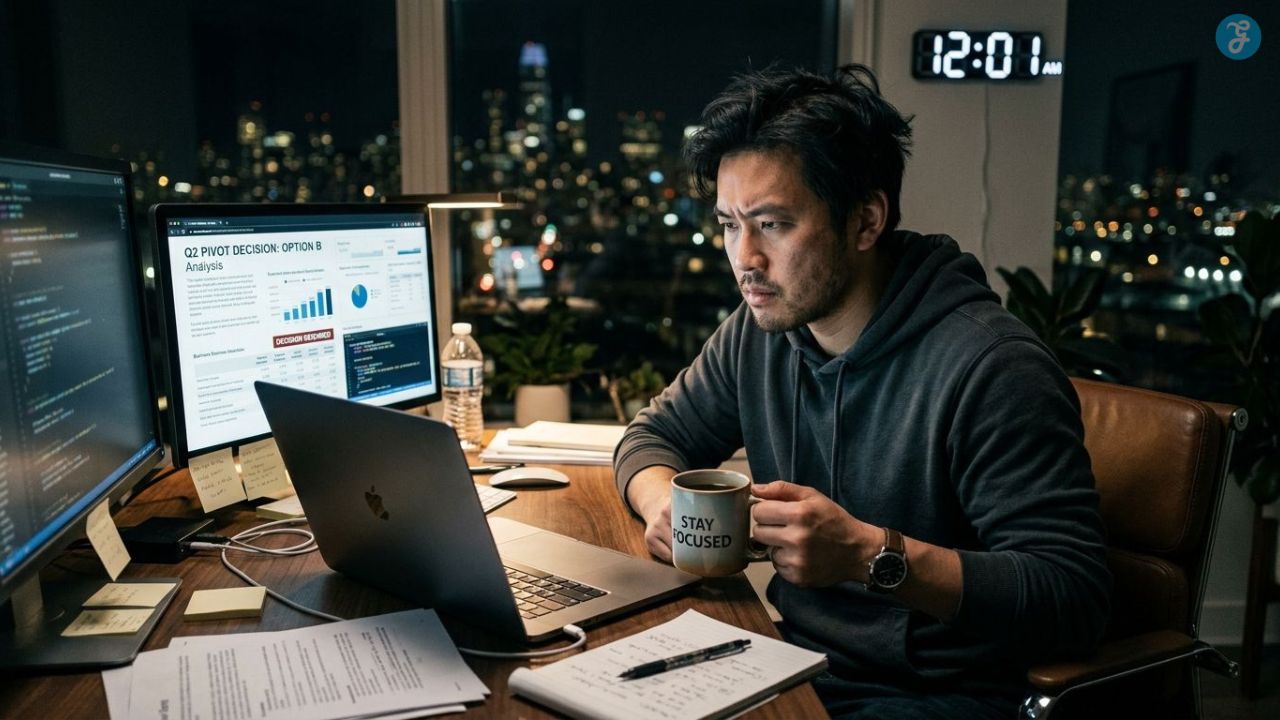
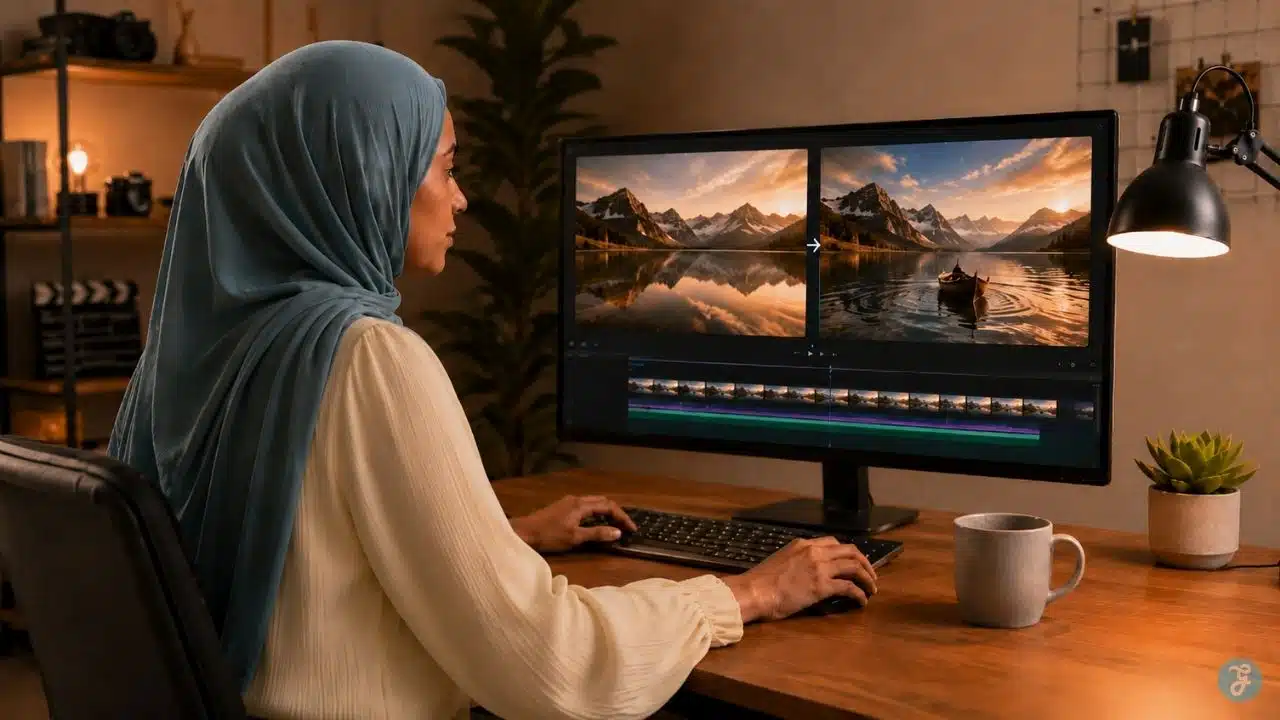
A Practical Example: Turning A Blog Featured Image Into A Short Video
Let’s say I have a featured image showing a creator working on an AI video project. I would not just upload it and click generate.
I would plan it like this:
| Step | Action |
| 1 | Use the featured image as the visual base |
| 2 | Choose 9:16 if the goal is Reels or Shorts |
| 3 | Crop carefully before animation |
| 4 | Prompt the model for a slow camera push-in |
| 5 | Ask it to keep the face, hands, and monitor stable |
| 6 | Add subtle screen glow and background light motion |
| 7 | Generate 2–3 versions |
| 8 | Pick the cleanest clip |
| 9 | Add hook text and captions manually |
| 10 | Export for the target platform |
A sample prompt:
Animate this creator workspace image with a slow cinematic push-in. Keep the creator’s face, hijab, hands, desk, and monitor stable. Add subtle screen glow and soft background light movement. Realistic style. No distortion. No extra objects.
This kind of prompt is practical because it tells the AI both what to move and what not to change.
Where Image-to-Video Is Going
The direction is clear: image-to-video tools are moving toward stronger reference control, better subject consistency, native audio, longer clips, and more editing flexibility.
Google’s current video documentation already highlights reference images for preserving a person, character, or product in Veo 3.1. Runway’s Gen-4 messaging also focuses on consistency across characters, objects, environments, and styles. Google’s Gemini Omni overview describes a broader future where text, photos, videos, and audio can all become inputs for video creation and editing.
That means beginners should learn the workflow now, not just the tool names. Tools will change. The production logic will remain useful.
Final Thoughts: Image-to-Video Works Best When You Plan Before You Animate
The best image-to-video workflows do not begin with the generate button. They begin with a planned image, a clear platform, and a simple motion idea.
If your base image is weak, the video will struggle. If your motion prompt is vague, the AI will guess. If your aspect ratio is wrong, the final output will need awkward cropping. If you skip human editing, the result may look unfinished.
But when you use image-to-video properly, it becomes one of the most beginner-friendly AI video workflows available. It gives you more control than pure text-to-video, helps preserve visual direction, and turns static content into reusable motion assets.
That is the real value. Not random animation. Controlled motion with a purpose.
Frequently Asked Questions About image-to-video Workflows
1. What are image-to-video Workflows?
Image-to-video workflows are step-by-step processes where a still image is turned into a moving AI video. The workflow usually includes choosing a base image, writing a motion prompt, generating a short clip, reviewing the result, editing, and exporting.
2. Is Image-to-Video Easier Than Text-to-Video?
Yes, it is often easier for beginners because the image gives the AI a clear visual reference. Text-to-video offers more imagination, but image-to-video usually gives better control over subject, style, and composition.
3. What Type Of Image Works Best For AI Video?
A clean image with one clear subject, good lighting, a simple background, and the right aspect ratio works best. Avoid cluttered images, heavy text, distorted faces, or low-resolution visuals.
4. Can I Use Image-to-Video For Social Media?
Yes. Image-to-video is excellent for Reels, TikTok, Shorts, LinkedIn posts, and Facebook videos. It helps turn static visuals into short motion clips for better engagement.
5. Do I Need To Label Image-to-Video AI Content?
You should label it when the video includes realistic AI-generated people, voices, actions, or scenes that viewers may mistake for real. Platform rules may require disclosure, especially for realistic synthetic media.