Ever need a quick win on a long afternoon? Here’s my secret win. Science Experiments Home Learning, it works beautifully for that, because you can teach real ideas with baking soda, food coloring, oil, flowers, and an egg from the fridge. You do not need a pricey kit or a huge block of time. The best home experiments are short, safe, and easy to repeat, so kids can test one change at a time and actually see what happens.
I’m going to walk you through simple, hands-on activities that fit busy family life, plus the little setup choices that make them smoother the first time.
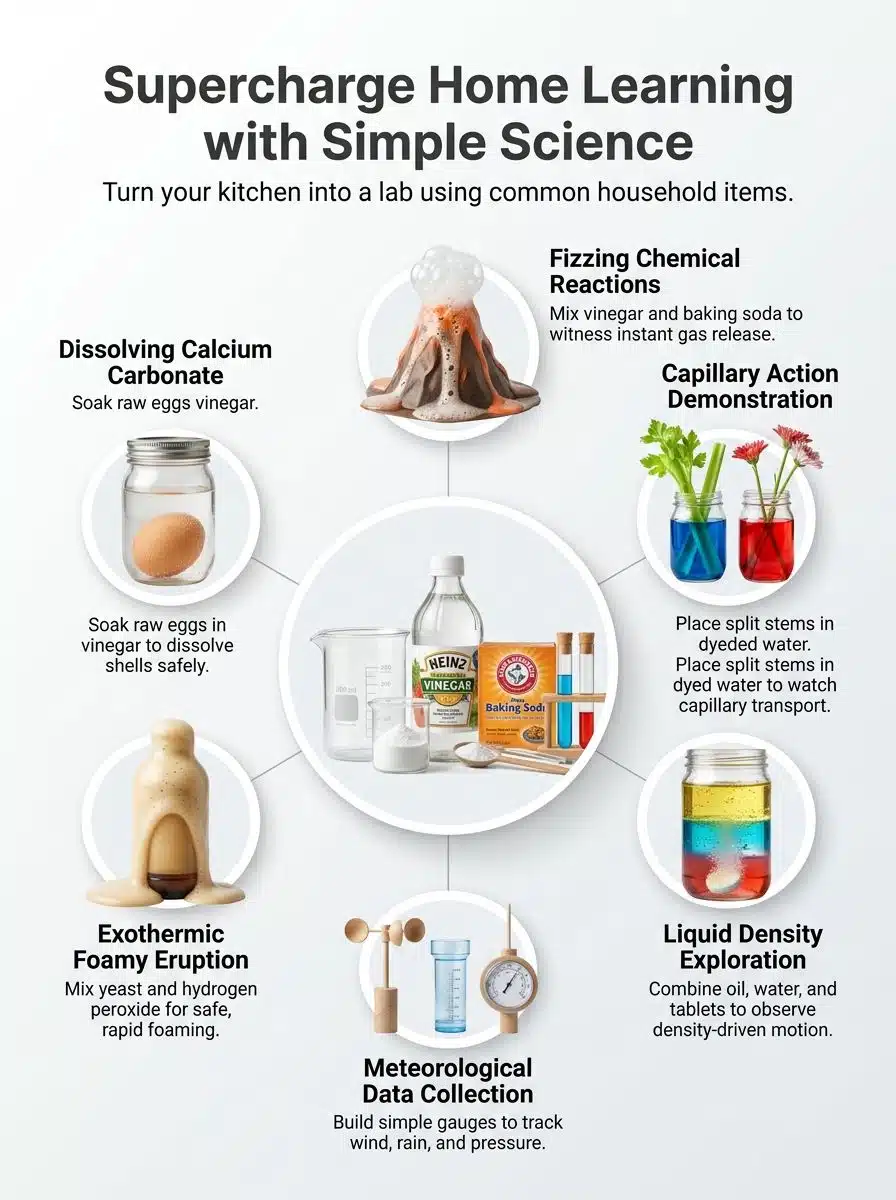
Everyday Science Experiments For Home Learning
These everyday home experiments turn the kitchen table into a low-stress lab. They are easy to set up, fun to watch, and strong enough to teach real chemistry and plant science.
Exploring the Reaction Between Baking Soda and Vinegar
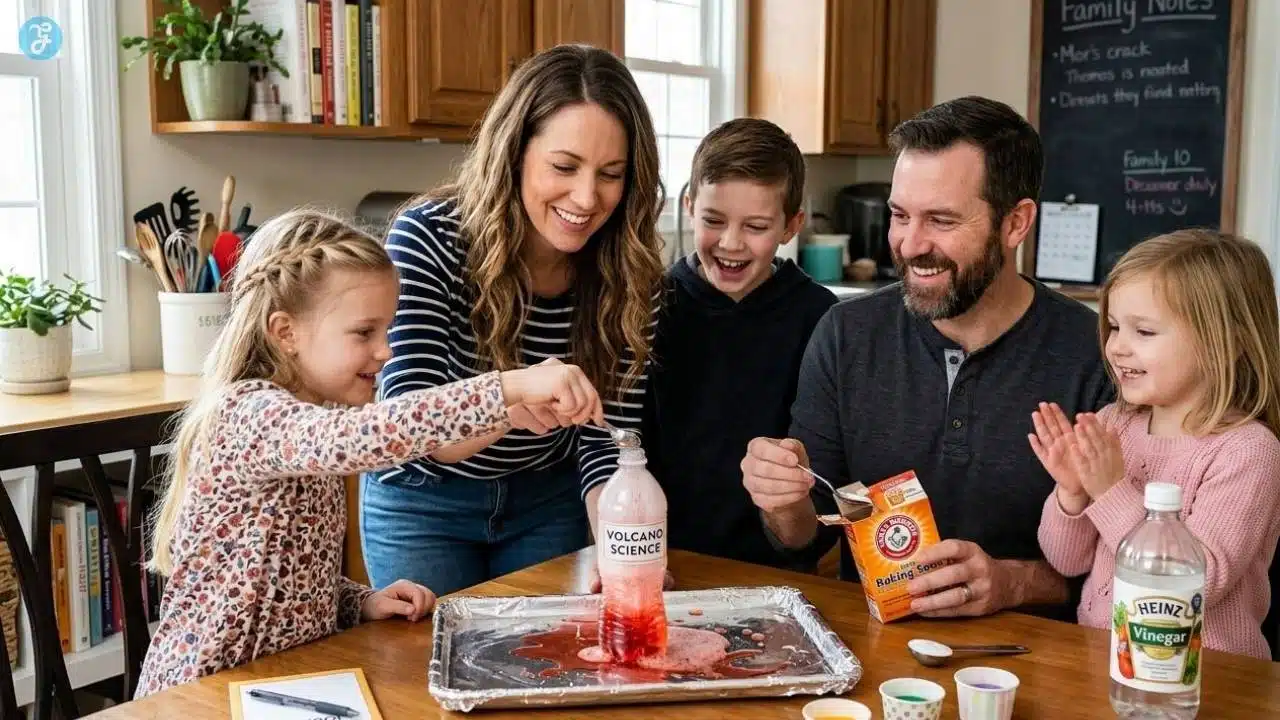
This is still one of the best first DIY science projects for kids because the result is fast and obvious. The fizz feels exciting, but it also gives you a clean way to talk about gases, acids, bases, and fair testing.
The American Chemical Society uses a simple starter ratio for this reaction: 2 tablespoons of vinegar, 2 teaspoons of baking soda, and 1 drop of dish soap in a 10 to 12-ounce plastic bottle. That tiny drop of soap matters because it helps the bubbles last longer and makes the foam easier to measure.
- Start small: Use the ACS ratio first so kids get a visible reaction without a giant overflow.
- Add one variable only: Change just the vinegar amount, or just the baking soda amount, and compare foam height.
- Make it a real experiment: Time how long the bubbling lasts and mark the foam line on the bottle with tape.
- Use safety gear: Properly fitting goggles are a smart move, and gloves help if a child is handling vinegar directly.
- Try the soap trick: If you want longer-lasting foam, keep the baking soda and vinegar the same and add that single drop of dish soap.
A nice next step is to try half as much vinegar and baking soda and see if the bubbles rise to the top without spilling over. That tiny change helps kids practice prediction, observation, and control of variables, which is exactly what strong hands-on learning should do.
Experimenting with Color-Changing Flowers
If your child likes quieter science activities, this one is a great follow-up. The color change takes longer, which gives you a chance to slow down, make predictions, and check results over time.
Science Buddies recommends using white carnations, 1/2 cup of water, and 1 teaspoon of food dye per cup, then cutting the stems at a 45-degree angle. They also suggest checking the flowers at 2, 4, 24, 48, and 72 hours, which turns a pretty experiment into a useful little data project.
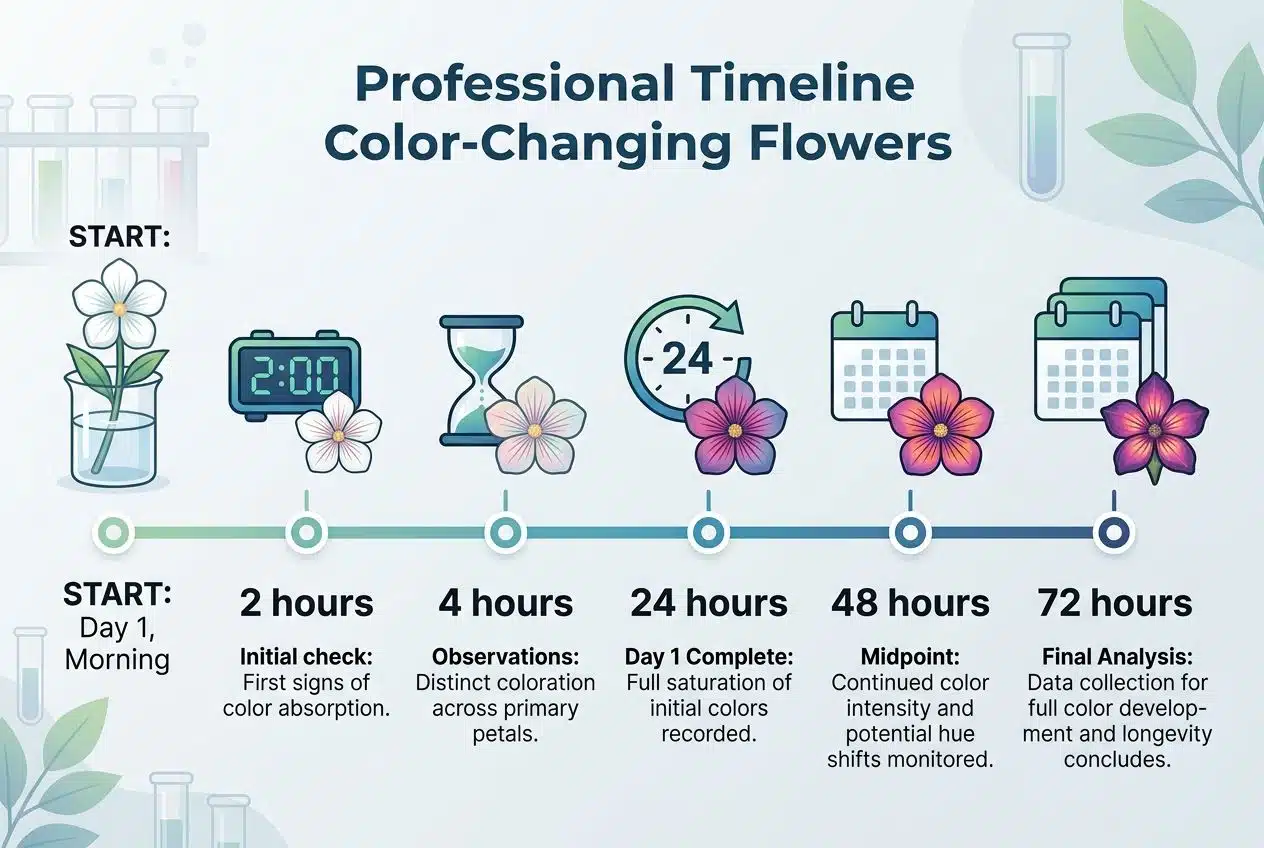
- Use white flowers: Carnations usually show the color path clearly, especially along the stem and petal edges.
- Cut stems the right way: A 45-degree cut helps the stem take up water better than a blunt cut.
- Record the timing: Ask kids to sketch or photograph what they see after 2 hours, then again later in the day.
- Try a split stem: Place each half in a different color for a two-tone flower that makes plant transport easy to see.
- Stretch the lesson: Leave the flower in one color for a day, then move it to a second color and compare the new pattern.
This is also a simple way to blend art and science. If your child enjoys creative projects, you can turn the results into a mini display and connect it to hands-on learning at home.
Engaging STEM Projects for Home Learners
Some STEM projects do more than make a fun mess. They help kids collect data, notice patterns, and connect what they see at home to weather, density, and change in the real world.
Create Your Own Lava Lamp
A DIY lava lamp is one of those easy experiments that feels like magic the first time you see it. It is really a lesson in density and gas formation, and that makes it perfect for home education.
Science Buddies points out that the oil layer floats because vegetable oil is lighter than water, about 0.9 grams per cubic centimeter compared with water at about 1.0. Their lava lamp activity also notes that a quarter-tablet in warm water usually reacts in about 20 to 30 seconds, while the same piece in cold water can last 2 to 3 minutes, which gives you a built-in comparison test.
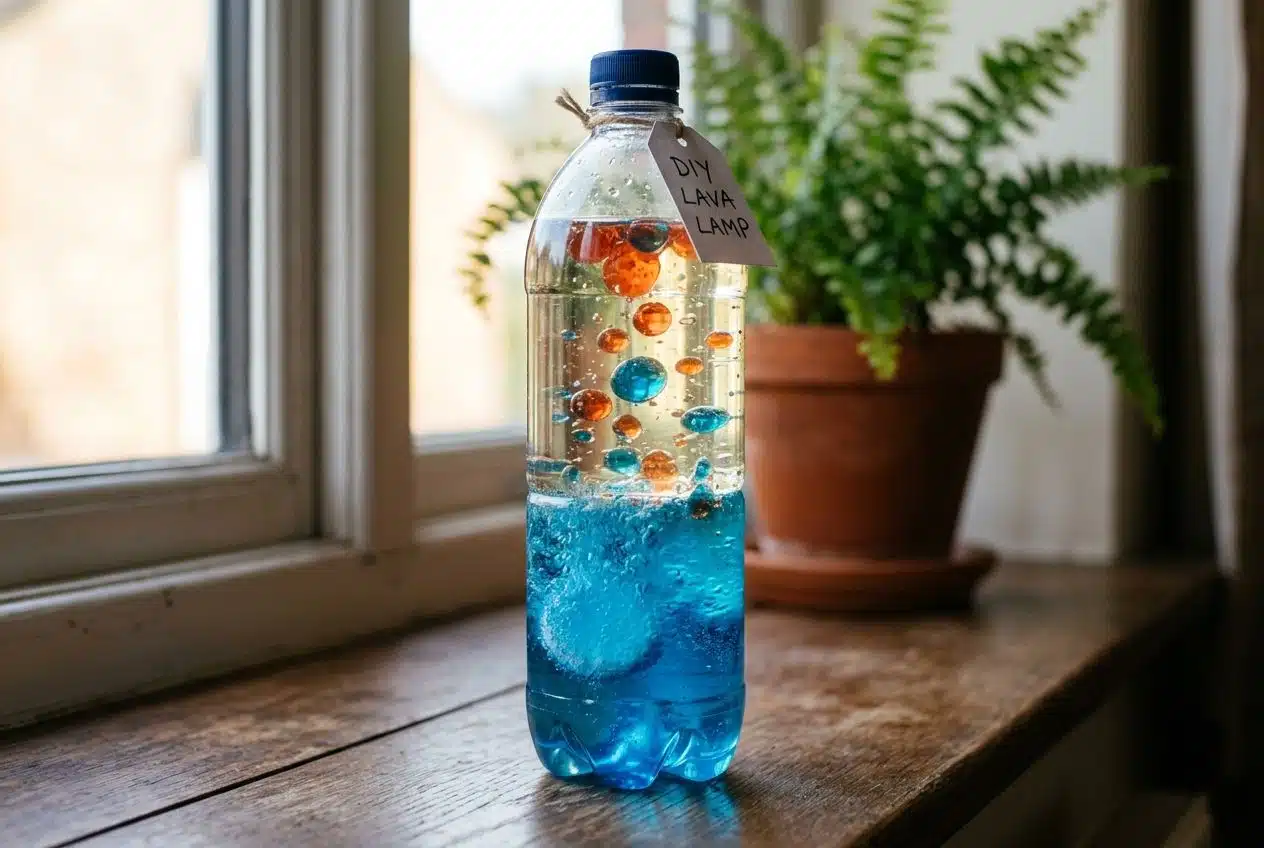
- Build the layers first: Add 1 to 2 inches of water, a few drops of food coloring, then fill the bottle at least three-quarters full with vegetable oil.
- Use smaller tablet pieces: Quartered effervescent tablets are easier for kids to compare than whole tablets.
- Run a warm-versus-cold test: Warm water gives a faster, more energetic show, while cold water gives a slower, longer display.
- Track the action: Count how many blob cycles happen in one minute, then compare bottles.
- Keep it reusable: Cap the bottle tightly between tests so you can use it again later that day.
If your child is starting to think about a science fair, this is a great project to level up. You can test temperature, tablet size, or oil depth and turn a fun demo into a real question with measurable results.
Construct a Simple Weather Station
This project shifts science from quick reactions to slow observation. Kids start to notice that the weather is not random; it leaves clues every day if you measure the same things in the same way.
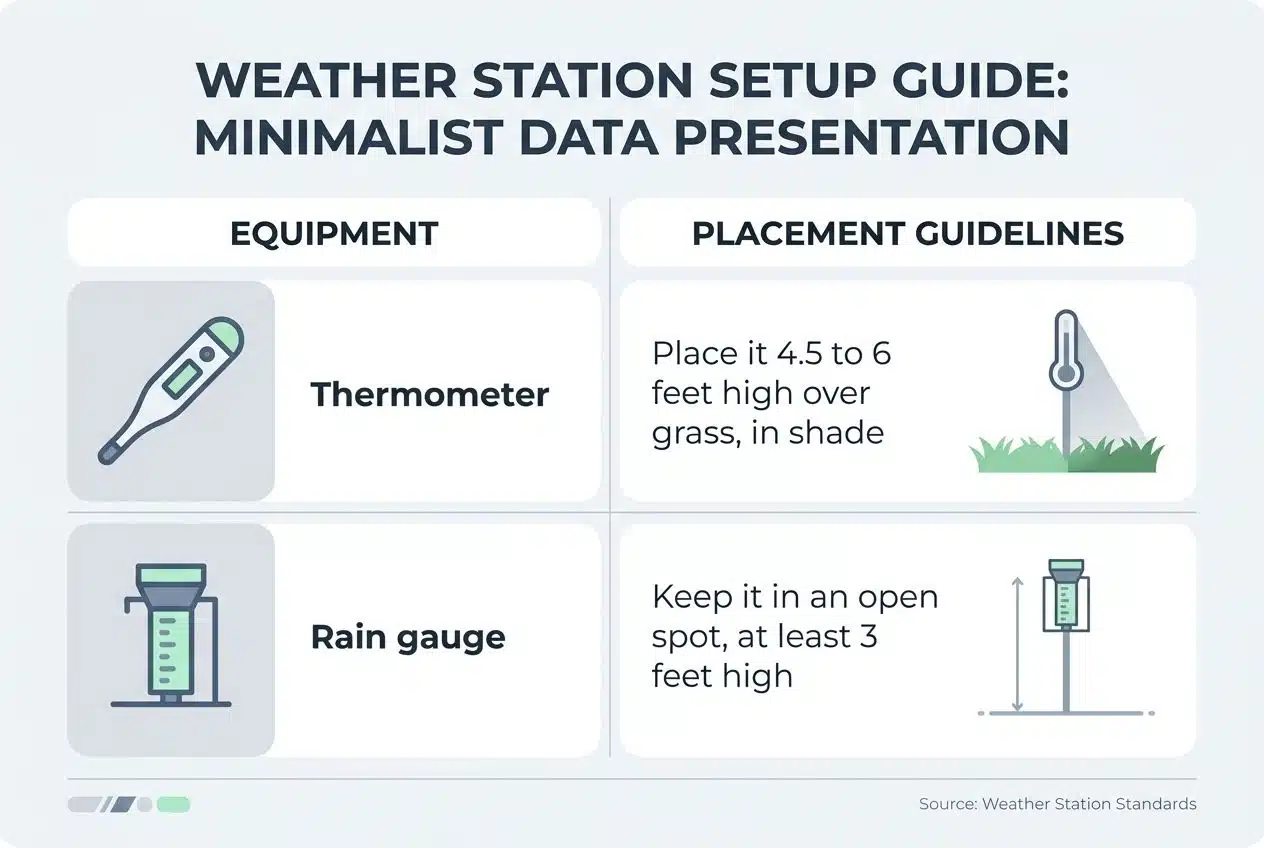
NOAA recommends placing a thermometer 4.5 to 6 feet above grassy ground in a shaded spot, and at least 100 feet from concrete or pavement if possible. For a rain gauge, NOAA advises an open area with the gauge at least twice as far from buildings or trees as those objects are tall, and with the top at least 3 feet above the ground to reduce splash and turbulence.
| Tool | Best setup tip | Why it helps |
|---|---|---|
| Thermometer | Place it 4.5 to 6 feet high over grass, in shade | You get a truer air temperature, not heat bouncing off pavement |
| Rain gauge | Keep it in an open spot, at least 3 feet high | You reduce the backsplash and block the rainfall |
| Rain gauge location | Set it twice as far from obstacles as they are tall | You cut down on wind distortion around trees and buildings |
- Use a journal: Record rainfall, high and low temperatures, cloud cover, and wind direction at the same time each day.
- Add a homemade wind vane: A straw, a pin, and a cardboard arrow are enough to start.
- Compare forecasts: Let kids make a prediction first, then check the next day’s result.
- Look for patterns: A week of notes often shows more than a single dramatic day.
This kind of project is great for family learning because it grows over time. Even five minutes each morning can build a strong habit of noticing, measuring, and revising ideas.
Exciting Chemistry Activities for Kids
If your child loves foamy, stretchy, strange-looking results, this is where science fun really takes off. These chemistry activities feel playful, but they also teach reaction speed, gases, membranes, and osmosis.
Making Elephant Toothpaste
Elephant toothpaste is the dramatic one. It is fast, colorful, and memorable, which makes it a favorite for kids’ science days at home.
Science Buddies uses a family-friendly version with 3% hydrogen peroxide, yeast, dish soap, and a plastic bottle, and the whole activity takes less than 10 minutes. The foam forms because yeast helps break hydrogen peroxide into water and oxygen, and the soap traps that oxygen in bubbles. The American Chemical Society also notes that this reaction gives off heat, so the bottle can feel warm during the demo.
- Choose the safer home version: Stick with 3% hydrogen peroxide for at-home educational activities.
- Set it on a tray: The foam expands fast, so give it room before you begin.
- Use a plastic bottle: It is lighter, safer, and easier for kids to handle than glass.
- Add color inside the bottle first: Food coloring streaks the foam and makes the reaction easier to see.
- Talk about the warmth: Have kids notice that reactions can release energy as well as make gas.
Best tip for home use: keep the bottle open, keep the batch small, and let kids observe closely instead of reaching into the foam right away.
If you want to stretch the lesson, change the amount of yeast or the water temperature used to activate the yeast. That gives older kids a simple way to explore how reaction speed changes.
How to Make a Rubber Egg
This experiment feels gentle at first, then gets very cool. Kids can touch the result, which makes the science easier to understand.
Scientific American suggests leaving the egg in vinegar for 24 hours, replacing the vinegar, and then checking it again on the third morning. By then, the shell should be gone, leaving the egg held together by a thin membrane. That membrane is selectively permeable, which sets up a great follow-up lesson on osmosis.
- Cover the egg fully: Use enough vinegar so the whole shell reacts evenly.
- Refresh the vinegar after a day: This helps the shell finish dissolving instead of staling out.
- Handle it gently: Once the shell is gone, the membrane is doing all the work.
- Try the osmosis add-on: Put the naked egg in water for about 8 hours to make it swell, then in corn syrup for about 8 hours to watch it shrink.
- Ask better questions: Have kids explain why the egg changed size instead of just saying it looked weird.
This is one of the best home experiments for showing that chemistry can change a material first, then biology ideas like membranes and water movement can take over afterward.
Benefits of Science Experiments at Home
Home science does more than fill time. It gives kids a reason to ask questions, test ideas, and talk through what they noticed. The strongest part is this: children are not just hearing about science. They are doing it with their own hands.
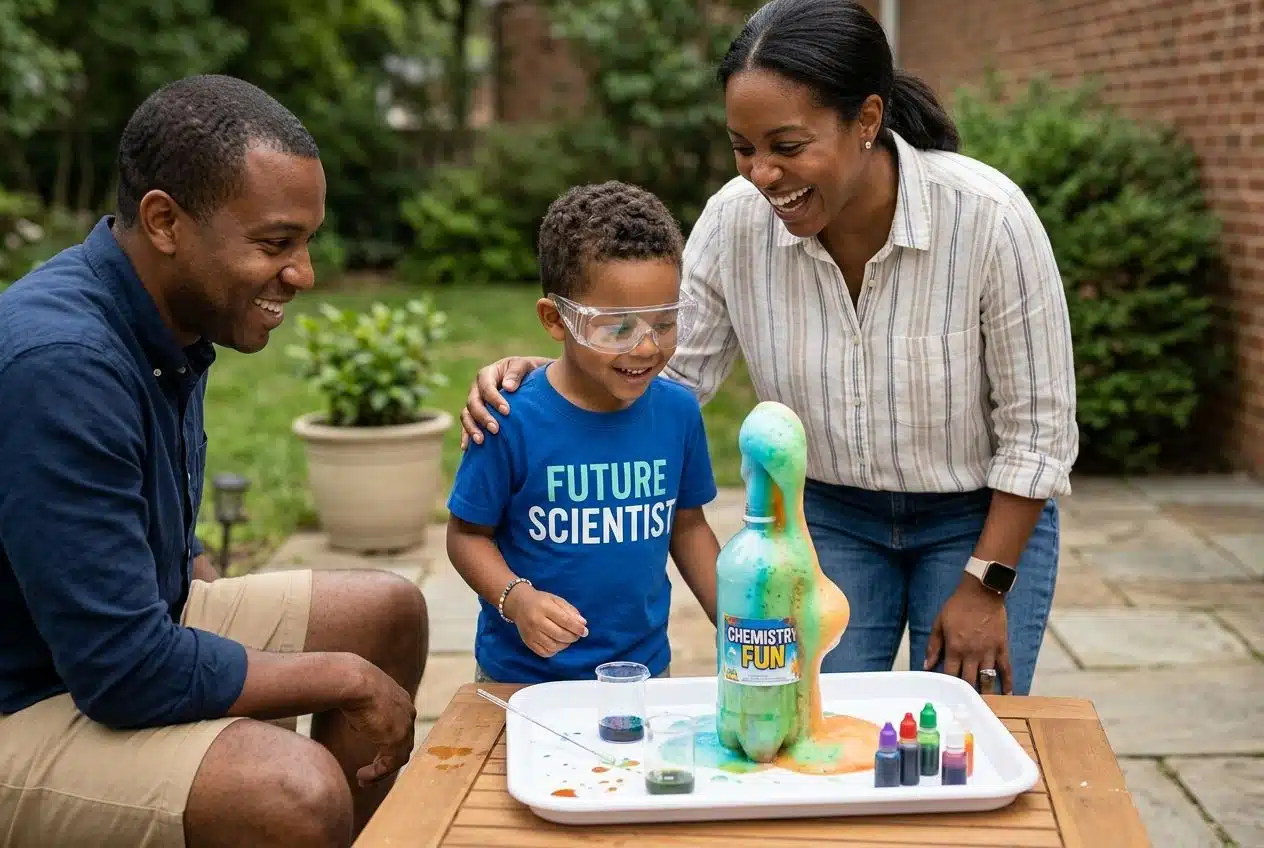
Encourages Critical Thinking
Simple experiments work best when you slow them down just a little. Instead of asking, “Did it work?” ask, “What changed? Why do you think that happened, and what should we try next?”
The Next Generation Science Standards treat planning and carrying out investigations and analyzing and interpreting data as core science practices. That is a useful reminder for home learning, because even a five-minute activity becomes stronger when your child makes a prediction, records one measurement, and explains the result out loud.
- Before the experiment: Ask for one prediction.
- During the experiment: Measure one thing, such as time, height, color change, or temperature.
- After the experiment: Ask what they would change next time.
That simple pattern helps kids build reasoning skills without making the activity feel like a test.
Promotes Creativity and Problem-Solving
Creativity in science is not about a random mess. It is about trying a new idea, noticing what happened, and adjusting the setup with a purpose.
NSTA and the U.S. Department of Education both emphasize that hands-on learning can make science more accessible and help abstract ideas stick. At home, that usually means the best DIY science projects are the ones kids can repeat with small changes, like using colder water, a taller bottle, less dye, or a different flower stem.
A simple lab notebook makes this easier. Write down the question, materials, what changed, and what happened. After a few rounds, your child starts thinking like a young scientist instead of just watching a trick.
The Bottom Line
Science Experiments Home Learning does not have to be complicated to be valuable. A bottle, a cup, a flower, or an egg can open the door to chemistry, weather, and problem-solving. Keep the setup safe, keep the directions simple, and let kids make one small choice in each activity. That is usually the moment when fun turns into real learning.
For busy families, that is the sweet spot: easy experiments at home that feel playful, build confidence, and make science part of everyday life.
Frequently Asked Questions About Science Experiments Home Learning
1. What are some easy science experiments for home learning?
Try simple experiments that use common household items, like testing which surface soaks up water fastest. These hands-on experiments teach basic STEM ideas, and they need little prep.
2. Are these experiments safe for kids?
Yes, pick safe experiments that use mild supplies from around the house, and stay nearby to help. Safety makes learning fun, and it keeps parents calm, too.
3. How do I teach the scientific method at home?
Ask a question, make a guess, test it, watch what happens, and write down the results. This short loop, with clear steps, turns curiosity into science.
4. What if I have no special tools or lab gear?
No problem, use household items, a notebook, and a timer, you have all you need. Keep sessions short, make it hands-on, and let kids make predictions and observations.