
Home improvement projects don’t always require extensive time or budget. Many simple upgrades can be completed in just a day, transforming your living space and enhancing its appeal.
Whether you’re preparing your home for sale or just looking to refresh your environment, tackling small projects can have a significant impact.
In this article, we will explore 15 home improvement projects that you can complete in a single day. These projects range from easy DIY tasks to slightly more complex undertakings, offering a variety of options for homeowners of all skill levels.
Each project will not only enhance the aesthetic appeal of your home but also increase its functionality and value.
1. Fresh Coat of Paint
One of the quickest and most impactful ways to refresh your home is by applying a fresh coat of paint. Whether you’re updating a room’s color or painting the exterior, new paint can breathe life into your space.
Choosing Your Colors
- Neutral Shades: Opt for neutral colors like beige, gray, or soft whites for a timeless look that appeals to potential buyers.
- Accent Walls: Consider painting one wall a bold color to create a focal point in the room.
Steps to Complete
- Preparation: Clear the room of furniture or move items to the center and cover them with drop cloths. Tape off edges and trim to ensure clean lines.
- Priming: If you’re making a significant color change or painting over stains, apply a primer first.
- Painting: Use a roller for larger areas and a brush for edges and corners. Two coats may be necessary for full coverage.
- Clean Up: Remove painter’s tape before the paint dries to avoid peeling. Clean brushes and rollers, and enjoy your newly painted space.
2. Updating Cabinet Hardware
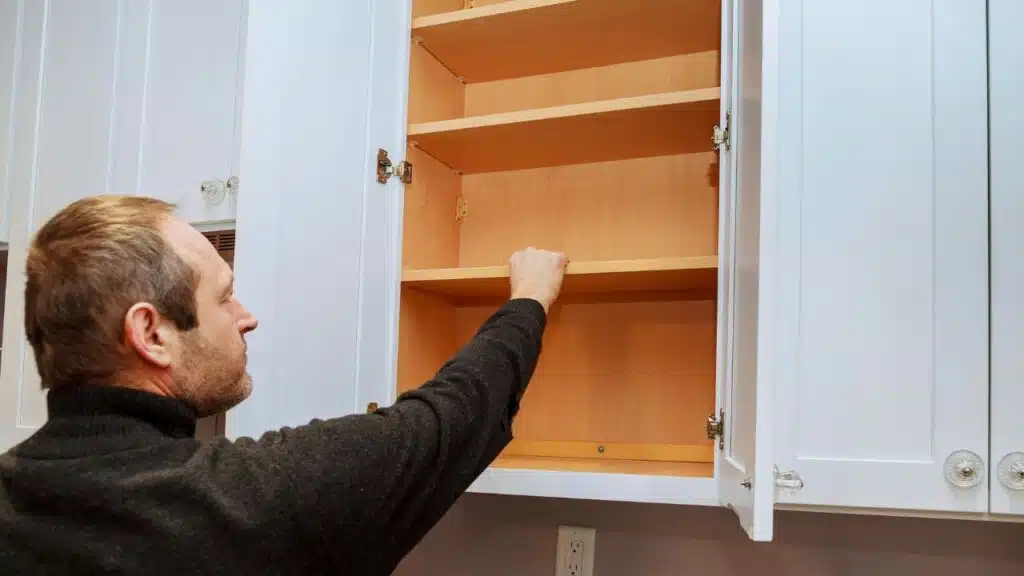
Replacing cabinet hardware is a straightforward way to modernize your kitchen or bathroom without a full renovation. New knobs and pulls can significantly enhance the look of your cabinets.
Selecting Hardware
- Styles and Finishes: Choose hardware that complements your existing decor, such as brushed nickel for a contemporary look or antique brass for a vintage feel.
- Sizes: Ensure the new hardware fits the existing holes in your cabinets or be prepared to drill new ones.
Steps to Complete
- Remove Old Hardware: Unscrew the existing knobs or pulls from the cabinets and set them aside.
- Install New Hardware: Align the new hardware with the existing holes, making adjustments if necessary, and screw them in place.
- Finish Up: Step back and admire your refreshed cabinets.
3. Landscaping the Front Yard
Landscaping your front yard can dramatically improve your home’s curb appeal. A well-maintained yard makes a great first impression and can increase your home’s value.
Key Elements of Landscaping
- Flower Beds: Add colorful flowers or shrubs to enhance visual interest.
- Mulch or Rocks: Use mulch or decorative rocks to create clean edges and suppress weeds.
Steps to Complete
- Plan Your Design: Sketch a simple layout of where you want to place flowers, shrubs, or decorative elements.
- Prepare the Soil: Clear the area of weeds and debris. Loosen the soil to promote healthy plant growth.
- Planting: Dig holes for your plants, following spacing recommendations, and water them thoroughly after planting.
- Finishing Touches: Add mulch or decorative rocks for a polished look.
4. Creating a Gallery Wall
A gallery wall is a fantastic way to showcase your personality and add visual interest to a room. You can display family photos, artwork, or a mix of both for a personalized touch.
Selecting Your Art
- Themes and Colors: Choose a cohesive theme or color scheme to create a harmonious look.
- Frames: Mix and match different frame styles and sizes for an eclectic feel or use uniform frames for a more polished appearance.
Steps to Complete
- Layout Planning: Lay your pieces on the floor to determine the best arrangement before hanging them on the wall.
- Marking and Measuring: Use painter’s tape to outline the arrangement on the wall for a visual guide. Measure to ensure even spacing.
- Hanging: Start with the center piece and work your way out, using picture hooks or nails to secure each piece.
- Final Adjustments: Step back to ensure everything is straight and visually balanced.
5. Installing a Backsplash
Installing a backsplash in your kitchen or bathroom is a project that can be completed in a day and adds a stylish touch to your space.
Choosing Your Materials
- Tile: Ceramic, glass, or stone tiles are popular choices, offering a range of colors and patterns.
- Peel-and-Stick Options: If you’re looking for an easier alternative, peel-and-stick tiles are simple to install and come in various designs.
Steps to Complete
- Preparation: Clean the wall surface thoroughly to remove grease or dirt.
- Measuring and Cutting: Measure the area and cut tiles to fit if necessary. Start with a full tile in the center and work outward.
- Adhesive Application: Apply adhesive to the back of each tile or the wall, depending on your chosen material.
- Grouting: After the tiles are set, apply grout between the tiles and wipe off any excess. Allow to cure as directed.
6. Installing New Light Fixtures

Updating light fixtures is an excellent way to enhance the ambiance of a room. Whether it’s a modern pendant light or classic chandelier, new lighting can dramatically change the feel of your space.
Selecting Fixtures
- Style: Choose fixtures that complement your home’s decor, whether it’s modern, traditional, or eclectic.
- Functionality: Consider the type of light bulb and brightness level you want for the room.
Steps to Complete
- Turn Off Power: Before beginning any electrical work, ensure the power is turned off at the circuit breaker.
- Remove Old Fixtures: Unscrew the existing light fixture and disconnect the wiring.
- Install New Fixture: Connect the new fixture’s wiring according to the manufacturer’s instructions and secure it in place.
- Testing: Turn the power back on and test the fixture to ensure it’s working correctly.
7. Decluttering and Organizing
Decluttering your home can be incredibly rewarding. It not only creates a more organized space but also improves your mental clarity and reduces stress.
Tips for Decluttering
- One Room at a Time: Focus on one room or area at a time to avoid feeling overwhelmed.
- Categorize Items: Sort items into categories—keep, donate, recycle, and throw away.
Steps to Complete
- Assess Each Area: Start with a specific room and evaluate what items are essential and which can be removed.
- Create Storage Solutions: Use bins, baskets, or shelves to store items neatly and keep them organized.
- Disposing: Arrange for donations or take items to a recycling center for responsible disposal.
8. Installing a New Faucet
Replacing an old faucet can update the look of your kitchen or bathroom and improve functionality. A new faucet can save water and enhance your overall experience.
Choosing Your Faucet
- Style and Finish: Select a style and finish that complements your sink and decor.
- Water Efficiency: Look for models that are water-efficient to help reduce your water bill.
Steps to Complete
- Turn Off Water Supply: Before starting, turn off the water supply to the faucet.
- Remove the Old Faucet: Disconnect the supply lines and unscrew the old faucet from the sink.
- Install the New Faucet: Follow the manufacturer’s instructions for installing the new faucet, securing it in place and connecting the supply lines.
- Testing: Turn the water supply back on and check for leaks.
9. Adding a Fresh Area Rug
An area rug can add warmth and comfort to any room, making it an easy and effective home improvement project. It can also help define spaces, especially in open floor plans.
Choosing the Right Rug
- Size and Shape: Measure the area where the rug will go to ensure a proper fit. Consider the shape that best suits your space—rectangular, square, or round.
- Material: Choose a material that fits your lifestyle and the room’s purpose. For example, plush rugs are great for living rooms, while low-pile rugs are better for high-traffic areas.
Steps to Complete
- Measuring Your Space: Measure the area where you want to place the rug to ensure it fits well.
- Selecting a Rug: Choose a rug that complements your existing decor and color scheme.
- Placement: Position the rug in the desired area, ensuring it is centered and aligned with the furniture.
10. Creating Outdoor Seating
Adding outdoor seating can transform your patio or backyard into a comfortable retreat. This project is perfect for those who enjoy entertaining or relaxing outside.
Selecting Furniture
- Style: Choose seating that fits your style—consider options like patio chairs, benches, or hammocks.
- Durability: Look for weather-resistant materials that can withstand the elements.
Steps to Complete
- Determine Layout: Decide where you want to place the seating and how many pieces you’ll need.
- Level the Ground: If necessary, level the ground or use outdoor rugs to define the seating area.
- Arrange Furniture: Set up your seating in a way that encourages conversation and relaxation.
11. Upgrading Window Treatments
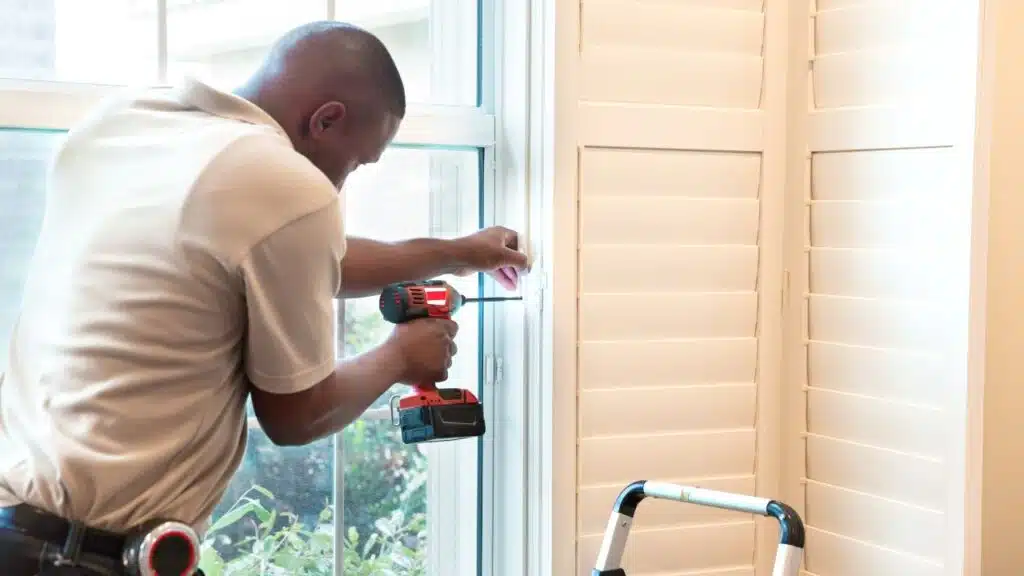
Updating window treatments is a quick way to enhance your home’s aesthetics while improving privacy and light control. Whether you choose curtains, blinds, or shades, the right window treatments can make a significant difference.
Choosing Window Treatments
- Styles and Fabrics: Select styles and fabrics that complement your decor. Sheer curtains offer lightness, while blackout curtains provide privacy.
- Functionality: Consider the functionality of the window treatments—do you need them to block light, provide insulation, or simply add decor?
Steps to Complete
- Measure Windows: Measure your windows to ensure you purchase the correct size treatments.
- Remove Old Treatments: Take down any existing curtains or blinds.
- Install New Treatments: Follow the manufacturer’s instructions for installing your new window treatments, ensuring they are level and secure.
12. Building a Fire Pit
A fire pit can transform your backyard into a cozy gathering space for friends and family. It provides warmth, light, and a focal point for outdoor activities.
Choosing a Location
- Safety First: Ensure the fire pit is located away from flammable structures and overhanging branches.
- Accessibility: Choose a location that is easily accessible for seating and gathering.
Steps to Complete
- Select a Design: Choose a fire pit design that fits your outdoor aesthetic—pre-made kits are available, or you can create a DIY version with stones or bricks.
- Prepare the Area: Clear the area where the fire pit will go, ensuring it’s level.
- Assemble or Build: Follow the instructions for your chosen fire pit design, making sure it is sturdy and safe.
- Finishing Touches: Add seating around the fire pit to create a welcoming gathering area.
13. Replacing Light Switches and Outlets
Updating old light switches and outlets is a simple project that can make your home feel more modern. This upgrade enhances safety and functionality while adding a fresh touch to your decor.
Choosing Switches and Outlets
- Style and Finish: Select switches and outlets that match your home’s decor, considering options like smart switches or decorative covers.
- Functionality: Consider installing dimmer switches or USB outlets for added convenience.
Steps to Complete
- Turn Off Power: Before starting, turn off the power to the switches and outlets at the circuit breaker.
- Remove Old Switches/Outlets: Unscrew the existing switches or outlets and carefully disconnect the wiring.
- Install New Switches/Outlets: Follow the manufacturer’s instructions for connecting the wiring and securing the new switch or outlet in place.
- Testing: Turn the power back on and test to ensure everything works correctly.
14. Adding Crown Molding

Crown molding adds an elegant touch to any room, enhancing its architectural features and creating a polished look. Installing crown molding can be a satisfying DIY project that elevates your home’s design.
Selecting Crown Molding
- Style: Choose a style that complements your decor, such as traditional, modern, or ornate designs.
- Material: Consider materials like wood, MDF, or polystyrene, depending on your budget and preferences.
Steps to Complete
- Measure and Cut: Measure the walls where you’ll install the molding, cutting the pieces to fit at 45-degree angles for corners.
- Prep the Walls: Ensure the walls are clean and dry before installation.
- Attach the Molding: Use a nail gun or adhesive to secure the crown molding to the wall and ceiling.
- Finish Up: Fill any gaps or nail holes with caulk or wood filler, and paint or stain as desired.
15. Building Raised Garden Beds
Building raised garden beds is a rewarding project that allows you to grow your own vegetables, herbs, and flowers. This DIY project is perfect for gardening enthusiasts and those looking to enhance their outdoor space.
Selecting Your Materials
- Wood Types: Choose rot-resistant wood like cedar or redwood for longevity.
- Dimensions: Consider the size of your garden beds based on available space and your gardening plans.
Steps to Complete
- Choose a Location: Find a sunny spot in your yard with good drainage for your garden beds.
- Construct the Beds: Cut your wood to the desired lengths and assemble the frames, securing them with screws or nails.
- Fill with Soil: Add a mixture of quality topsoil and compost to create a nutrient-rich growing environment.
- Plant: Choose your desired plants and arrange them according to their space and sunlight requirements.
Conclusion
Completing home improvement projects doesn’t have to be overwhelming or time-consuming.
The 15 projects outlined in this article can be completed in a single day, making them perfect for busy homeowners looking to enhance their living spaces.
Whether you choose to freshen up your walls with a new coat of paint or build raised garden beds, these quick projects can significantly impact your home’s aesthetics and functionality.
Embrace your creativity, gather your tools, and get started on transforming your home today!