
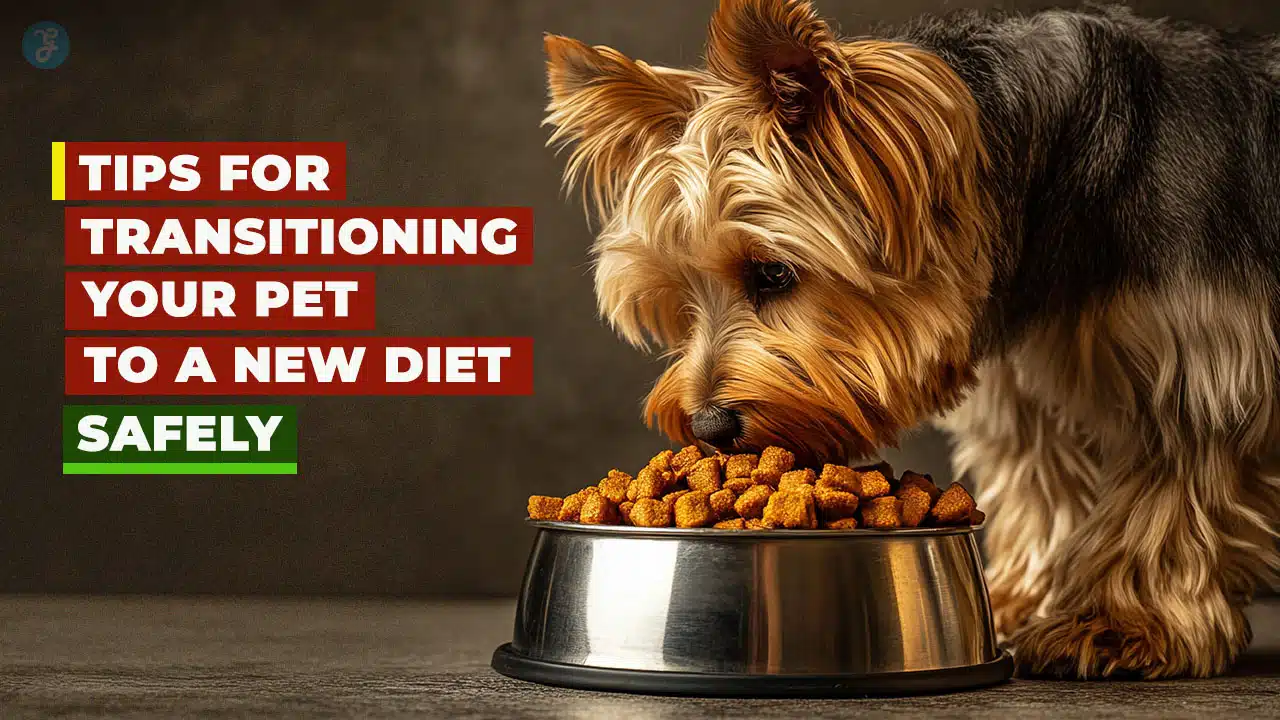
Transitioning your pet to a new diet safely is an essential part of ensuring their health and well-being. A sudden change in food can cause digestive issues, such as vomiting, diarrhea, or loss of appetite. By following a gradual and thoughtful approach, you can help your furry friend adjust to their new diet without stress or discomfort.
Whether you’re switching to a healthier option or addressing specific dietary needs, these tips will guide you through the process. This article provides five expert tips for transitioning your pet to a new diet safely, helping you make the change smooth and beneficial for your pet.
Why Transitioning Your Pet to a New Diet Safely Is Important
Making dietary changes requires careful planning to avoid upsetting your pet’s digestive system. Transitioning your pet to a new diet safely ensures that they adapt gradually, reducing the risk of health issues. Abrupt changes can lead to gastrointestinal discomfort, while a slow transition allows their body to adjust to the new ingredients.
1. Consult Your Veterinarian First
Before you start transitioning your pet to a new diet, it’s crucial to consult your veterinarian. Every pet is unique, and their dietary needs depend on factors like age, breed, size, and health conditions. A vet can recommend the best food options and provide personalized guidance.
Why Consulting a Vet Is Crucial:
| Reason | Description |
| Health Assessment | Ensures the new diet meets your pet’s specific nutritional needs. |
| Allergy Management | Identifies potential allergens in the new food. |
| Medical Guidance | Necessary for pets with chronic conditions like diabetes or kidney disease. |
For example, if your dog has food allergies or your cat has a sensitive stomach, your vet can suggest hypoallergenic diets or therapeutic options tailored to their needs.
2. Gradual Transition Is Key
Switching your pet’s food abruptly can lead to digestive upset. Instead, introduce the new diet gradually over 7–10 days. This method allows your pet’s digestive system to adapt slowly and reduces the risk of gastrointestinal issues.
Step-by-Step Transition Schedule:
| Day | Old Food | New Food |
| Days 1–2 | 75% | 25% |
| Days 3–4 | 50% | 50% |
| Days 5–6 | 25% | 75% |
| Day 7+ | — | 100% |
Benefits of Gradual Transition:
- Reduces the risk of vomiting and diarrhea.
- Helps identify any adverse reactions early.
- Allows time for your pet’s digestive enzymes to adjust.
If you notice signs of discomfort during this process, such as loose stools or lack of appetite, slow down the transition by extending each phase by a few days.
3. Monitor Your Pet’s Reaction Closely

During the transition period, it’s essential to observe how your pet reacts to the new diet. Monitoring their behavior and physical health ensures that the change is beneficial and helps identify any potential issues early.
Positive Signs:
- Increased energy levels.
- Shiny coat and healthy skin.
- Consistent appetite and normal stools.
Negative Signs:
- Vomiting or diarrhea.
- Excessive gas or bloating.
- Loss of appetite or lethargy.
Troubleshooting Tips:
- If mild symptoms occur, slow down the transition process by mixing more old food with the new one.
- If severe symptoms persist (e.g., prolonged vomiting), consult your vet immediately.
For example, cats are particularly sensitive to dietary changes and should not go without food for more than a day due to the risk of liver damage (hepatic lipidosis). Always prioritize their well-being during this process.
4. Maintain Consistency in Feeding Schedule
Consistency is key when transitioning your pet to a new diet safely. Pets thrive on routine, so maintaining regular feeding times and habits helps reduce stress during dietary changes.
Tips for Maintaining Consistency:
- Feed at the same times each day.
- Use familiar feeding bowls and locations.
- Avoid introducing other changes (e.g., new treats) during the transition period.
Consistency also makes it easier to monitor how your pet reacts to the new diet since other variables remain constant.
5. Add Toppers or Mixers if Needed
If your pet is hesitant about trying their new food, adding toppers or mixers can make it more appealing while ensuring they consume enough nutrients during the transition.
Examples of Toppers:
| Topper Type | Benefit |
| Wet Food | Adds moisture and flavor to dry kibble. |
| Bone Broth | Enhances taste while providing hydration. |
| Freeze-Dried Treats | Encourages eating by adding texture and aroma. |
Tips for Using Toppers:
- Choose toppers that align with your pet’s caloric requirements.
- Avoid overfeeding by consulting your vet about appropriate portion sizes.
- Gradually reduce toppers as your pet becomes accustomed to the new food.
For example, adding low-sodium chicken broth can make dry kibble more enticing for dogs while keeping them hydrated.
Takeaways
Transitioning your pet to a new diet safely requires patience, observation, and careful planning. By consulting your veterinarian, making gradual changes, and monitoring your pet’s reactions, you can ensure a smooth adjustment. Every pet is unique, so tailor the approach to their specific needs for the best results.
If you’re planning on transitioning your pet to a new diet safely, start today by consulting with a trusted veterinarian and following these steps for a seamless transition!