
Hey there, are you worried about keeping your company’s data safe from unauthorized access? It’s a big deal, since role-based access control, or RBAC, is a top way to protect sensitive information based on employee roles.
In this post, I’ll walk you through seven easy steps to set up a secure user role and permission system. Stick around, let’s fix this together!
Key Takeaways
- Set up user roles by listing all jobs, like Call Agents or Developers, to control access.
- Map permissions with the least privilege rule, such as “View Data” in Microsoft Defender, to keep risks low.
- Use Role-Based Access Control (RBAC) to limit access, ensuring security for data.
- Automate tasks with tools like TeamPassword to save time and cut errors in permission management.
- Update roles often, especially with Unified RBAC starting February 16, 2025, for new Microsoft Defender users.
Identify and Define User Roles

Spotting who does what in your organization is the first big step to building a secure system. Let’s break it down, folks. You need to look at every job and figure out the specific tasks each person handles.
Think of it like sorting puzzle pieces; each role fits a certain spot. Start by listing all the current roles within your company. This helps you see the full picture of access needs and control.
Take a call center, for example, where roles like Call Agents, Supervisors, QA Staff, and IT Support each have distinct duties. Same goes for a software development company with Developers, Testers, Project Managers, and System Administrators.
Defining these user roles clearly sets the stage for solid role-based access control, or RBAC. It’s like giving everyone the right key, not a master key, to keep things safe and tight in terms of access management and data protection.
Map Permissions to Each Role
Hey there, let’s chat about setting up permissions for different roles. Mapping these out is a key step in keeping your system safe and smooth.
- First off, grab a clear picture of what each role needs to do, like accessing databases or tweaking settings. Think about a role in Microsoft Defender, where someone might only need “View Data” access. This means they can see info but can’t change anything. It keeps things tight and secure.
- Next up, list out every task tied to a role, from checking alerts to running remediation actions. For instance, a role with “Alerts Investigation” permission in Microsoft Defender can dig into security issues. Be specific here, so there’s no guesswork later on.
- Then, match permissions to roles using the principle of least privilege. Give just enough access, like limiting someone to “Security Baselines” instead of full control over portal settings. This cuts down on risks from insider threats or data breaches.
- Also, think about tools like access control lists (ACLs) to define who gets what. Picture a gatekeeper checking IDs; that’s how ACLs work with user permissions. They help lock down stuff like patient records or source code from prying eyes.
- Don’t forget to double-check permissions, especially for big systems like servers or banking apps. A role with “Live Response Capabilities” in Microsoft Defender can act fast on threats. Make sure this power isn’t handed out like candy to avoid security vulnerabilities.
- Lastly, sketch a simple chart or use software to map roles to access rights. Link a role to something like “Manage Portal System Settings” if they need it. This visual aid helps spot gaps or overlaps in your access management plan.
Apply the Principle of Least Privilege
Let’s chat about a key idea in access control, folks. The principle of least privilege means giving users only the access they need to do their jobs, nothing more. Think of it like handing out keys to a house; you wouldn’t give someone the key to every room if they just need the kitchen.
This approach boosts security by cutting down on risks from insider threats or mistakes. It limits resource access based on user roles, keeping your system safe.
Stick to this rule, and you’ll dodge big headaches. Excessive permissions can lead to security gaps, so regular audits are a must to spot and fix issues. Train your team to grasp why this matters, and keep access tight with role-based access control (RBAC).
Picture it as a safety net, catching problems before they grow. Stay sharp, and monitor who has what access to prevent vulnerabilities.
Implement Role-Based Access Control (RBAC) Policies
Hey there, readers, let’s talk about setting up Role-Based Access Control, or RBAC, policies. This method is like handing out specific keys to different doors in a vast building.
RBAC assigns access levels suited to particular roles, ensuring folks can only enter the areas necessary for their job. Visualize a guard at the entrance, inspecting badges to determine who can access which zone.
That’s how RBAC limits network access and permissions based on employee roles, maintaining a secure and organized system.
Now, imagine designing these RBAC policies as constructing a strong barrier around your data. You determine who can cross over to view what’s inside, based on their position or responsibility.
It’s an effective strategy to prevent insider risks and handle user permissions smoothly. Consider tools like access control lists (ACLs) as your aid in defining these limits. So, get ready, create firm RBAC policies, and see how managing access turns into a simple task.
Assign Roles to Users and Groups
Let’s talk about assigning roles to users and groups, folks. It’s a key step in keeping your system safe and smooth.
- First off, start by signing in with the Security Administrator role, because you need the right access to make changes. This means logging into your platform, like Microsoft Entra, with the proper credentials. Without this, you can’t assign anything, so get that sorted right away.
- Next up, head to the settings area, specifically SETTINGS > ENDPOINTS > ROLES, to find where roles are managed. This spot in your system is like the control room for access management. You’ll see all the roles listed there, ready for action.
- Then, assign roles to users directly for quick setups in access control. Pick a user, match them with a role, and boom, they’ve got the permissions tied to it. This works great for small teams or solo workers needing specific user permissions.
- Also, assign the role to a Microsoft Entra Security group for bigger crews. Grouping users under one umbrella makes managing role-based access control, or RBAC, a breeze. Imagine herding cats; groups make it less chaotic.
- Don’t forget to double-check each assignment for accuracy in access controls. A wrong role can open doors to insider threats, kinda like giving a fox the keys to the henhouse. Take a second to confirm who’s getting what.
- Lastly, keep user experience in mind while setting up these roles and groups. If access feels like a maze, folks get frustrated fast. Make it simple, clear, and tied to their job needs under the principle of least privilege.
Use Automation for Role and Permission Management
Hey there, readers, let’s chat about making life easier with automation for role and permission management. Think of it like setting up a trusty robot to handle the boring stuff.
Using automated tools for access management can save you tons of time. They help assign user roles and permissions without the headache of doing it by hand. Plus, they cut down on errors that sneak in when humans mess up.
Tools like TeamPassword also boost your security game. They keep passwords safe and make sure only the right folks get access. Automation helps with continuous role review too, so you’re always on top of things.
It streamlines access control policies and fights off insider threats. Stick with this approach, and managing user permissions becomes a breeze.
Monitor and Audit Role Assignments Regularly
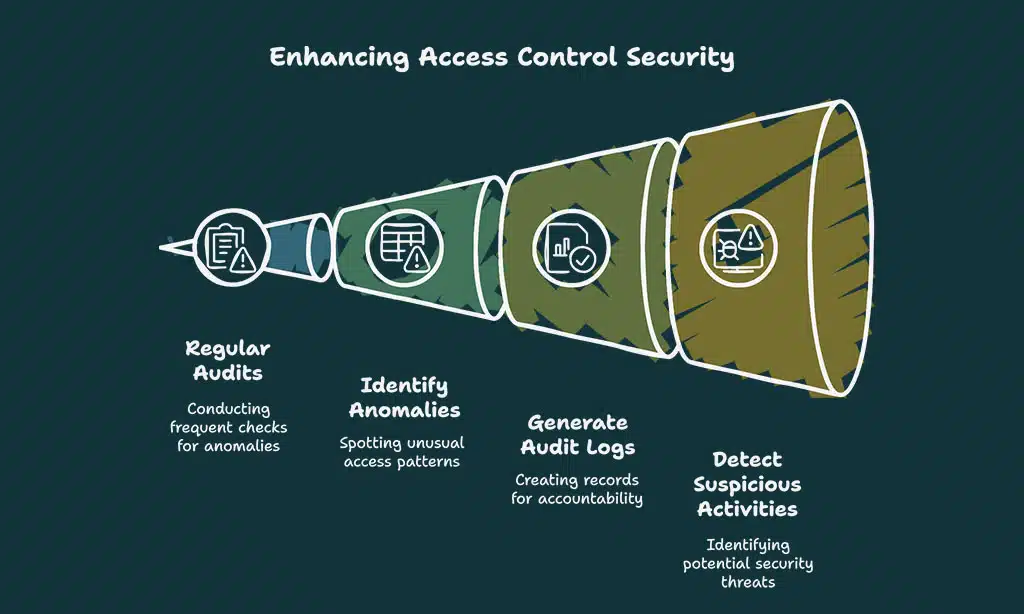
Keeping an eye on user roles is a big deal, folks. You’ve got to check role assignments often to catch any slip-ups in access control. Regular audits help spot weird stuff, like someone having too much power in the system.
Think of it as a security checkup, making sure your access management stays tight. With insider threats lurking, these audits are your first line of defense.
Dive right into generating audit logs for accountability, okay? They track every move, creating clear trails for compliance reporting. Suspicious activities? You’ll see them pop up fast in those logs.
Simplified auditing makes this a breeze, helping you stay on top of permissions management. Stick with this habit, and your role-based access control will be rock solid.
Address and Resolve Conflicting Permissions
Spotting conflicting permissions can feel like finding a needle in a haystack, but it’s a must for a smooth user role system. Let’s say two roles overlap, like a manager and a team lead both having access to edit payroll data.
This clash in access control can spark chaos or even insider threats. Start by mapping out every role and their permissions, clear as day. Use tools like an access control list (ACL) to see where overlaps hide.
Don’t let these slip through; identify bottlenecks early, just as the pros do, and craft plans to fix them fast.
Fixing these conflicts needs a steady hand, not a wild guess. Assign a primary admin or owner to call the shots and avoid messy disputes over who controls what. Stick to the 80/20 rule here, folks, by consolidating roles to dodge role explosion in your organizational structure.
If a glitch pops up in permissions management, tackle it head-on with role-based access control (RBAC) strategies. Keep your system tight and secure by sorting out these hiccups before they grow into bigger risks.
Update Roles and Permissions as Needed
Hey there, let’s chat about keeping your user roles and permissions fresh. Things change fast in any system, and access control needs to keep up. Maybe a team member switches jobs, or a project wraps up.
If roles stay the same, you risk insider threats sneaking in. So, make it a habit to tweak user roles and permissions as soon as shifts happen.
Check this out, pals, especially if you’re using Microsoft Defender for Endpoint. Starting February 16, 2025, new customers will jump into Unified Role-Based Access Control, or URBAC.
This setup pushes for constant role reviews and even automates some tasks. Stay on top of it with regular check-ins, and use automation to handle access management. That way, your system stays tight with the principle of least privilege, blocking any unwanted access.
Takeaways
Wrapping up, let’s keep it real about securing your user role and permission system. A tight setup with tools like role-based access control (RBAC) can shield your data from sneaky insider threats.
Think of it as locking your front door, simple but smart. Got a question or a funny story about access gone wrong? Drop it below, and let’s chat!
FAQs
1. What’s the big deal with role-based access control in a permission system?
Hey, let me tell you, role-based access control, or RBAC, is like the gatekeeper of your digital castle. It makes sure only the right folks, with specific user roles, get into certain areas, keeping insider threats at bay. Think of it as handing out keys only to those who need them, based on strict access control policies.
2. How does the principle of least privilege fit into user permissions?
Listen up, the principle of least privilege is your best buddy in permissions management. It means giving folks just enough access to do their job, no more, no less, whether they’re on email or working via remote work setups.
3. Can attribute-based access control make my system safer?
Absolutely, attribute-based access control, or ABAC, adds an extra layer of safety by looking at specific traits of users before granting access. It’s like a bouncer checking IDs and outfits before letting you into the club. This ties into access management by matching rules to user details, cutting risks in information security.
4. Why bother with mandatory access control for my team’s browser access?
Well, mandatory access control, often called MAC, is like setting unbreakable rules for who can peek at what on a browser or portable executable file. It’s a top-down approach in access control, making sure even the sneakiest insider threats can’t overstep.
5. How do I keep track of user roles without losing my mind?
Haha, I get it, juggling user roles and access control can feel like herding cats! Start with a clear inventory of who does what, tie it to role-based access controls, and use tools for risk management to stay on top of it. Regularly check in, maybe during quality assurance or QA sessions, to keep those permissions tight and right.