Migrating your website to a Virtual Private Server (VPS) is a major step toward boosting your website’s performance, scalability, and security.
Whether your site has outgrown shared hosting, or you’re simply looking to improve speed and control, moving to a VPS can provide many benefits. However, successful migration requires thoughtful planning and execution to avoid downtime, data loss, or performance issues.
In this comprehensive guide, we’ll walk you through 8 essential things to do before migrating your website to VPS.
These proactive steps will help you avoid common pitfalls and ensure that the transition is smooth, efficient, and beneficial for both your website and its users.
1. Assess Your Website’s Current Performance
Before migrating to a VPS, it’s important to fully understand your website’s current performance. By assessing your site’s existing traffic, resource consumption, and any potential bottlenecks, you’ll be in a better position to choose the appropriate VPS hosting plan that aligns with your needs. This step is critical for ensuring that the VPS provides a substantial improvement over your current hosting solution.
Review Website Traffic and Usage
Understanding your website’s traffic is crucial for making the right hosting choice. Higher traffic websites require more resources (CPU, RAM, and bandwidth), and you need to know how much your site currently uses to predict future needs.
Tools for Website Performance Analysis:
- Google Analytics: Tracks user behavior, including page views, bounce rates, and traffic sources. This tool provides insights into your most visited pages and traffic spikes.
- GTmetrix/Pingdom: Analyzes page load time, identifies slow-loading elements, and provides recommendations for improving performance.
Evaluate Resource Consumption (CPU, RAM, Bandwidth)
When considering the things to do before migrating your website to VPS, ensure that you examine your current server resource usage. This is critical for selecting a VPS plan that meets your performance expectations and doesn’t lead to over-provisioning or underutilization.
| Resource | How to Assess | Why It Matters |
| CPU | Use server monitoring tools or check hosting control panel for CPU usage statistics. | If your site consumes a lot of CPU, your VPS will need more processing power for optimal performance. |
| RAM | Monitor RAM usage during peak traffic periods using tools like New Relic or cPanel. | Adequate RAM is essential for managing large traffic spikes and resource-heavy applications. |
| Bandwidth | Check your hosting provider’s stats for bandwidth usage or use tools like Bandwidth Monitor. | High traffic requires significant bandwidth to avoid throttling and slow speeds. |
Example: If your current website runs resource-heavy CMS like WordPress with numerous plugins, a VPS with higher CPU and RAM allocation may be necessary to maintain optimal performance.
2. Backup Your Website Data

Website backups are an absolute must before any migration. Even with careful planning, issues can arise, such as data corruption or server misconfiguration. Backing up your website ensures that, in the worst-case scenario, you can restore your site to its previous state without losing any valuable data.
Full Website Backup vs. Partial Backup
- Full Website Backup: A complete backup includes all website files, databases, and configurations, ensuring that nothing is left behind.
- Partial Backup: Typically involves backing up just key files, such as databases or specific directories. While faster, this is riskier in case something is missed.
Backup Solutions and Tools for VPS Migration
| Tool/Method | Description | Pros |
| UpdraftPlus (for WordPress) | Plugin for automated backups and restoration. | Easy to use, reliable, offers scheduled backups. |
| cPanel Backup | cPanel’s native backup solution, typically offered by most hosting providers. | Supports full and incremental backups, easy to restore. |
| FTP/SFTP Backup | Manually copying files via FTP to a remote server. | Offers full control, but requires technical expertise. |
Tip: Always test your backups. Restoring them on a staging server or local environment ensures they’re working as expected. This step is critical to prevent data loss during migration.
3. Choose the Right VPS Hosting Plan
Choosing the right VPS hosting plan is essential to ensure your website performs optimally after migration. The wrong choice can lead to slow load times, frequent crashes, or excessive resource consumption. Factors like traffic patterns, website complexity, and required resources should guide your decision.
Determining Your Hosting Requirements
Here’s how to determine the specific needs of your website and match them with the right VPS plan:
- Traffic: Estimate average monthly visitors, spikes, and the resources needed to handle them.
- CMS/Software: Determine what software your website runs on (e.g., WordPress, Magento, or custom applications) and make sure the VPS can support them.
- Growth Potential: Choose a VPS plan that allows easy scalability for future traffic spikes or additional features.
| Factor | What to Consider | VPS Plan Recommendation |
| Traffic | Average visitors and peak loads | VPS with scalable CPU and RAM resources |
| Website Type | Static vs. dynamic sites, CMS requirements | Managed VPS if using complex CMS like Magento |
| Data Storage | Amount of website data (images, videos, etc.) | VPS with ample storage, consider SSD for faster access |
Managed vs. Unmanaged VPS Hosting
- Managed VPS: Your hosting provider handles server updates, security, and performance optimizations, making it ideal for non-technical users.
- Unmanaged VPS: Offers more control over server configuration but requires technical expertise for setup, security, and maintenance.
Example: A growing e-commerce store running Magento will benefit from a managed VPS to avoid handling server maintenance tasks, whereas a developer working on a custom website may prefer an unmanaged VPS for more flexibility.
4. Check for Compatibility with VPS Environment
Not all websites are built the same. Some rely on certain server configurations or software versions that might not be immediately compatible with a VPS. Ensuring compatibility is a key step in making sure your site runs smoothly on its new server.
Ensure Your Website’s Software is Compatible
If you’re using a specific version of PHP or an application that relies on certain server features, you’ll need to verify that your new VPS environment can support them. Compatibility checks should be done before migrating.
Common Compatibility Issues:
- PHP version mismatch: If your website relies on a specific version of PHP and your VPS runs an older or newer version, it could cause compatibility issues.
- Database Configuration: Make sure your VPS is set up to handle your website’s database (e.g., MySQL, MariaDB).
| Issue | Potential Consequence | How to Fix |
| PHP version | Errors in site functionality or incompatibility | Install or update PHP to the required version. |
| Database server | Database connection failures | Ensure your VPS supports the required database system (e.g., MySQL or PostgreSQL). |
Review Server Software for Compatibility
For example, if you’re running Apache with mod_rewrite on your current server, make sure your VPS supports Apache or consider switching to Nginx if performance improvements are needed.
5. Optimize Your Website Before Migration
Before migrating, it’s important to optimize your website to ensure it performs better on the new VPS. This will not only make the migration smoother but also help ensure your website runs as efficiently as possible on the new server.
Speed Optimization for Better Performance
Site speed impacts user experience, SEO rankings, and conversion rates. Optimizing your website before migration is essential to take full advantage of your new VPS.
Key Speed Optimization Techniques:
- Image Compression: Tools like TinyPNG can compress images without reducing quality, helping your site load faster.
- Caching: Set up browser caching to reduce load times for returning visitors.
- Minify CSS, JavaScript, and HTML: This reduces the file size of your site’s assets, speeding up page load time.
| Optimization Technique | Tool/Method | Impact |
| Image Compression | TinyPNG, Smush Image Compression | Reduces load time, improves user experience. |
| Caching | W3 Total Cache (WordPress), Nginx Cache | Speeds up returning visitors’ experience. |
| Minification | Autoptimize (WordPress), Gulp (for developers) | Reduces file size, improving load time. |
Security Considerations (SSL, Firewall, etc.)
Security should be top of mind before migrating to VPS. Install an SSL certificate for HTTPS and enable a firewall to block malicious traffic. Keep your software up to date, as outdated applications can lead to vulnerabilities.
6. Update and Test Your DNS Settings
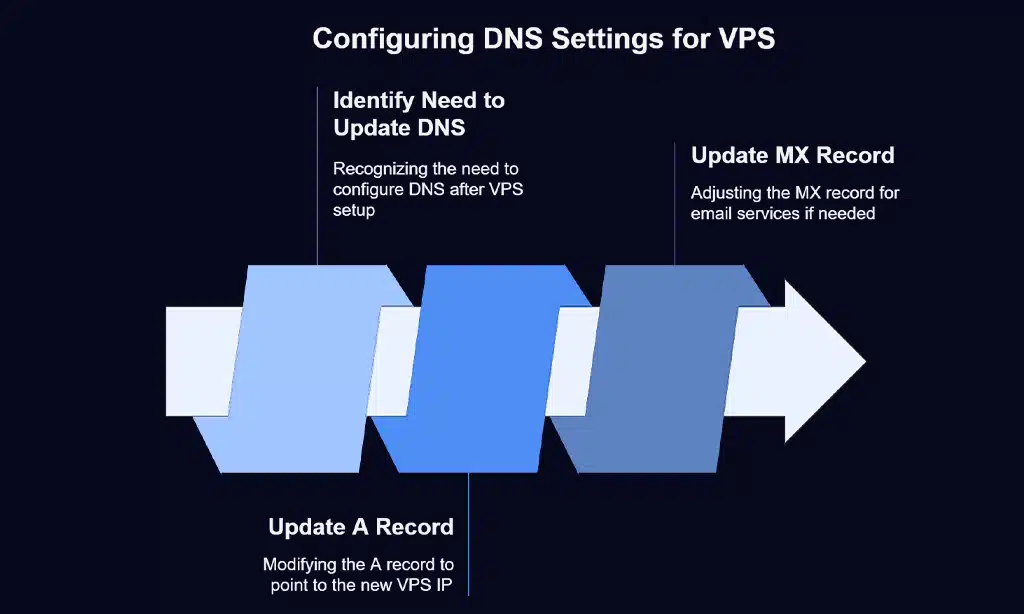
Once you’ve set up your new VPS, it’s time to configure DNS settings. The Domain Name System (DNS) is responsible for directing web traffic to your site, and incorrect DNS settings can lead to downtime or issues with accessing your website.
Importance of Updating DNS Records Correctly
When you migrate to a VPS, you’ll likely need to update your A record, which connects your domain name to your server’s IP address. Misconfiguring these records can result in visitors being directed to the wrong server or a “site not found” error.
| DNS Record | Purpose | How to Update |
| A Record | Points domain to server’s IP address | Update with new VPS IP in your registrar’s control panel. |
| MX Record | Defines mail server for email services | Update for email-related services, if necessary. |
7. Plan for Website Downtime
While migrating your website, some downtime is inevitable. However, by planning carefully, you can minimize disruption to your users and ensure a smooth transition.
Managing Downtime During Migration
Plan your migration during off-peak hours when your website sees the least traffic. You can also display a “Coming Soon” page or message to let visitors know your site will be back shortly.
Notifying Your Users About Migration
Transparency is crucial during a migration. Provide users with a heads-up via email, social media, or an on-site notification to reduce frustration.
8. Test Your Website on VPS Before Going Live
Before switching your DNS to point to the new VPS, thoroughly test your website on the new server. This is your final chance to catch any potential issues before they impact your users.
Final Pre-Migration Test Checklist
| Test | What to Check |
| Website Speed | Run speed tests to compare with previous hosting. |
| Functionality | Ensure all website features (forms, buttons, etc.) work properly. |
| Mobile Optimization | Test your site on mobile devices to ensure responsiveness. |
Wrap Up
Migrating your website to VPS is a great step toward improving performance, security, and scalability. By following these 8 things to do before migrating your website to VPS, you can ensure a smooth, hassle-free transition.
From assessing your current performance to optimizing your website and configuring DNS settings, each step is crucial for a successful migration. Prepare well, test thoroughly, and soon your website will be running faster, safer, and more efficiently than ever before.