
GoDaddy is the world’s largest domain name registrar, offering a wide range of products and services. Their services include hosting, website management, email hosting, DNS management and more. It has helped millions of businesses become more successful online.
GoDaddy Email is an email hosting service that can send and receive emails with a custom domain. With GoDaddy Email, you’ll be able to access your email on the go with iOS and Android apps. GoDaddy Email helps you set up a professional email account very easily. With the GoDaddy Email Plan Essentials, for example, you can create email accounts based on your domain name (Example: tim@guru99.com) and sync your contacts across all mobile devices.
Email Types Provided by GoDaddy
Here are the essential types of professional email plans provided by GoDaddy:
Professional Email
GoDaddy is offering an entry-level professional email plan. It helps you build your brand and show the world that you mean business with a domain like you@yourdomain.com.
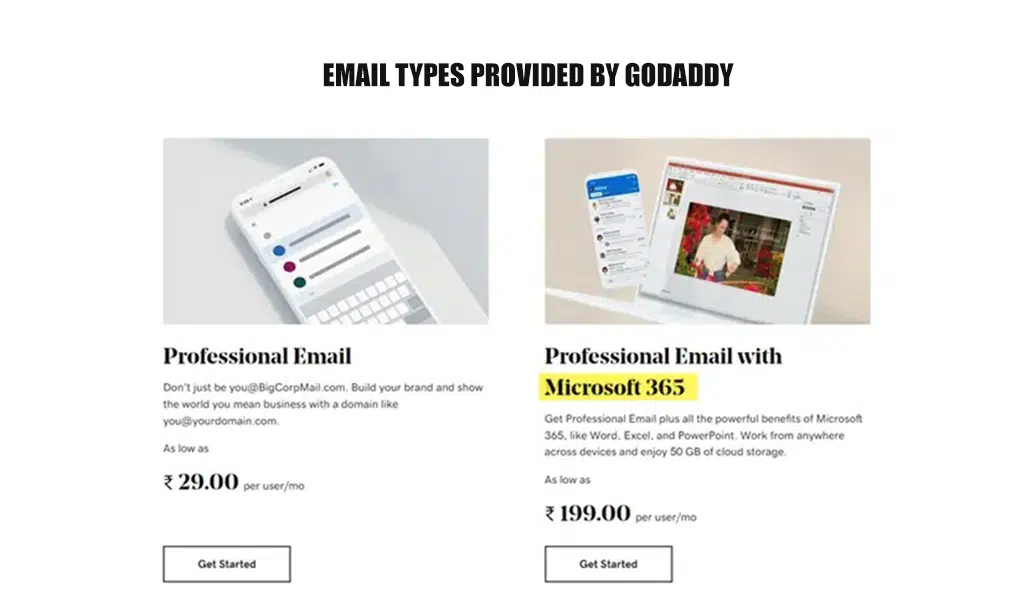
Professional Email Microsoft 365
With this GoDaddy plan, you’ll get Professional Email and all the benefits of Microsoft 365 products like Word, Excel, and PowerPoint. Plus, you’ll get 50GB of free cloud storage.
How to configure GoDaddy email on your desktop?
The GoDaddy email setup has been designed so that a user of any age and background can easily create their professional email address by following the simple instructions given on the page.
Part 1: Purchase Godaddy Email
Step 1: Go to Go Daddy Website
And select the start button.
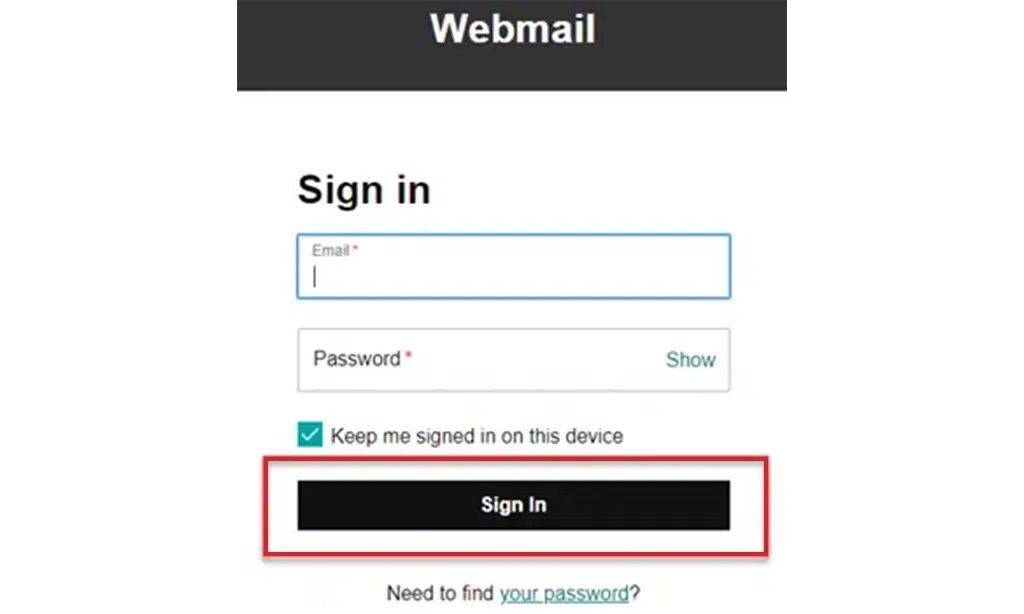
Step 2: Sign in to your GoDaddy professional account.
Under Registered Users, select Sign in.
Step 3: Select your professional email plan
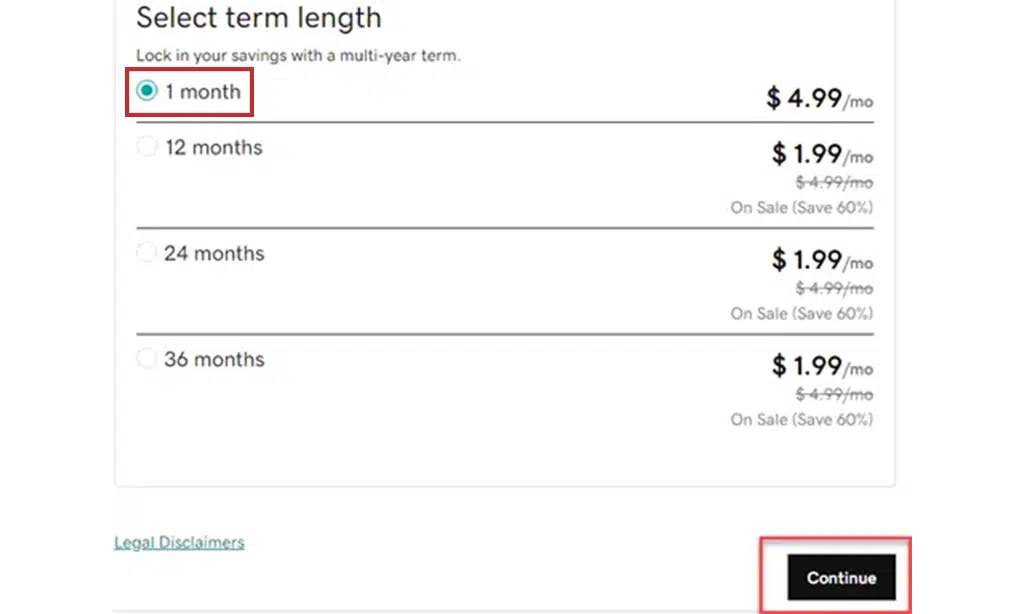
In this case, I have selected a 1-month plan.
Step 4: Enter Payment details.

Enter your credit card details, such as card number, expiration date, security code, etc.
Step 5: Enter the billing details.
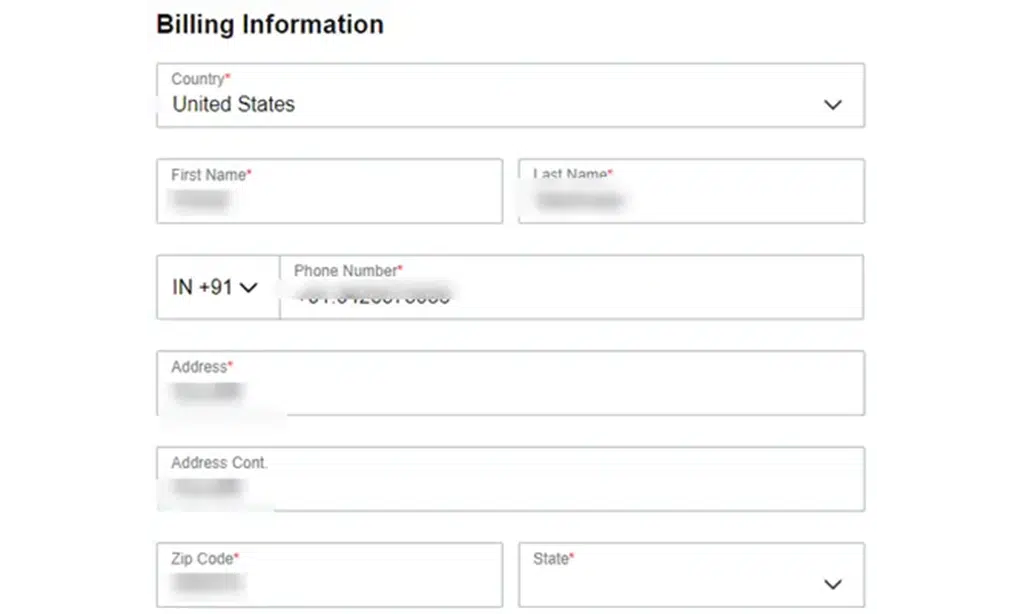
Engage billing details like country, first name, last name, phone number, address, zip code, etc.
Step 6: Once the entire payment process is completed, create an account.
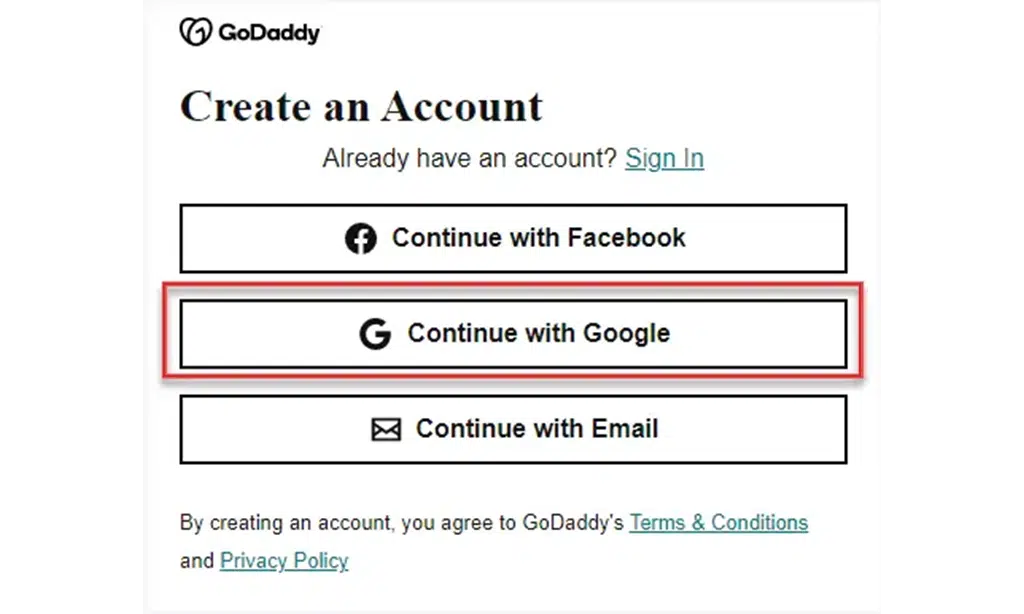
Here, I have selected the Continue with Google option.
Step 7: Enter the name of your email ID.
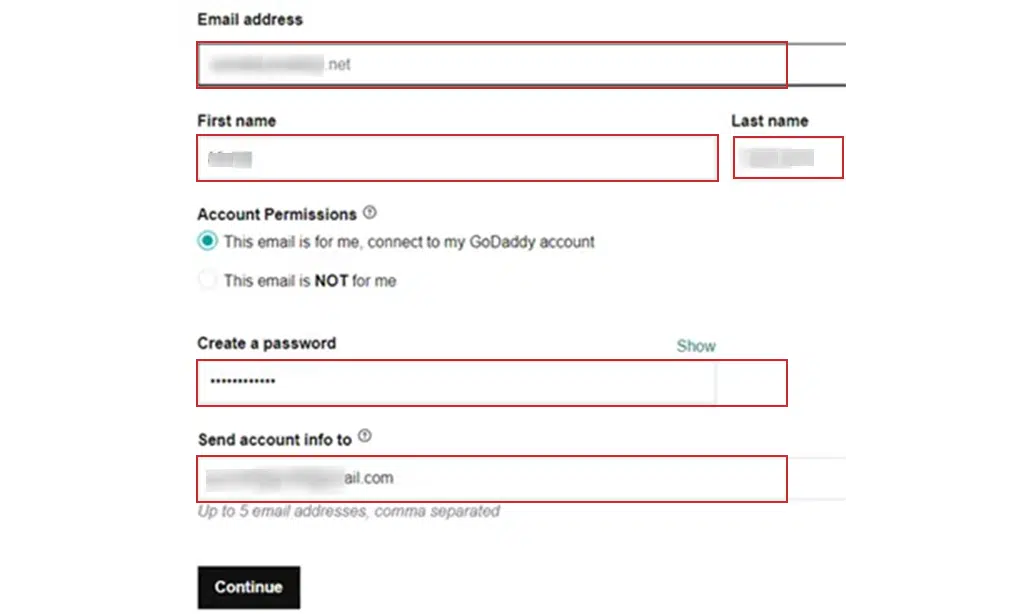
Select the desired name from your email address.
Part 2: Configure Email
Email Setup is a 6-step process.
Step 1: Select your domain
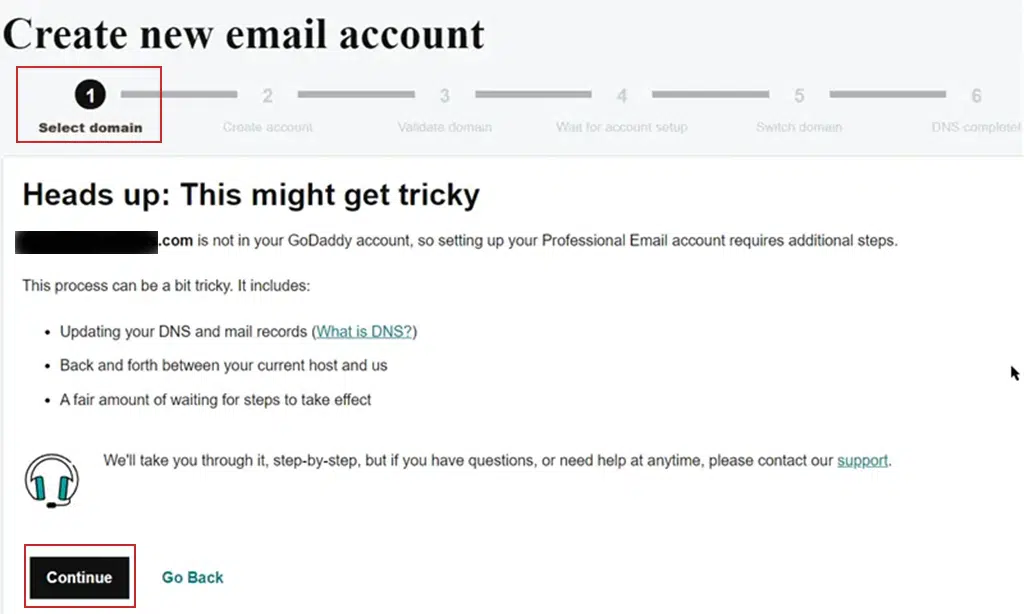
To create a new, personalized GoDaddy email account.
Step 2: Insert the details.
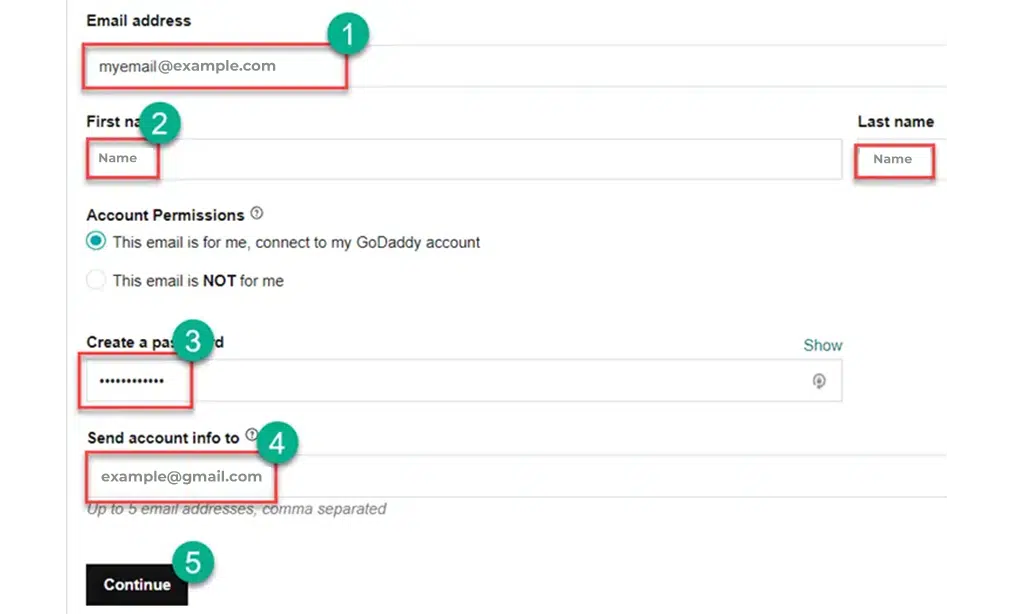
- Enter your desired email alias
- Enter the first and last name that will be displayed for the newly created Email
- Enter a strong password
- Login Send account information to Email. This is the email address where email settings are sent.
- Click the Continue button
Step 3: Verify domain ownership and update the mail server.

In the next step, you will be asked to verify if you own the domain in question. You will then need to configure a TXT record on your DNS host.
However, if you purchased your domain from GoDaddy, this step will be automatically skipped. Otherwise, you can always take advantage of GoDaddy technical support for this.
Step 4: Configure MX records.
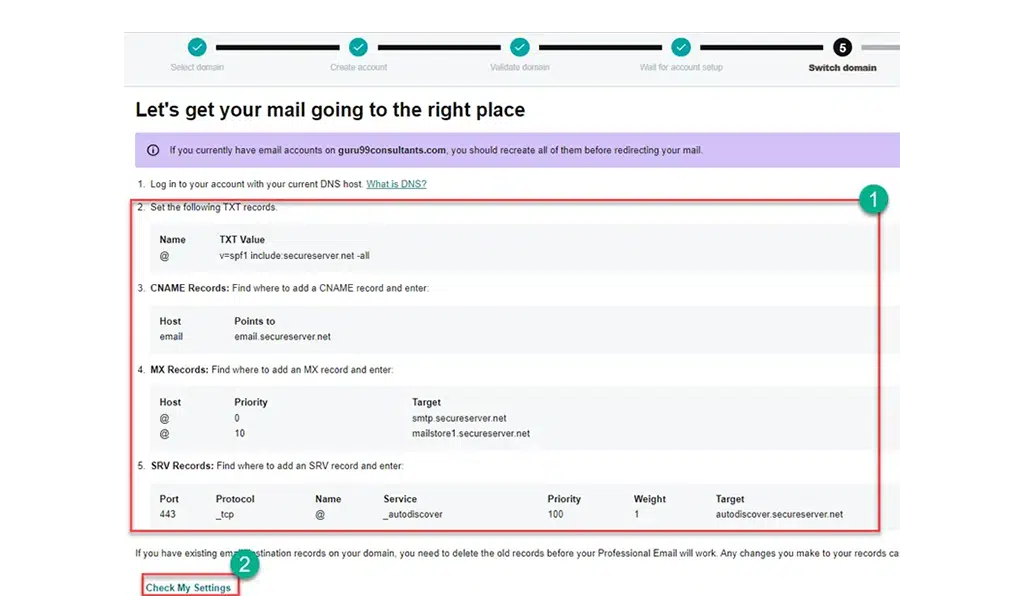
This step is quite challenging. To complete this step, you can take the help of Godaddy support. You need to configure the followingwing records in your DNS and click Check My Settings.
The DNS change propagation can take up to 24 hours to propagate, so you may have to wait.
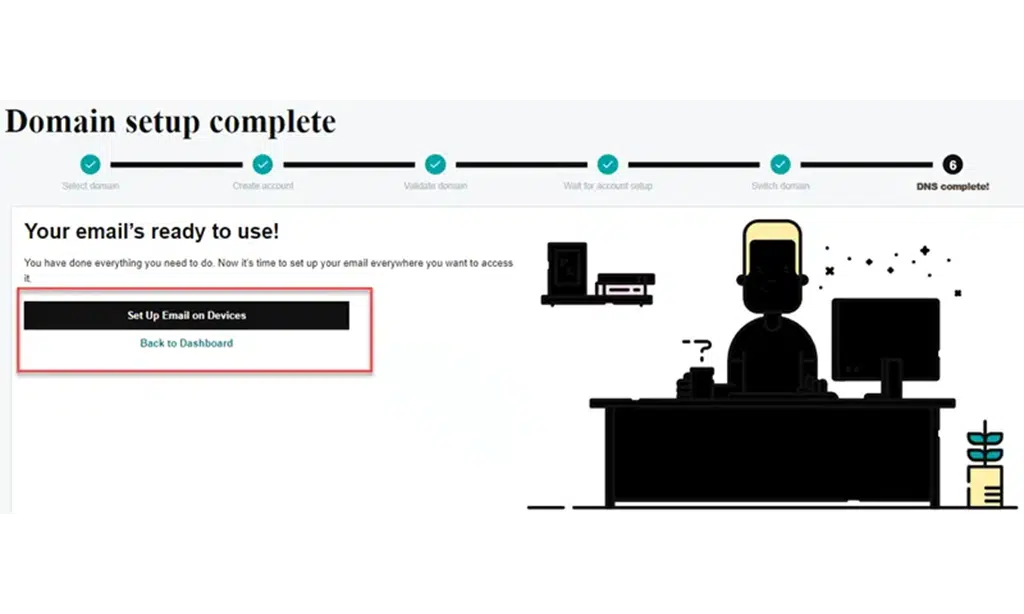
Step 5: Once the propagation process is completed and the records are updated, you will see the following message:
Part 3: Compose and send an email using GoDaddy Webmail
Step 1: On the GoDaddy email Application website
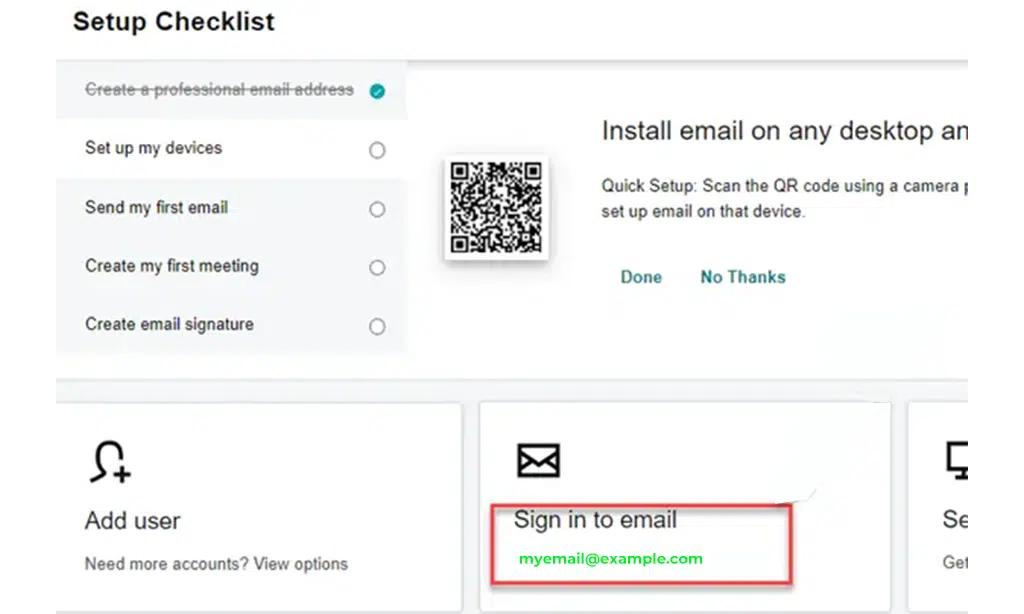
Click Sign in for email.
Step 2: Select and set your time zone.
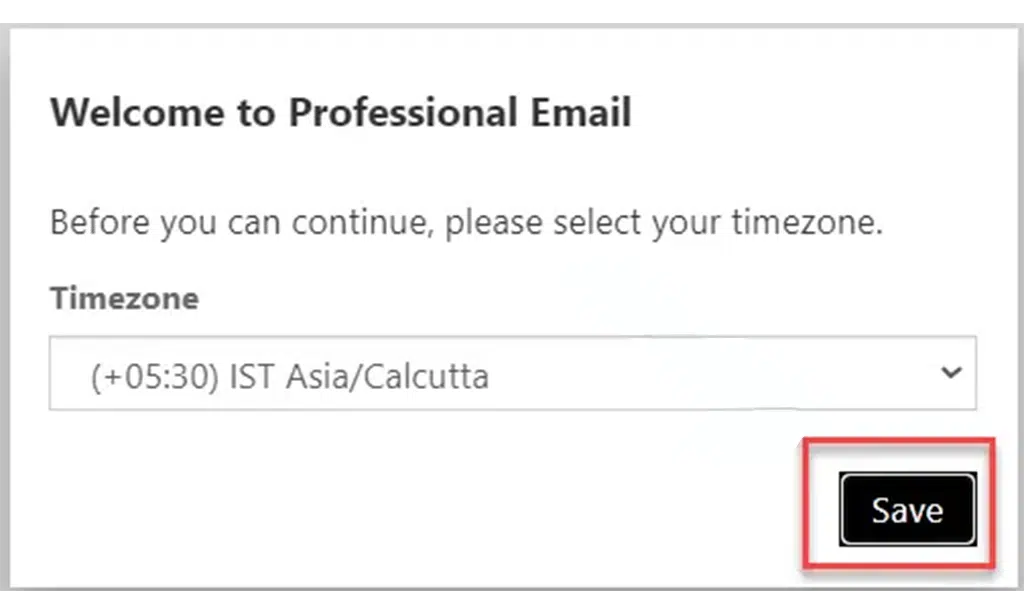
As a new user, you will be asked to select your time zone.
Step 3: Write a professional email.
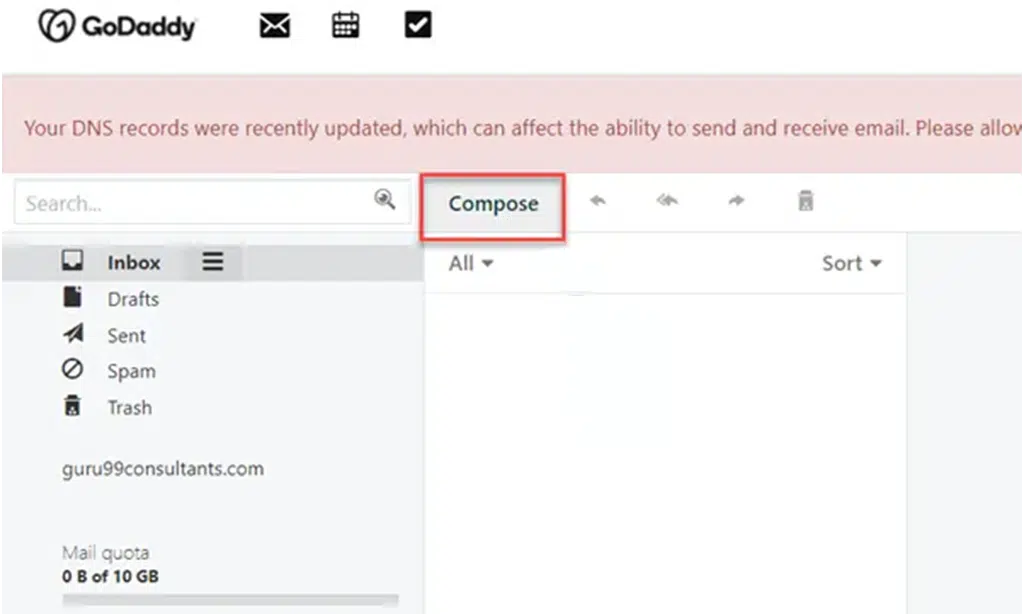
Click on the compose option.
Step 4: Send a test message.
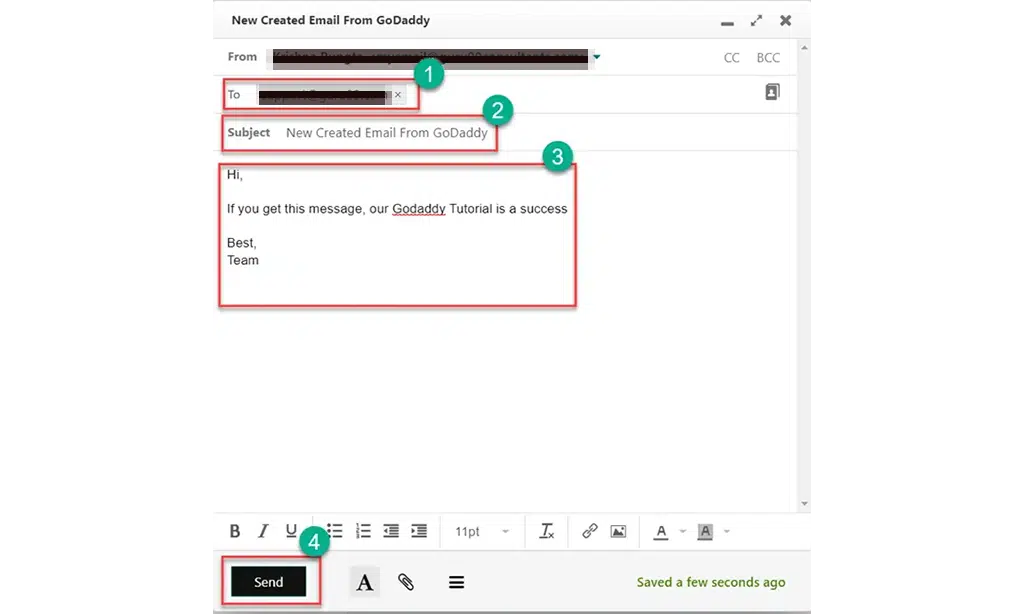
- Enter the recipient’s email address
- Enter Subject
- Enter the email body.
- Click on the “Send” button to send an email
Step 5: Open the inbox.
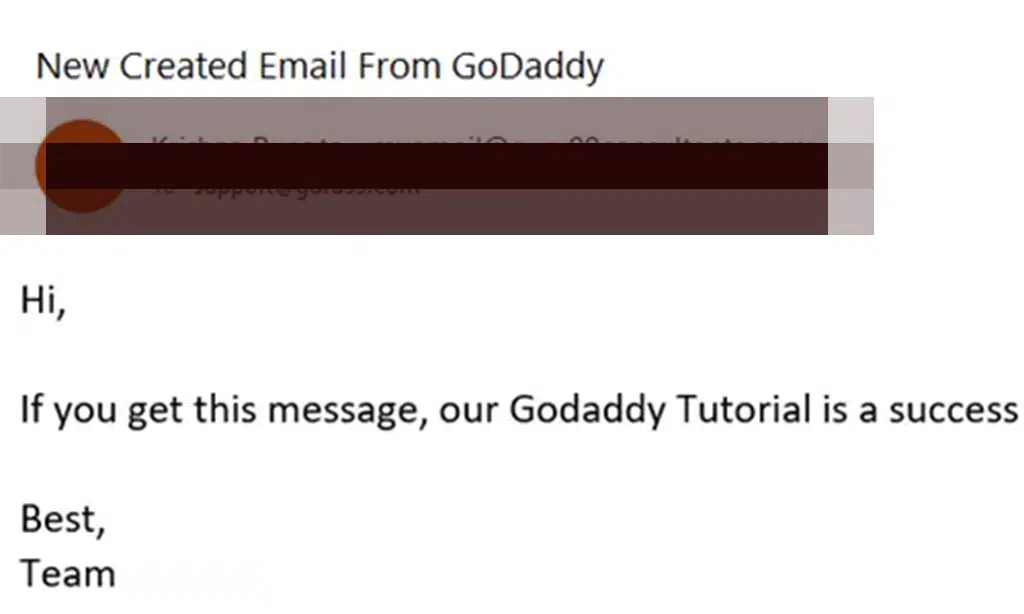
Open the recipient mailbox, and you will see the message.
How to configure GoDaddy Email on mobile
Step 1: Open an Android/iPhone Email Client of your choice.
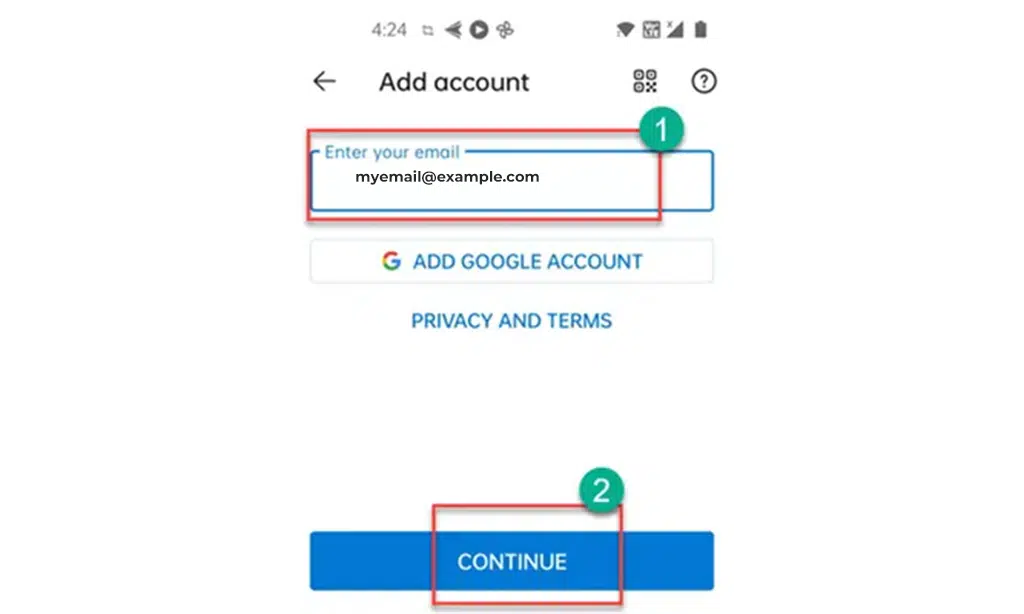
We are using Microsoft Outlook.
- Click Add Account
- Click on the Continue button
Step 2: Connect to IMAP, POP or SMTP servers.
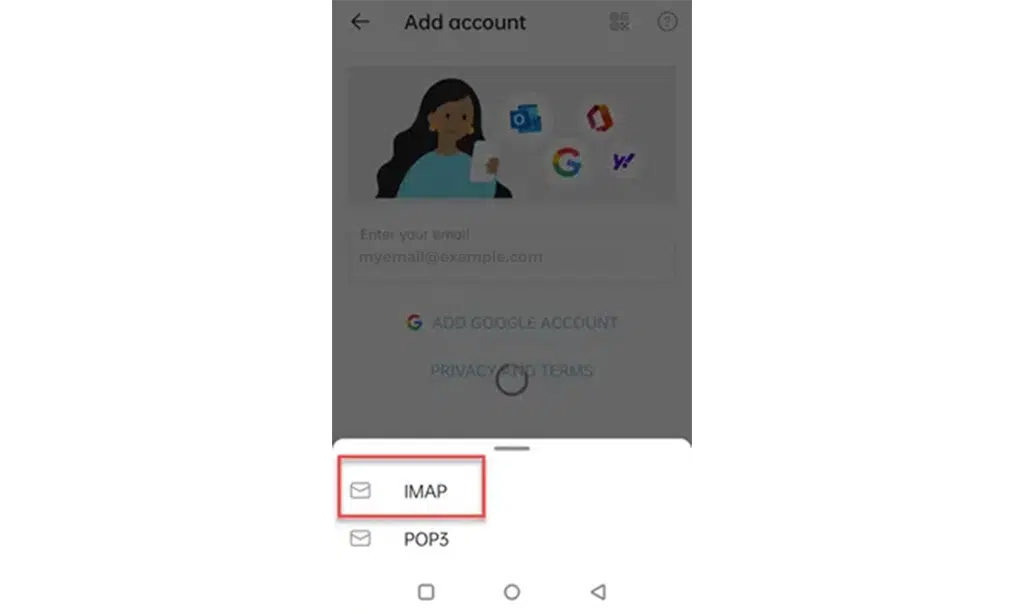
Select IMAP from the pop-up menu.
Step 3: Enter your mobile Outlook password.

On the next screen, enter your password. You are now connected!
How to use GoDaddy Email on desktop with MS Outlook?
Step 1: Open your favorite email client on your Android phone. In this case, I am using Outlook.
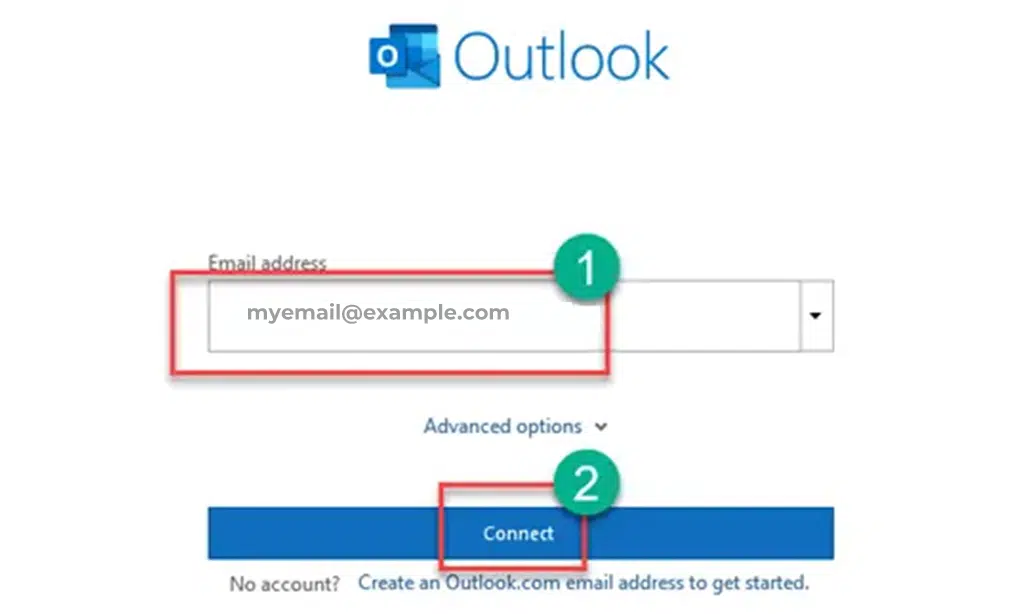
Go to Files > Add Account
- Add Email Address
- Click Connect
Step 2: Enter your IMAP account password.
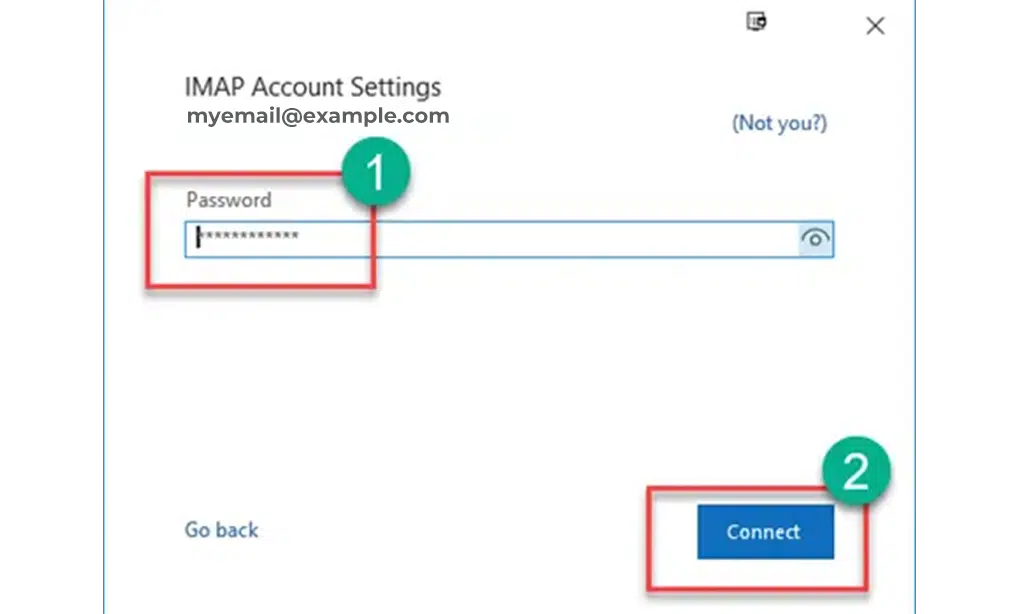
- Enter the password you had created for the email id
- Click the Connect button
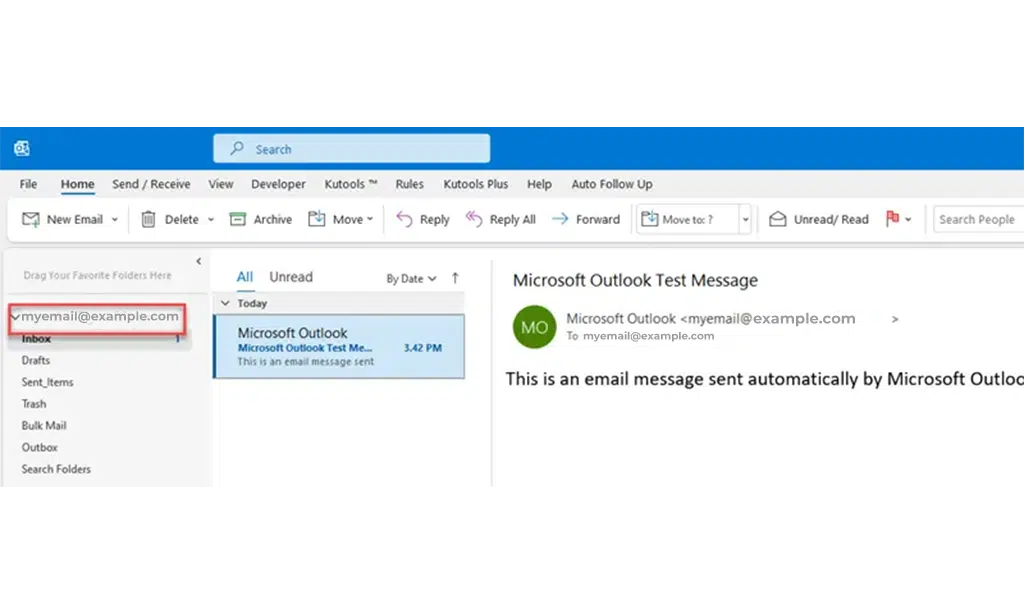
Step 3: Prepare Outlook Mobile on your phone.

Click Done on the next screen
Step 4: You can see that your email account is set up and you can start using it. You can click on the box links to see all your emails.
In this guide, I tried to cover everything needed for using a GoDaddy email easily. I think this image guide will definitely serve all your purpose.