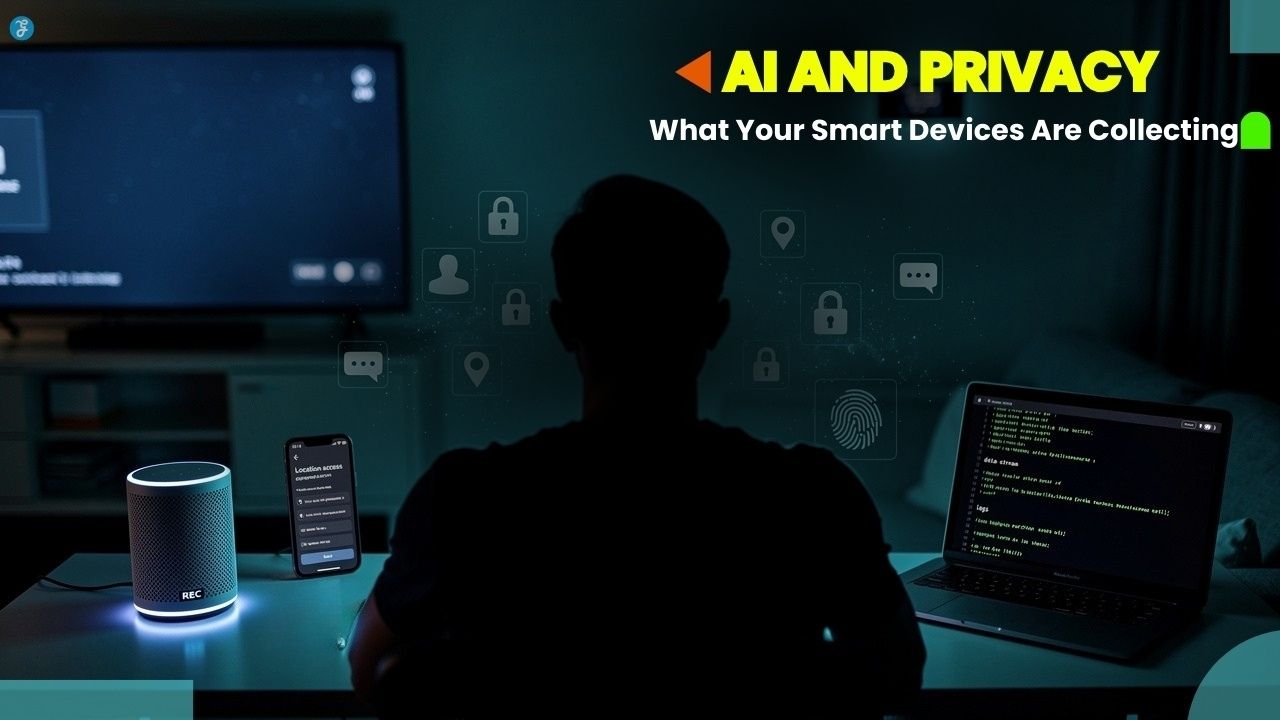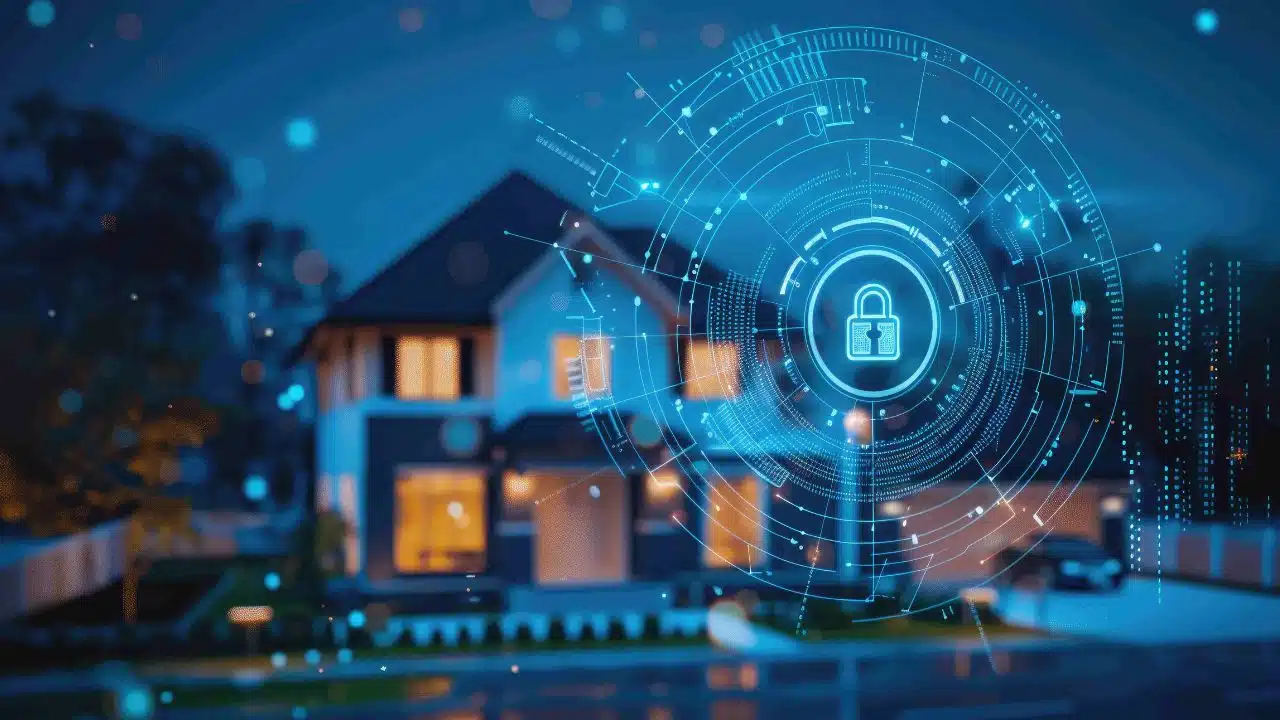
Your home should feel like the safest place in the world. Yet with concerns about break-ins and unexpected risks, peace of mind often needs extra support. A smart home security system gives you that layer of protection. It’s more than cameras or alarms. It’s a connected setup that watches over your family, your property, and your daily routine.
Setting one up is easier than you might think. By following clear steps, you can design a system that fits your lifestyle and keeps your home protected around the clock.
Step 1: Assess Your Security Needs
Before you buy anything, take a careful look at your home and note entry points like doors, windows, and garage access. Think about your daily routine and how it affects your security needs. If you travel often, you may want stronger monitoring. If you have kids or pets, you might need cameras that can filter out false alerts.
You should also consider specific concerns, such as keeping track of package deliveries or securing less visible areas. Walk through your property and check for security gaps like poorly lit corners or unlocked side gates. The clearer you are about your needs, the easier it will be to choose the right devices and setup.
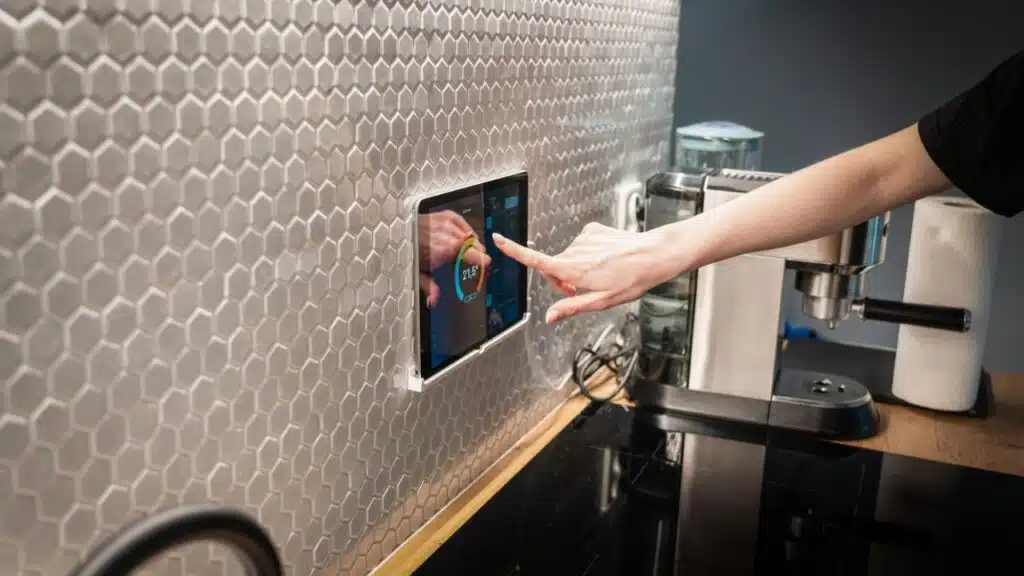
Step 2: Choose a Smart Hub or Control Center
When you’re deciding on a hub or main control app, think about how well it works with the devices you want to add later. Compare different smart home security options from trusted providers and look for strong long-term customer support. This helps you avoid being locked into a system that doesn’t grow with your needs.
A reliable hub also makes everyday control easier, letting you manage all your devices from one app or dashboard. Getting this step right sets the foundation for everything else you’ll add later.
Step 3: Select and Position Smart Cameras
Smart security cameras are your eyes when you’re not at home. Decide whether you want indoor cameras, outdoor cameras, or both. Look for features like night vision, motion detection, and local or cloud storage.
You’ll also need to choose between wired and wireless models. Wireless cameras offer easier installation and flexibility, while wired ones provide stable, uninterrupted performance.
But don’t stop at features. Placement matters just as much. Outdoor cameras should cover main entryways and driveways, while indoor cameras should focus on key areas, not private spaces. Test different angles before you mount them permanently. This ensures you don’t end up with blind spots and helps your system work as intended.
Step 4: Add Smart Sensors and Detectors
Cameras let you see what’s happening, but sensors give you real-time awareness when something changes. Start with door and window sensors that alert you the moment an entry point opens. Getting notified right away helps you respond before a situation gets out of hand.
Next, consider adding a motion detector to spot unexpected movement in areas that should be empty. For broader safety, include smoke and carbon monoxide detectors too. Together, these devices create a system that stays alert and warns you the moment something isn’t right.
Step 5: Secure Your Wi-Fi Network
Every smart device relies on your internet connection, which means your system is only as strong as your network. To keep it safe, follow these best practices:
- Use a strong, unique password and avoid reusing ones from other accounts.
- Keep your router’s software up to date so it has the latest security fixes.
- Create a separate Wi-Fi network for smart devices so they don’t mix with personal ones like laptops and phones.
- Turn on two-factor authentication in your control app for an added safeguard.
Securing your network protects the entire system. Even the best cameras and sensors won’t matter if the connection that links them is easy to break into.
Step 6: Install Smart Locks and Video Doorbells
A smart lock lets you lock or unlock doors remotely. That means you can let in a family member or trusted guest without handing out spare keys. Many also keep an access log, so you know who entered and when.
Pair this with a video doorbell and you add another level of protection. You can see and talk to anyone at your door, whether you’re inside your home or across the country. Smart locks and advanced doorbells work in tandem to protect your most vulnerable entry point: the front door.
Step 7: Set Up Automation and Custom Alerts
Once the basics are in place, it’s time to make your system smarter. Automation lets you program your devices to work together.
You might connect cameras with motion-activated LED lights to discourage anyone from approaching unnoticed. Just as important, customize your alerts so they stay useful. You don’t want constant pings from harmless activity, like a branch swaying in the wind. Filters help you focus on real threats while avoiding unnecessary distractions.
Step 8: Test and Maintain the System
A smart home security system works best when you give it regular attention. Build these quick checks into your routine:
- Test each device monthly to confirm it’s working.
- Replace batteries on schedule to avoid sudden failures.
- Update device software whenever new versions are available.
- Review activity logs and adjust settings if something looks off.
Consistent upkeep keeps your system dependable. A few minutes of care now can prevent bigger problems later.
Takeaways
Setting up a smart home security system may seem overwhelming at first, but breaking it down step by step makes the process manageable. Start with your needs, choose the right hub, and build from there with cameras, sensors, and locks. Secure your network to keep everything protected.
Once the essentials are in place, connect your devices through automation and keep the system reliable with regular testing. The result is peace of mind, convenience, and a home that looks after itself as much as you do. Your safety is worth the effort, and with today’s smart tools, you stay in control.