Ever look at your outdoor camera footage and think, “How did it miss that?”
If you’re searching for Outdoor Camera Placements That Maximize Coverage (Legal Tips Inside), you’re in the right place.
Small blind spots can turn into big problems: missed deliveries, hit-and-run dings, break-ins, or footage that’s too blurry to help.
I’m going to walk you through the 12 placements that usually deliver the biggest coverage wins, plus the privacy and legal basics to keep your setup on the right side of the line.
Why Proper Camera Placement Matters
You can buy great hardware and still get weak results if the camera looks at the wrong thing, from the wrong angle, in the wrong light.
Placement is what turns “a camera” into surveillance you can trust, and monitoring that actually helps when you need it most.
In a 2025 update using FBI data, USAFacts reported that 2024 burglary rates were about 229 per 100,000 people, and that only about 30.5% of property crime victimizations were reported to police in 2024. That’s one reason clear video evidence and clean access logs matter, even when an incident feels “small.”
Key Considerations for Outdoor Camera Placement
Before you mount anything, decide what “success” looks like for each camera.
Do you want to spot a person on the property, recognize someone you already know, or identify an unknown person clearly enough to act?
Coverage Area and Blind Spots
Start with a simple walk-through and mark the places people naturally move: doors, gates, paths, and the spots vehicles slow down.
Then look for the blind spots created by corners, landscaping, parked cars, and deep overhangs.
Axis Communications publishes pixel-density guidance based on IEC 62676-4 that many installers use as a planning shortcut, and it’s a helpful way to match coverage goals to camera choice and placement.
| What you need from the footage | Planning target (pixels per foot) | What it means in real life |
|---|---|---|
| Detect | 8 px/ft | You can tell something is there (good for perimeter awareness). |
| Observe | 20 px/ft | You can see actions and basic details (good for paths and walkways). |
| Recognize | 40 px/ft | You can likely recognize someone you know (good for doors and gates). |
| Identify | 80 px/ft | You can identify an unknown person more reliably (best for choke points). |
Use this as your placement reality check: if you aim a wide-angle camera at a huge area, you gain coverage but lose identifying detail.
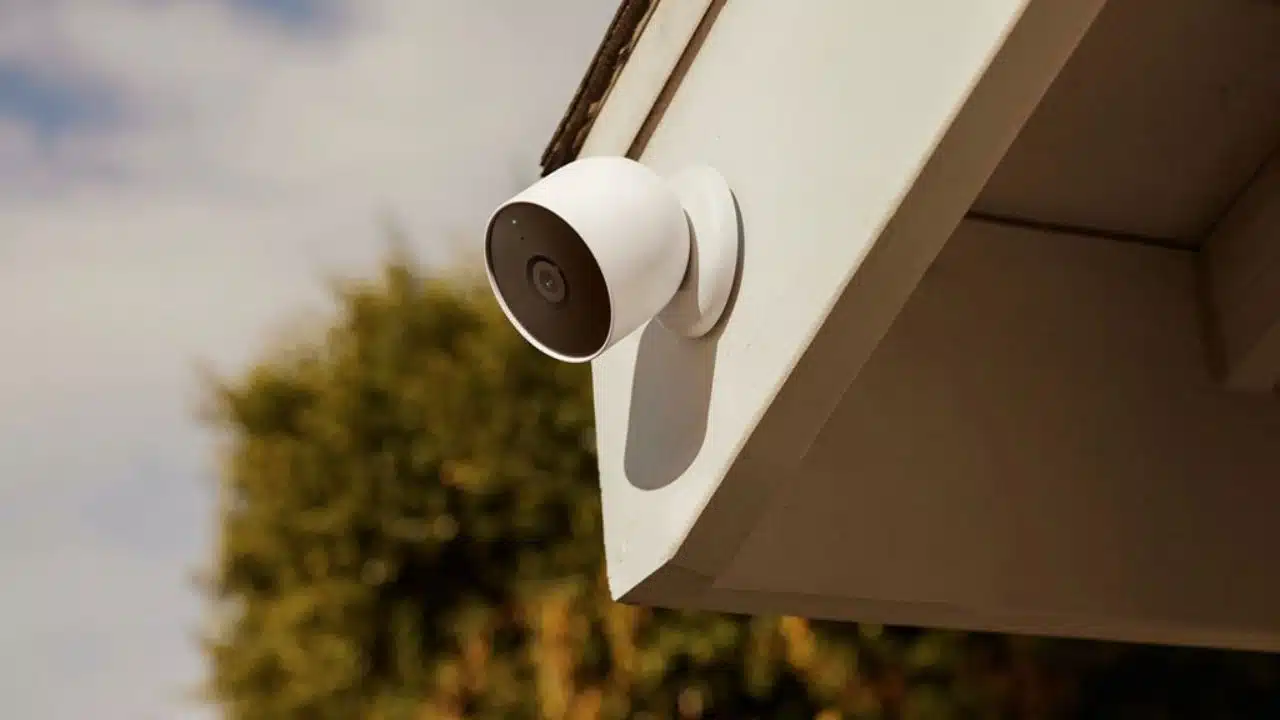
Height and Angle for Optimal Viewing
Mounting height is a balancing act. You want the camera high enough to discourage tampering, but not so high that you only capture hats and the tops of heads.
For most homes and small businesses, installers often start around 8 to 10 feet high and aim the lens down roughly 15 to 30 degrees, then fine-tune after a day and night test.
- Avoid “sky shots”: too much sky washes out faces and triggers motion from clouds and tree movement.
- Avoid headlight glare: don’t aim directly into the most common approach direction of vehicles at night.
- Use a choke point: for faces, aim where people must pass close, like a doorway or gate.
Weatherproofing and Durability
Outdoor cameras fail more from water, heat, cable issues, and sun glare than from “not enough megapixels.”
IEC 60529 defines the common IP ratings you’ll see on outdoor cameras, with IP65 for dust-tight protection and water jets, IP66 for stronger water jets, and IP67 for temporary immersion.
- Use drip loops: route cables so water drips away from the connection point.
- Protect connectors: weatherproof junction boxes and sealed grommets prevent corrosion.
- Plan a quick cleaning routine: a dirty lens can ruin night footage faster than you think.
- Re-check seasonally: foliage growth and winter glare can change everything.
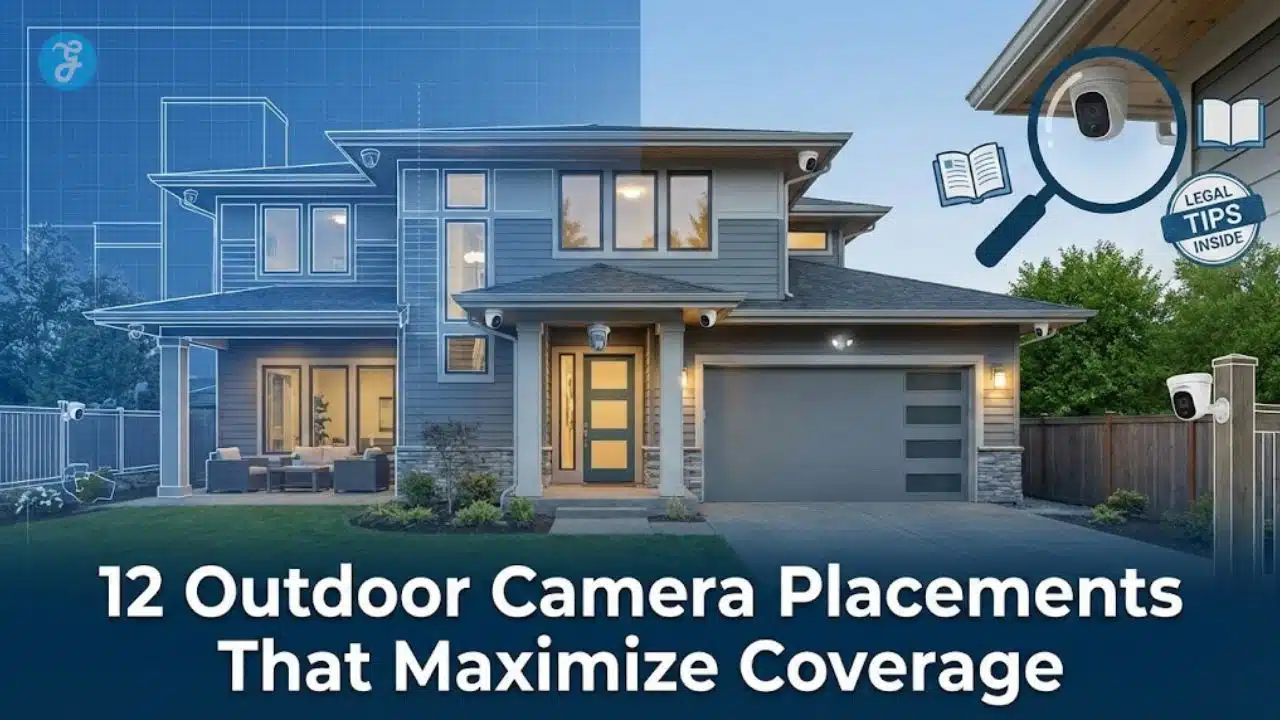
12 Outdoor Camera Placements That Maximize Coverage (Legal Tips Inside)
The best setups don’t rely on one “perfect” camera.
They use a few smart angles that work together, so if one view misses a detail, another view captures it.
For vehicle approaches and license plate capture, Axis Communications and multiple LPR setup guides commonly recommend keeping mounting angles modest (often under about 30 degrees off axis) and keeping plates close to level (often within about 5 degrees) to reduce blur and skew.
| Placement | What it protects | Setup tip that usually pays off |
|---|---|---|
| 1) Front door | Visitors, deliveries, entry attempts | Use two views: a wide scene view plus a tighter face-level view at a choke point. |
| 2) Back door / patio door | Quiet entry routes, fenced access | Frame the door and the approach path, not just the doorknob area. |
| 3) Garage door | High-value tools, vehicle access | Avoid aiming straight into the sun, use an eave or side mount for shade. |
| 4) Driveway approach | Vehicles entering, parking, turnarounds | Angle to reduce headlight glare at night, and avoid ultra-wide views if you need plates. |
| 5) Ground-floor windows (secluded) | Hidden entry points | Cover the window and the route leading to it (side yards matter). |
| 6) Side yard / side passage | Common “in-between” access | Use a long view down the passage so you catch the full walk-up. |
| 7) Fence line / property edge | Perimeter awareness | Prioritize gates and weak spots, not miles of empty fence. |
| 8) Backyard / garden | Storage, pets, secondary access | Plan for seasonal foliage so branches don’t turn into constant alerts. |
| 9) Delivery / loading zone | Packages, vendors, inventory movement | Capture the handoff area and the vehicle stop zone, then tie clips to timestamps. |
| 10) Walkways and stairways | Slip-and-fall claims, traffic flow | Light the route evenly so faces aren’t backlit by bright doors. |
| 11) Pool gate / pool area | Safety monitoring | Aim at the gate and the deck, and avoid filming into private indoor spaces. |
| 12) Dark corners and blind spots | Hiding spots, vandalism risk | Use overlap and lighting so a corner can’t “swallow” motion. |
Entry Points: Front and Back Doors
If you can only cover a couple of areas, start here. Doors create natural choke points, so you can capture faces and actions clearly.
- Keep the doorway and the approach path in frame.
- Don’t aim straight at a porch light, it can wash out faces at night.
- Use overlapping views so a hat, hood, or package doesn’t block your only camera angle.
Garage Doors and Driveways
This is where you catch vehicles, tailgating, and “quick drop” theft.
If license plates matter, treat it as a specialty shot: tight framing, controlled angles, and testing with real cars at real speeds.
Ground-Floor Windows (Hidden or Secluded)
Windows on the side or back of a building often get less attention and less light.
Trim shrubs, keep the lens out of reach, and avoid angles that accidentally film into a neighbor’s home.
Perimeter and Property Lines
Perimeter cameras work best when they watch places people actually cross: gates, cut-through paths, and the spaces between buildings.
- Use a wide overview for awareness.
- Add a tighter camera at the gate for faces.
- Keep motion zones tight so trees and street traffic don’t flood your alerts.
Backyard and Garden Areas
Backyards tend to change by season, which can wreck your visibility if you never re-check your angles.
Do a quick “leaf-on, leaf-off” review twice a year, and adjust motion zones after big landscaping changes.
Delivery and Loading Zones
If you receive packages or inventory, don’t just film the driveway. Film the handoff spot where items actually move from truck to door.
Set up your system so you can export a clip fast with a clear timestamp, and keep access limited to people who need it.
Stairways and Walkways
Walkways are great for identification because people naturally face forward and move through predictable lanes.
Even lighting matters more than you’d think, because harsh backlighting turns faces into silhouettes.
Pool Areas for Safety Monitoring
Pool cameras are about safety, not curiosity. Aim at the gate and the deck, and keep the view away from bathrooms, bedrooms, and changing areas.
The U.S. Consumer Product Safety Commission has reported that child drownings remain a serious risk, which is one reason many families treat pool gates and barriers as “must-monitor” zones.
Dark or Isolated Corners
These are the spots where people hide and where cameras often fail because of glare, spiderwebs, and poor lighting.
- Add motion lighting to improve image quality and reduce noise at night.
- Use overlap so someone can’t hug the wall and disappear.
- Check after rain, water spots can turn lights into giant halos.
Overlapping Views for Blind Spot Elimination
Overlapping views are your insurance policy. If one camera gets blocked, the other still shows movement and direction.
As a simple start, place cameras so each critical path is visible from at least two angles.
High-Traffic Areas Around the Property
High-traffic zones help you verify who arrived, who left, and where people went.
For businesses, this is also where clear signage and consistent policies protect both security and trust.
Front Gate or Street View
Street-facing cameras work best when you frame your own approach routes, not your neighbor’s windows.
If you use analytics, be picky with motion zones so passing traffic doesn’t become an all-day alert machine.
Balancing Security and Privacy
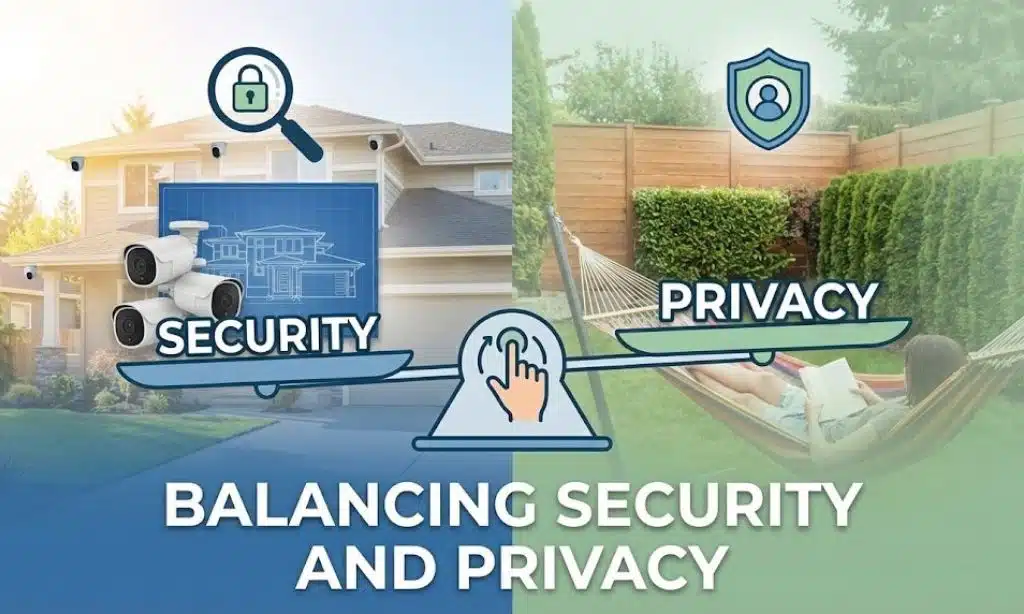
You can protect your property and still respect privacy. In fact, privacy-first placement usually improves your footage because you’re aiming at the right targets.
Start by deciding what areas you must capture, then aim away from private spaces you don’t need.
Avoiding Privacy-Sensitive Areas
- Never place cameras in restrooms, changing areas, or places where people undress.
- Avoid pointing cameras into a neighbor’s yard, windows, or private entryways.
- Use privacy masking if your camera has it, so you can block a window or a shared-space boundary without losing coverage where you need it.
- For homes with guests or renters, keep your monitoring focused on entrances, driveways, and exterior choke points.
Legal Compliance and Notification
Video rules and audio rules are not the same thing. The Reporters Committee for Freedom of the Press notes that federal law is generally one-party consent for recording conversations, and that about 11 states primarily follow all-party consent rules for recording conversations, including California, Florida, and Pennsylvania.
That’s why many businesses disable audio recording by default unless they’ve confirmed consent requirements for their specific location and use case.
Legal Tips for Camera Placement
I can’t give legal advice, but I can help you ask the right questions before you mount cameras.
Think of the law as two buckets: where you can record video, and when you need notice or consent (especially for audio and workplace monitoring).
Federal Laws on Surveillance
In Kyllo v. United States (decided June 11, 2001), the U.S. Supreme Court held that using certain tech to explore details of a private home that could not otherwise be obtained without physical intrusion can be a Fourth Amendment “search,” which is a helpful reminder to keep your surveillance focused on your property and public-facing areas.
- Film what you need for protection: entrances, driveways, gates, and common areas.
- Skip private interiors and intimate areas, even if you think you’re “just being safe.”
- Secure your recordings with strong passwords and limited access, because access logs can matter as much as the footage.
State-Specific Regulations to Consider
Employee notice rules can also apply to camera and electronic monitoring programs. As examples, Connecticut law (PA 98-142) requires notice for many forms of electronic monitoring, Delaware law (Title 19, Section 705) requires notice for monitoring email, internet, or phone usage, and New York’s monitoring notice requirements took effect May 7, 2022, with potential civil penalties that can increase for repeat violations.
| Common legal “to-do” | What to document | Why it helps |
|---|---|---|
| Post clear notice where appropriate | Sign location, date posted, and what it says | Reduces surprise and supports transparency. |
| Control video access | Who can view/export clips, plus access logs | Protects privacy and reduces misuse risk. |
| Set a retention policy | How long you keep video, and deletion schedule | Limits liability and keeps storage manageable. |
| Be cautious with audio | Whether audio is enabled, and consent approach | Audio consent rules can be stricter than video rules. |
Takeaways: Maximizing Security Without Compromising Privacy
Good placement boosts outdoor security and cuts blind spots.
Map traffic, mark entry points, then mount cameras where they can actually capture useful details.
Follow local rules, respect privacy boundaries, and document your setup so your monitoring stays defensible.
If you want a clear plan you can act on, come back to 12 Outdoor Camera Placements That Maximize Coverage (Legal Tips Inside) and work down the list one zone at a time.
FAQs on Outdoor Camera Placements
1. Where should I place my cameras to maximize coverage?
Place cameras at the 12 outdoor camera placements that matter most, like corners, high on eaves, over the main entry, near the vehicle approach, by gates, and along the roof line. Mount them 8 to 10 feet high, angle down to cut blind spots, and overlap views like a patchwork quilt so no area is missed.
2. What legal tips should I follow when placing cameras?
Follow local laws and respect privacy, do not point cameras at private spaces on other property, and avoid recording audio without consent. Post signs if rules require them, and check permits for public or shared areas.
3. How do I reduce blind spots and handle bad lighting?
Use overlapping fields, adjust angles, add motion lights, and pick cameras with night vision and motion detection. Avoid pointing at the sun, move cameras to cover common paths, and test them at night and in bad weather.
4. Can I watch my neighbors or public sidewalks with my cameras?
You can record public places, but laws vary, so follow the legal tips and keep lenses on your own property. Do not aim into windows or private yards, no one wants to be that neighbor.