You’ve made it: wheels down at Heathrow, a misty skyline in the distance, and a calendar full of museums, markets, and football. The only thing between you and a frictionless first day is a clear plan for payments, transport, and connectivity. Here’s how to stitch those together so your U.K. trip feels like one smooth tap-scan-go.
Tap to Pay: How London’s Contactless Caps Save You Money
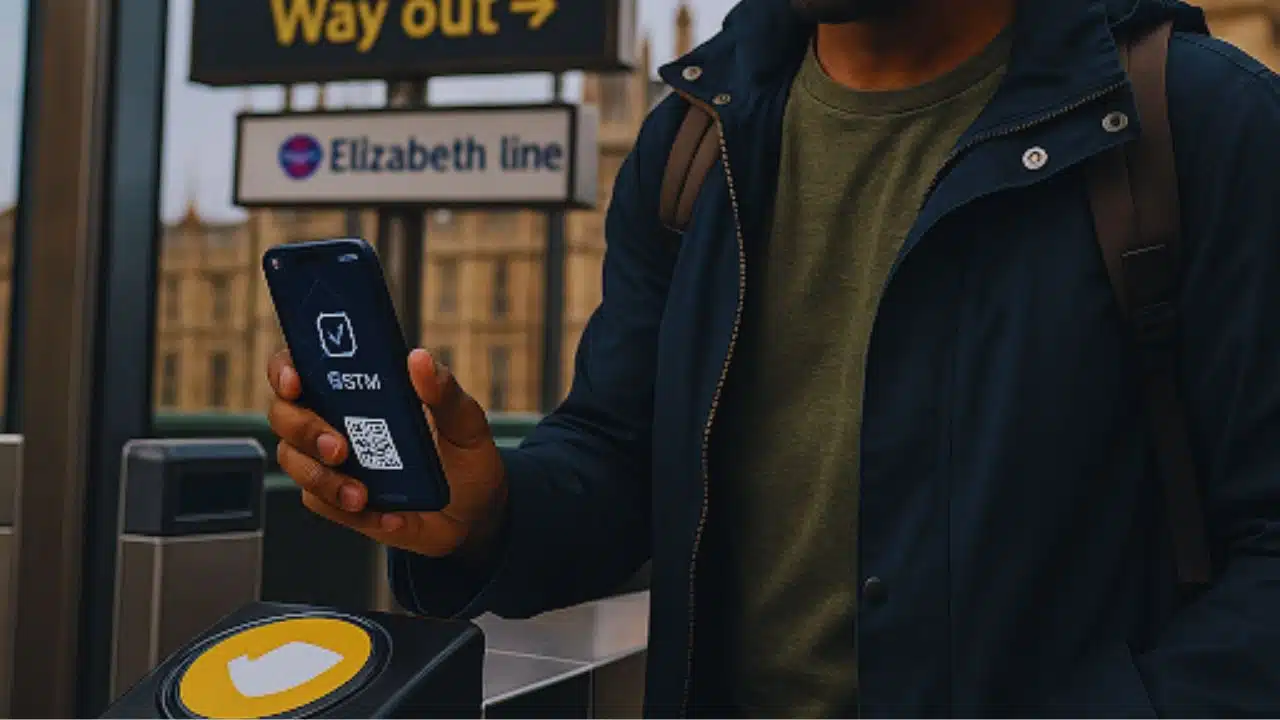
London public transport is built for visitors now. If you have a contactless card or Apple/Google Pay, you can tap in and out on the Tube, Overground, Elizabeth line, DLR, buses—no kiosk, no paper.
-
- Daily & weekly caps: When you tap with the same card/phone all day (and all week, Monday–Sunday), the system automatically stops charging after you hit the cap for your zones. For most first-timers staying central, Zones 1–2 are your world.
- Oyster vs. contactless: Oyster still works, but if you already have contactless, skip the extra card.
- Airports:
-
- Heathrow → Central London: Elizabeth line or Piccadilly line—both accept taps.
- Gatwick: Thameslink/Southern services accept contactless; the dedicated express works with tap-in too.
- Stansted/Luton: Trains require barcode or contactless depending on operator—watch for signage and gate readers.
Pro tip: Add your transit card to your phone/watch before you leave the U.S. Then you can keep your physical card tucked away for backup.
Rail, but Simpler: e-Tickets, Railcards, and Seat Smarts
Intercity rail has gone digital in a big way.
-
- Buy early for “Advance” fares. The cheapest tickets appear weeks ahead; they’re train-specific but dramatically cheaper.
- Use e-tickets with QR codes. Keep PDFs downloaded in your files app and take screenshots—underground stations can have weak signal.
- Railcards Americans can use:
-
- Two Together Railcard (two named passengers traveling together)
- Family & Friends Railcard (one adult + one child or more)
- Senior Railcard (60+)
These often pay for themselves in a single round trip. Many are digital—no queue, just a quick app install.
- Seats & luggage: Standard is fine for 60–90 minute hops. For laptop work, pick a table seat with power; stow big bags in end-of-carriage racks, but keep passports/tech on you.
Pro tip: Follow your train number on the departure board, not just the destination. Many services run through several cities and the end point shown might not match your stop.
Connectivity in Three Minutes: Scan, Land, Go
Your phone ties the trip together: boarding passes, rail gates, restaurant queues, maps, and 2FA from your U.S. bank. The cleanest setup is to install a travel eSIM at home so your data line wakes up when you switch off airplane mode, while your U.S. line stays active for calls and texts.
- How it works: Buy a plan → receive a QR code → Settings → Add eSIM → label it “UK Data” → set as Mobile Data line. Keep your U.S. SIM active for SMS/2FA.
- Hotspot etiquette: If you’ll work on trains, hotspot your laptop sparingly; save heavy uploads for hotel Wi-Fi.
- Troubleshooting: If data doesn’t start after landing, toggle airplane mode for 10 seconds, ensure “UK Data” is the active data line, enable roaming for that line only, and reboot.
If you want a traveler-friendly option with quick setup and generous plans, compare and activate via Holafly’s eSIM in the UK.
Your Options at a Glance (Data & Costs)
| Option | Setup Time | Typical 7-Day Cost | Pros | Cons | Best For |
| U.S. carrier day pass | 0 min | High | Familiar billing | Expensive daily caps | One-city, short stays |
| Airport SIM kiosk | 30–45 min | Medium | Local rates | Queue + SIM swap | Travelers without eSIM phones |
| Pocket Wi-Fi | 20–30 min (pickup/return) | Medium | Shareable | Extra device/battery | Families/groups |
| eSIM (pre-install) | ~3 min | Low–Med | Instant, keep U.S. number, hotspot | Needs eSIM-capable phone | Most travelers |
Costs vary by season and data volume. Aim for plans that cover your first week, then top up if needed.
72-Hour Playbooks (Stack Two for a 6-Day Trip)
London—Markets, Museums, Riverside
Day 1: Elizabeth line into town → drop bags → South Bank walk (London Eye → Tate Modern) → Borough Market early dinner.
Day 2: Westminster morning (Abbey exteriors + Parliament) → Covent Garden → British Museum highlights → West End show.
Day 3: East London markets (Spitalfields, Brick Lane) → sunset at Primrose Hill → Night Tube or bus home.
Transit: Zones 1–2 taps will cap most days. Keep your phone wallet open at gates, screen facing the reader.
Edinburgh—Stone, Story, Skyline
Day 1: Old Town closes + Castle view.
Day 2: Arthur’s Seat sunrise → National Museum → Grassmarket pubs.
Day 3: Dean Village stroll → train back south.
Rail: Book seats on the east coast mainline; pick the window on the sea side for views.
Manchester/Liverpool—Football & Music
Day 1: Manchester football museum, Northern Quarter street art.
Day 2: Liverpool waterfront museums, Beatles Story, sunset at Albert Dock.
Day 3: Stadium tour → return.
Rail: Off-peak returns save money; screenshot tickets before you reach the gates.
Security, Power, and Workflow Hygge
- Mobile > public Wi-Fi: For banking and tickets, lean on your data plan. Use hotel Wi-Fi for heavy backups only, ideally behind a VPN.
- Type-G adapter + multi-USB charger: Rooms often have limited outlets; a compact 4-port brick is magic.
- Battery math: A 10,000 mAh power bank = ~2 phone charges—enough for a full day of maps and photos.
- Document hygiene: Store passport photos and booking numbers in an encrypted note. Keep screenshots of all QR codes (trains, attractions) in a single album for quick offline access.
- Night travel: Stick to staffed stations and well-lit routes. Share your live location when riding late.
Quick Budget Snapshot (2025 ballpark, per person)
| Item | Range (USD) | Notes |
| Central hotel (night) | 180–320 | London tops the range; regional cities lower |
| Daily food & coffee | 40–80 | Markets + pub lunches offer value |
| Zone 1–2 daily cap | ~$10–$12 | Auto-applied when tapping the same card/phone |
| Intercity round trip | 60–200 | “Advance” fares reduce costs |
| 7–15 day data plan | 20–40 | eSIM price depends on volume |
Departure-Day Checklist (Save This)
- eSIM installed and tested (then disable data until landing)
- Transit cards loaded into phone/watch
- Rail and attraction QR codes screenshotted into one album
- World Clock widget (JFK/LAX ↔ London/Edinburgh)
- Power bank charged; short cable in the daypack
- A lightweight rain shell—because Britain
The Frictionless U.K. Play
When payments, rail, and data are dialed in, the U.K. opens up: you glide from aircraft door to hotel, from Tube gate to gallery, from late train to late supper—without breaking your stride or your budget. Tap where you can, scan what you must, and set your phone up to be helpful instead of needy. Do those three things—contactless caps, QR rail, and a preinstalled eSIM—and the rest of your trip is exactly what you crossed the Atlantic for.