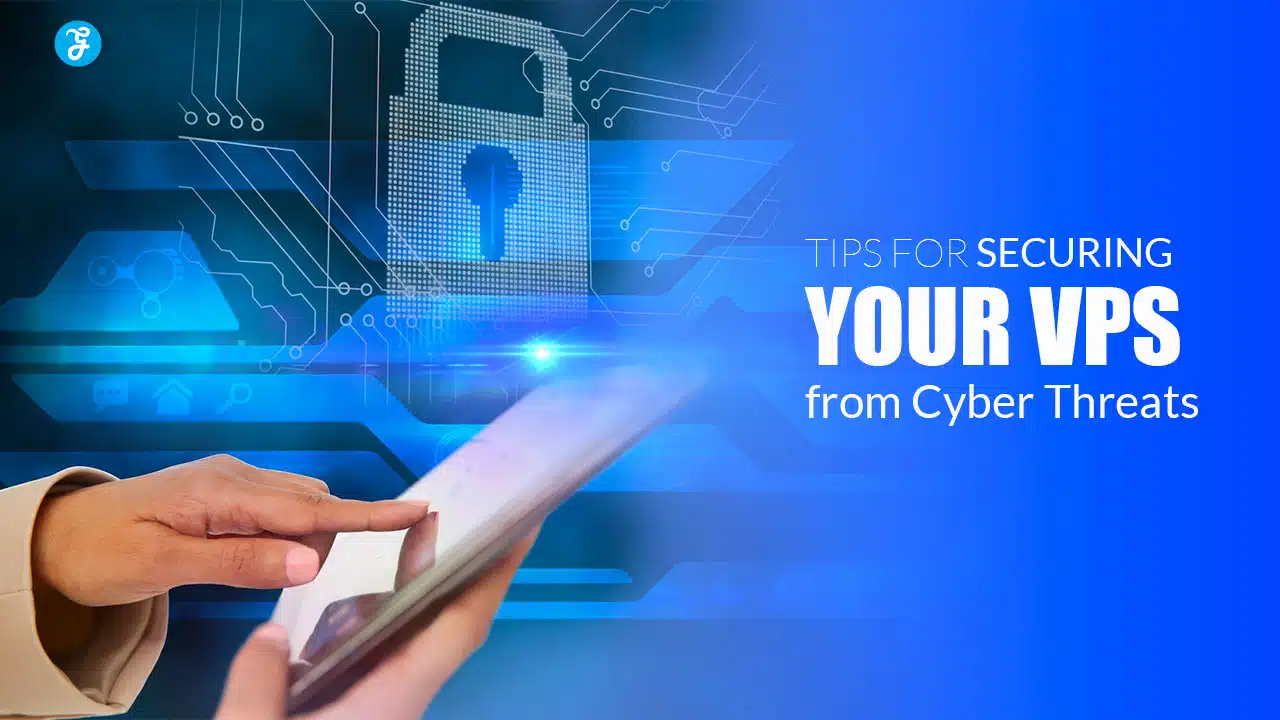
Owning a Virtual Private Server (VPS) provides enhanced flexibility, control, and scalability. But as with any server that’s connected to the internet, a VPS is vulnerable to cyber threats, making it critical to secure it proactively.
While VPS hosting provides isolated resources, securing it is your responsibility, as leaving a VPS vulnerable can lead to data theft, compromised websites, and service downtime.
In this article, we’ll explore eight comprehensive tips to secure your VPS. Each of these steps helps create multiple layers of defense, reducing your server’s exposure to cyberattacks and ensuring the safety of your data and applications.
Why VPS Security is Vital for Businesses and Individuals?
The risks associated with an unsecured VPS can have serious consequences for both businesses and individuals. Here’s why prioritizing VPS security is essential:
- Data Protection: Sensitive data like customer information, financial records, and personal data are vulnerable if your VPS isn’t secured.
- Business Continuity: Compromised security can lead to service interruptions and downtime, negatively impacting customer trust and revenue.
- Cost Avoidance: Data breaches often involve high recovery costs, including data restoration, fines, and potential reputational damage.
- Regulatory Compliance: Many industries have strict data protection regulations, and securing your VPS is often required to stay compliant.
Now, let’s dive into these essential VPS security tips.
1. Regularly Update and Patch Your Software
One of the simplest yet most effective ways to secure your VPS is by keeping your software up to date.
Cybercriminals frequently target known vulnerabilities in outdated software, so ensuring your operating system (OS) and applications are current is essential.
- Protects Against Known Vulnerabilities: Software updates and patches address security loopholes that hackers can exploit. For example, vulnerabilities in the OS or software packages might allow attackers to execute malicious code.
- Improves Performance and Stability: Updates don’t just fix security issues—they also often include performance improvements, helping your VPS run efficiently and minimizing crashes.
- Ensures Compatibility with Security Tools: Updated software is more likely to be compatible with the latest security tools and protocols, ensuring seamless protection across your system.
How to Implement Regular Updates
Set up automatic updates for the OS and critical applications whenever possible. For software that doesn’t support automatic updates, establish a schedule to check and apply updates manually.
Many control panels, like cPanel or Plesk, offer features for managing updates, so explore these options to streamline the process.
2. Configure a Firewall for Added Protection
A firewall acts as a barrier between your VPS and potentially harmful internet traffic, filtering out unwanted or suspicious requests before they reach your server.
Configuring a firewall provides an essential layer of security by controlling who can access specific services and ports on your VPS.
- Monitors and Controls Network Traffic: Firewalls filter incoming and outgoing traffic based on preset rules, allowing only trusted traffic while blocking potentially malicious connections.
- Reduces Exposure to Attacks: By restricting access to specific ports and services, a firewall limits the possible entry points that hackers could exploit.
- Customizable to Meet Specific Needs: With a firewall, you can define custom security rules based on your server’s requirements, giving you fine-grained control over network access.
How to Configure a Firewall
Most VPS providers offer firewall options in their control panels. Start by setting up rules to allow only necessary ports (e.g., HTTP and HTTPS for web traffic, SSH for secure access) and block everything else.
For even greater control, consider advanced firewalls like tables for Linux-based servers, which allow complex rules for traffic filtering and blocking.
3. Use SSH Key Authentication for Secure Access
SSH (Secure Shell) key authentication provides a much more secure method of logging into your VPS than traditional passwords.
SSH keys use cryptographic algorithms, making it nearly impossible for attackers to gain access through brute-force attacks.
- Stronger Authentication Process: SSH keys are generated using a public-private key pair, providing a much stronger authentication method than passwords alone.
- Protection from Brute-Force Attacks: Since SSH keys are much longer and more complex than standard passwords, they cannot be easily cracked using brute-force techniques.
- Two-Part Authentication for Added Security: SSH key-based access requires both the public key on the server and the private key on the client, adding an extra layer of security.
How to Set Up SSH Key Authentication
- Generate an SSH key pair on your local machine using a command like ssh-keygen.
- Copy the public key to your VPS using a command like ssh-copy-id.
- Once the public key is installed on the server, disable password-based logins in the SSH configuration file for an added security measure.
4. Disable Root Access to Minimize Risks
The root account has unlimited privileges on your VPS, making it an attractive target for attackers.
By disabling direct root access and using a lower-privileged user for everyday tasks, you reduce the risk of unauthorized access and limit potential damage.
- Reduces Full Access Risks: A compromised root account gives attackers unrestricted control over your server. Limiting root access minimizes this risk.
- Enforces Principle of Least Privilege: By requiring administrative actions to go through a regular user account with elevated privileges (using sudo), you minimize unnecessary root access.
- Makes Attacks Harder to Execute: Many automated attacks target the root account specifically. Disabling root access helps thwart such attempts.
How to Disable Root Access
- Create a new user with sudo privileges on your VPS.
- Edit the SSH configuration file (/etc/ssh/sshd_config) to set PermitRootLogin no.
- Restart the SSH service to apply the changes. You can then use your new user account for secure login and switch to root only when necessary.
5. Implement Regular Data Backups
Data backups are a critical component of VPS security, as they provide a safety net in case of an attack, hardware failure, or accidental deletion.
Regular backups allow you to restore your VPS to a previous state, ensuring business continuity and data integrity.
- Protection Against Data Loss: Backups ensure that your data is safe, even in the event of a cyberattack or accidental data deletion.
- Quick Recovery from Attacks: With a recent backup, you can restore your VPS to a stable version, minimizing downtime after an attack.
- Supports Business Continuity: Backups help maintain operational continuity, which is especially important for websites or applications serving customers.
How to Set Up Regular Backups
Most VPS providers offer automated backup solutions, allowing you to set a schedule for daily, weekly, or monthly backups.
If using a manual method, create a script that saves your data to an external location or cloud storage. Store backups in a separate, secure location to protect them from potential server-based attacks.
6. Install and Regularly Update Antivirus Software
Antivirus software plays an important role in detecting, isolating, and removing malware from your VPS.
Malware can infiltrate your server through malicious files, email attachments, or downloads, and an antivirus solution can help prevent this.
- Detects and Removes Malware: Antivirus software scans files for known threats and removes them before they cause damage.
- Monitors System Behavior for Suspicious Activity: Some antivirus solutions track system behavior, identifying potential threats based on unusual patterns or actions.
- Protects Against File-Based Attacks: Antivirus software is especially useful for preventing attacks that target files, like infected scripts or trojans.
How to Install and Maintain Antivirus Software
Choose a reputable antivirus solution compatible with your server’s OS, such as ClamAV for Linux servers or Windows Defender for Windows-based VPSs.
Configure regular, automated scans and enable live monitoring if available. Always update the antivirus software to keep its threat database current.
7. Monitor Logs and Set Up Alerts for Suspicious Activity
Server logs provide valuable insights into the activity on your VPS, capturing details like login attempts, error messages, and system warnings.
By regularly monitoring these logs and setting up alerts, you can detect suspicious activity early and respond quickly to prevent a potential breach.
- Detects Unauthorized Access Attempts: Monitoring login logs helps you identify repeated failed logins or unusual access attempts, which could indicate a brute-force attack.
- Reveals Unusual Activity Patterns: Logs provide details about file changes, login attempts, and user actions that could reveal suspicious or malicious behavior.
- Allows for Timely Incident Response: Alerts notify you of abnormal events in real-time, giving you a chance to take immediate action.
How to Set Up Log Monitoring and Alerts
Monitoring tools like Fail2ban can be used, which automatically blocks IPs after multiple failed login attempts.
For more comprehensive monitoring, consider using log management platforms like Graylog or Logwatch, which provide centralized log analysis and customizable alerts.
8. Regularly Perform Security Audits and Vulnerability Scans
Performing regular security audits and vulnerability scans is essential for maintaining a secure VPS.
Cyber threats evolve rapidly, and periodic audits allow you to identify and address new vulnerabilities before attackers can exploit them.
- Identifies Security Gaps: Regular security audits help you uncover weaknesses in your server’s defenses, whether due to misconfigurations or outdated software.
- Stays Ahead of Evolving Threats: Cyber threats change frequently, and vulnerability scans allow you to stay up-to-date with the latest security standards.
- Meets Compliance Requirements: Many industries have compliance standards that require regular security checks, and audits help you meet these standards.
How to Conduct Security Audits and Vulnerability Scans
Scanning tools like Nessus, OpenVAS, or Nmap can be used to detect vulnerabilities. Schedule these scans regularly (e.g., monthly or quarterly) and address any issues immediately. Document each audit to track improvements over time and ensure ongoing security.
Conclusion
Securing your VPS from cyber threats requires a multi-faceted approach that includes regular updates, firewall configurations, SSH key authentication, and data backups.
By following these eight tips, you can protect your VPS against common vulnerabilities, reduce exposure to attacks, and ensure your data remains secure. Each step adds a layer of defense that strengthens your VPS against cyber threats.
In today’s digital world, taking proactive measures to secure your VPS is crucial for both individuals and businesses. Implementing these practices not only protects your server but also contributes to the overall safety and resilience of your online presence.