Your iPhone contains many personal and irreplaceable data – photos, messages, app data, settings, etc. Losing access to your iPhone’s data due to damage, loss, or hardware failure can be devastating. That’s why it’s critical to back up your iPhone regularly. With an iPhone data backup, you can quickly restore and recover your data if anything happens to your device.
In this article, you’ll learn everything about iPhone data backup with a proper guide.
Why is iPhone Data Backup Important?
It is easy to forget to back up your data regularly, as we often have this illusion that what we put in our phones will last forever. But that is, most often, not the case. There are many arguments to convince you why data backup should be at the forefront of your mind; here are a few given below.
To safeguard your files and photos: First and foremost, because iPhones are a hot commodity, it attracts a lot of pickpockets. In most cases, it can also suddenly be lost or damaged, which poses less security risk than being stolen. When you back up your data elsewhere, you can erase your device without hesitation, as you can quickly restore everything when you get a new one.
Now, here’s a guide on how you can erase your data through Find Devices:
Different Backup Methods for iPhone
While there are many third-party backup solutions on the market, there are 3 ways to data backup.
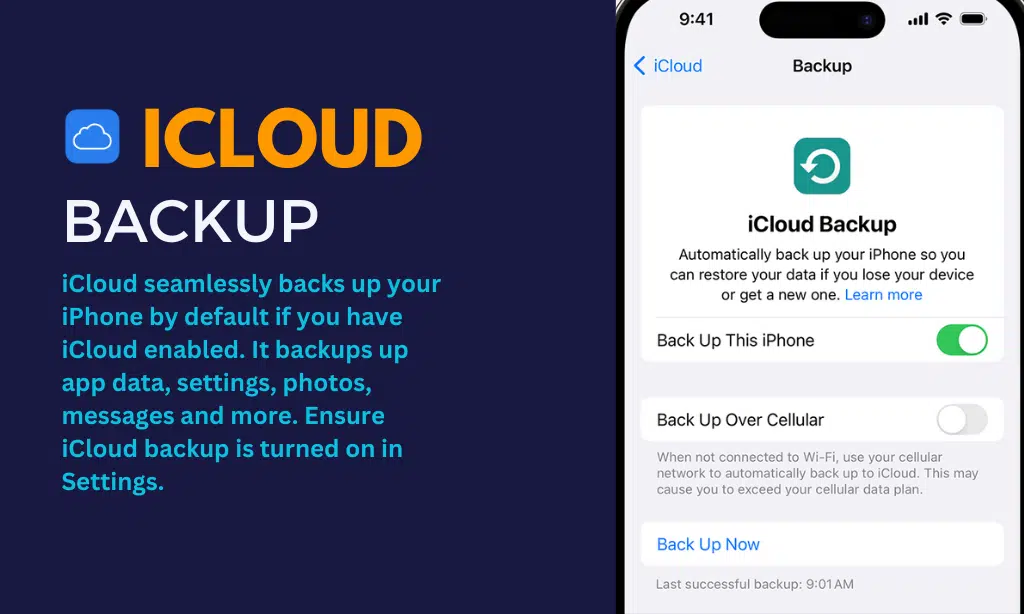
- iCloud Backup: iCloud seamlessly backs up your iPhone by default if you have iCloud enabled. It backs up app data, settings, photos, and messages. Ensure iCloud backup is turned on in Settings.
- iTunes Backup: Connect your iPhone to a computer and use iTunes to back up your device locally. This creates a more comprehensive backup file stored on your computer.
- Third-party cloud services: Services like Google Photos can automatically back up your camera photos and videos to the cloud.
Below, let’s learn about them in a bit of detail.
You will need Wi-Fi when automatically backing up your data to the cloud. Every iPhone model comes with 5GB of free iCloud storage, but additional storage is offered at a certain price.
To access your backups, you just need any Apple devices linked to your iCloud account. Your iCloud backs up multiple apps, and the one that uses the most storage is Photos. You can set up iCloud for your Photos by opening your Settings, then going to Photos and turning on sync. If you are one to take a lot of photos or videos, then your storage will be full in no time.
If you go into your Manage Account Storage, you can track how much storage is being used by each app. This will give you an insight into optimizing your storage by cleaning up the cache or deleting duplicate or deemed unnecessary files. You can also decide whether you need to buy more storage.
For recent macOS, and iOS device backups on the Mac are handled by Finder. The Finder is the default file manager in Mac devices and the first thing you see when you are done setting up a new Mac. It is where all the data across all your Apple devices is stored once you set it up manually.
To backup for iOS on the Finder, connect your iPhone to your Mac (or your desktop) using a USB cable. Open Finder (or iTunes) and look for your iPhone on its sidebar. When you click it, you will find an overview of your device, including its model and specifications, as well as backup and sync options. You can track your storage usage with a bar graph at the bottom of the window. If you hover your arrow on the sections of the bar, you will have more details on what kind of data is taking up the space.
What Does an iPhone Backup Include?
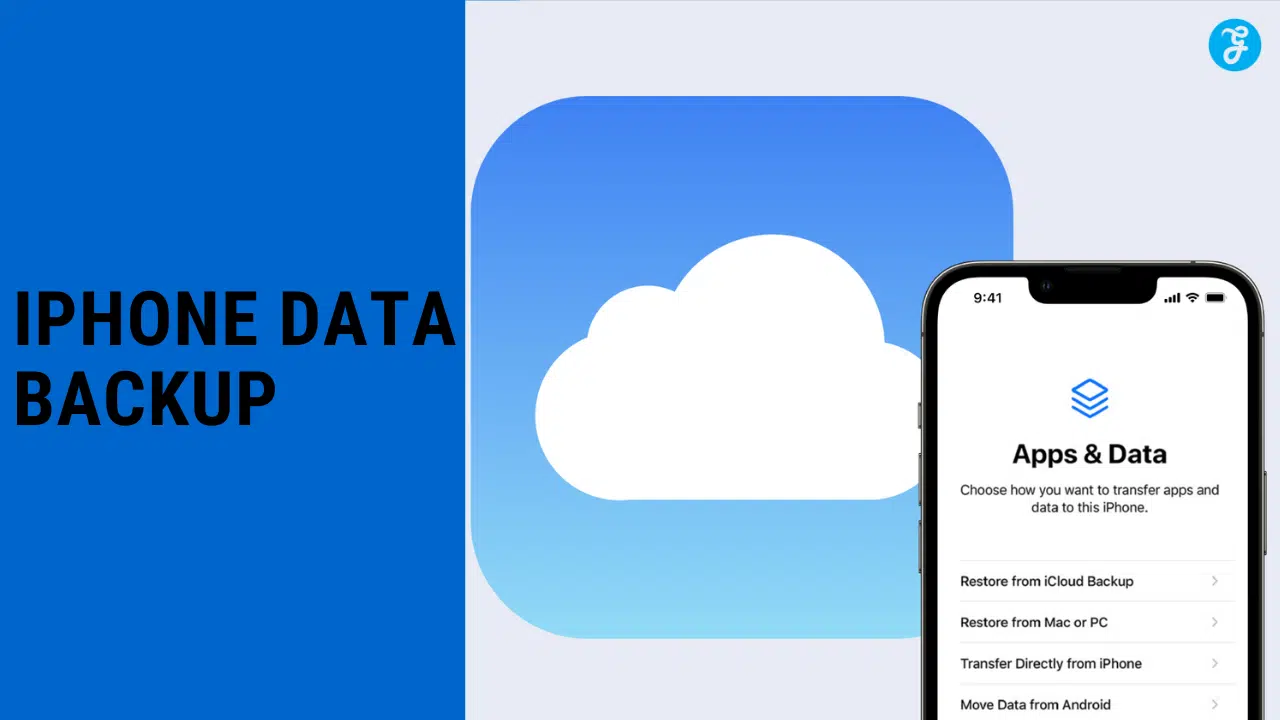
A full iPhone backup through iCloud or iTunes includes:
- Photos and videos
- Contacts and call history
- iMessage, text messages, and attachments
- Device settings and preferences
- App data
- Home screen and app organization
- Apple Watch backups
Media like photos or messages may also be backed up separately by third-party cloud services.
How Often Should You Backup Your iPhone?
Ideally, you should back up your iPhone every day or two. That way you’ll never lose more than a couple of days’ worth of data if your phone is lost, damaged, or needs to be reset.
Backup your iPhone before updating to a major new iOS version. And backup before erasing your device or doing a factory reset so you can restore your data afterward.
Some Tips for Efficient Backup
Ultimately, any backup solutions you subscribe to are your choice; the important thing is that you do it regularly. To keep your regular backups smooth and efficient, there are some steps you can take, including carefully reviewing your backup settings so unnecessary or large files that you don’t need to recover will not be included. For automatic backups, it always pays to keep your device charged and with significant battery hours to limit disruptions.
It cannot be stressed enough how critical data backups are in managing your iPhone storage efficiently. Across all backup methods, the ultimate goal of backing up your data is for your own security. Having the ability to keep all your valued photos, videos, and other essential files is an added bonus – a very meaningful one. Additionally, you can also read on iOS 18.
How to Free Up Space on iPhone?
[Video Credits @AppleSupport]
Below, we’re adding 7 different methods to free up space on the iPhone
Take Stock of Your Current iPhone Storage Usage
The first critical step is to assess exactly how much total storage space you have on your iPhone. To do this, go to Settings > General > iPhone Storage. You’ll see a color-coded bar chart that visually displays how much storage space is being consumed by different categories of apps and data. Take note of both the used and free space. Ideally, you’ll want to maintain at least 2GB or more of free space as a comfortable buffer. Checking this chart regularly gives you an at-a-glance view of where most of your current storage is allocated.
Pinpoint Which Apps Are Taking Up the Most Room
For more granular insights, scroll down the iPhone storage settings page to see a list of all your apps, sorted by storage usage with the biggest space hogs at the top. Tap into each app’s storage details to see a breakdown of how much total space the app code takes up versus the amount of storage consumed by the app’s documents, media, cached files, and data. This helps you determine whether the sheer size of the app or the data you’ve saved and collected over time within the app is responsible for its storage footprint.
Remove Apps You No Longer Use
Once you’ve identified apps that seem to be taking up more storage space than necessary, you can take action to begin deleting unused or unneeded apps. Tap into each app from the storage screen, then select “Delete App” to fully remove the app from your iPhone. Remember that most apps can be re-downloaded in the future if needed since your app purchase history remains accessible in the App Store. You can also delete apps directly from your home screen by long pressing on the app icon and selecting the delete option.
Opt to Offload Instead of Completely Deleting
If you want to free up space used by a particular app but don’t want to lose its settings, data, or documents, you have the option to offload the app instead of fully deleting it. Offloaded apps remain visible icons on your home screen but need to be tapped to re-download the actual app before you can use it again. This saves their placeholder while freeing up their storage. You can also turn on automatic offloading of unused apps in Settings.
Carefully Check and Prune Your Photo Storage Usage
The Apple Photos app is often one of the biggest storage hogs. Check its storage usage breakdown in the iPhone storage settings. Seriously consider backing up your device’s photos and videos to an external cloud storage service like Google Photos or Amazon Photos, then safely deleting the device copies to free up more local iPhone storage capacity.
Disable Photo Stream to Stop Automatic Syncing
If you don’t need the seamless ability to automatically sync photos across your Apple devices, disabling Photo Stream can help preserve storage. Photo Stream passively stores up to your last 1,000 photos on each synced device. Go to Settings > Photos and toggle the My Photo Stream switch off to stop this constant photo syncing between devices.
Remove Any Unwanted Downloaded Music
It’s easy to overlook how quickly downloaded multimedia like music and video files eat up iPhone storage. Go to Settings > General > iPhone Storage > Music to review and delete any downloaded albums, playlists or individual tracks you no longer need to keep on your device. You can swipe to delete individual songs or use the Edit button to select multiple albums and tracks to mass delete.
Frequently Asked Questions (FAQs)
Here are 4 frequently asked questions about data backup and freeing up space on an iPhone.
1. What is the quickest way to backup my iPhone photos?
The fastest way to back up your iPhone photos is to use a cloud storage service like iCloud Photos or Google Photos. When enabled, these services will automatically upload new photos you take to the cloud in the background. This creates a backup of your camera roll with minimal effort. You can then access your backed-up photos from any device by logging into your iCloud or Google account.
2. How can I see what’s taking up storage space on my iPhone?
Go to Settings > General > iPhone Storage to view a color-coded bar chart showing which apps and categories are using up space. You can tap on each app to see a more detailed breakdown of the storage used.
3. What’s the quickest way to free up a lot of space on my iPhone?
Backing up and removing photos and videos can reclaim space very quickly. Enable auto-upload of your camera photos to a cloud service like Google Photos or iCloud, then delete the device copies from your iPhone after ensuring they’re safely backed up.
4. Is it safe to delete the Documents & Data portion of an app to save space?
Deleting the Documents and data for an app will remove any files, preferences, or other data associated with the app. This frees up space but means you’ll lose any saved settings and content within that app.