With the rise of blockchain technology, Web3 wallets have become an essential tool for interacting with decentralized applications (DApps), non-fungible tokens (NFTs), and DeFi platforms. A Web3 wallet allows users to securely store, send, and receive cryptocurrency without relying on third parties like banks.
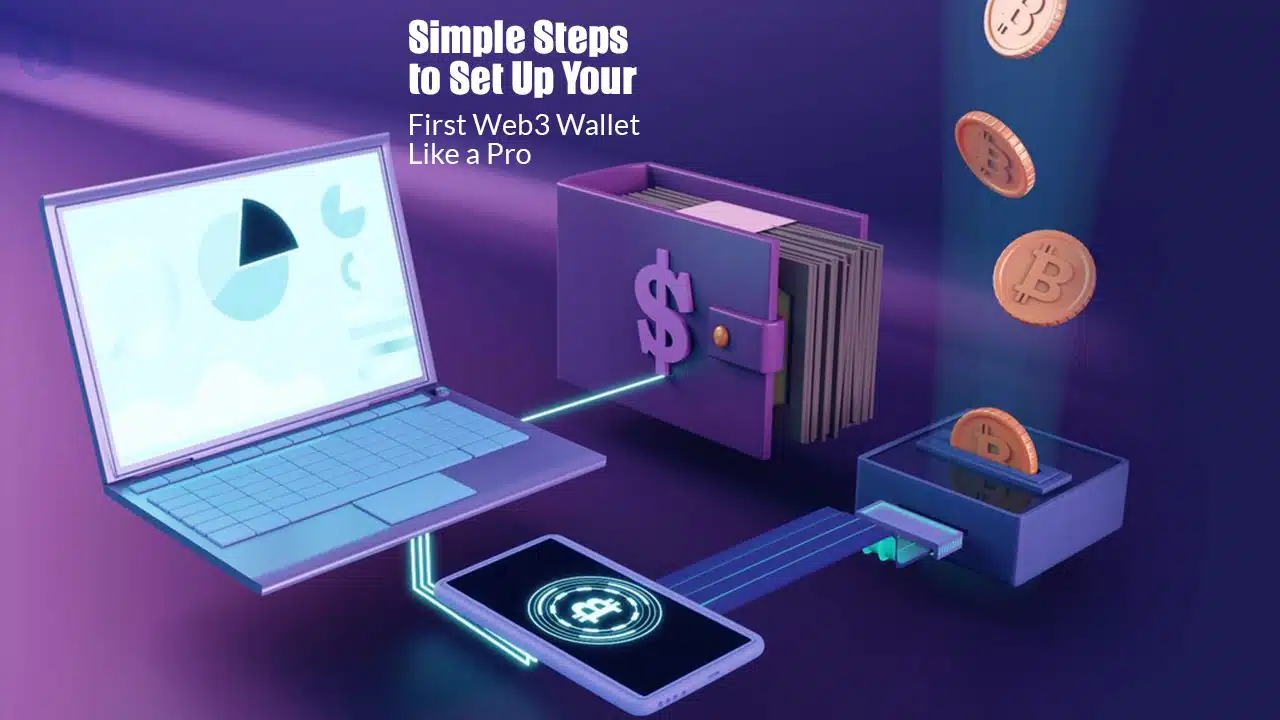
If you’re wondering how to set up your first Web3 wallet, this guide will walk you through the process step by step.
If you’re new to crypto, setting up your first Web3 wallet might seem intimidating. But don’t worry! This step-by-step guide will walk you through the entire process in a simple, beginner-friendly way. By the end of this article, you’ll have a fully functional Web3 wallet ready to explore the decentralized web.
How to Set Up Your First Web3 Wallet: A Beginner’s Guide
What is a Web3 Wallet?
A Web3 wallet is a digital wallet that allows users to interact with blockchain-based applications. Unlike traditional wallets, which are controlled by centralized entities, Web3 wallets grant users full control over their funds and private keys.
| Feature | Web3 Wallet | Traditional Wallet |
| Ownership | User-controlled | Bank-controlled |
| Security | Private keys | Password-based |
| Transaction Speed | Fast & Global | Bank Processing |
| Accessibility | Crypto & DApps | Fiat Currency |
There are two main types of Web3 wallets:
- Custodial Wallets – Controlled by third-party services like exchanges (e.g., Binance, Coinbase).
- Non-Custodial Wallets – Fully controlled by the user (e.g., MetaMask, Trust Wallet, Phantom).
For maximum security and decentralization, we recommend using a non-custodial Web3 wallet.
Step-by-Step Guide to Setting Up Your Web3 Wallet
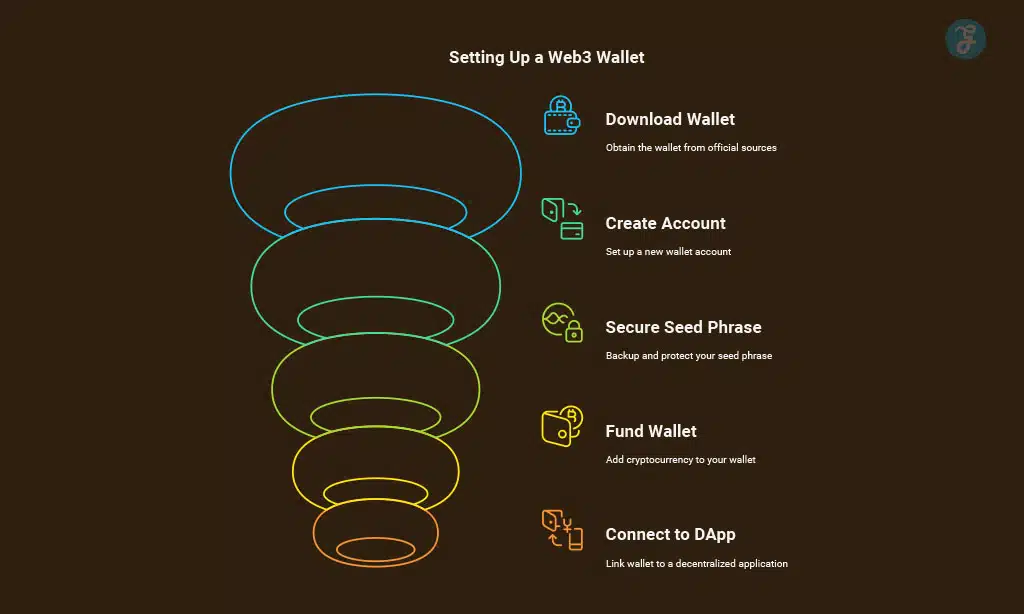
Step 1: Choose the Right Web3 Wallet
Before you start, you need to pick a wallet that suits your needs. Some of the most popular Web3 wallets include:
| Wallet Name | Blockchain Support | Platform Availability | Security Features |
| MetaMask | Ethereum, BSC, Polygon | Browser, Mobile | Private Key, Password |
| Trust Wallet | Multi-chain | Mobile | Seed Phrase, Encryption |
| Coinbase Wallet | Ethereum, Solana | Mobile, Browser | 2FA, Private Key |
| Phantom | Solana | Browser, Mobile | Encryption, Password |
Key Factors to Consider:
- Blockchain Compatibility – Some wallets support multiple blockchains, while others focus on one.
- Security Features – Ensure the wallet has private key encryption and backup options.
- User Experience – If you’re a beginner, pick a wallet with an intuitive interface.
Step 2: Download and Install the Wallet App or Extension
Once you’ve chosen your preferred Web3 wallet, the next step is downloading it from an official source to avoid scams or phishing attacks.
| Platform | Download Source |
| Browser | Chrome Web Store |
| iOS | Apple App Store |
| Android | Google Play Store |
Steps to Install MetaMask (Example)
- Visit the official MetaMask website.
- Click “Download” and choose your browser extension or mobile app.
- Install the extension on Chrome, Firefox, Brave, or Edge.
Step 3: Create a New Wallet Account
Once installed, follow these steps to create your new Web3 wallet:
- Click “Create a Wallet”.
- Set a strong password.
- Read and accept the terms of service.
- Proceed to the backup seed phrase section.
| Best Practices for Passwords |
| Use at least 12 characters |
| Include symbols & numbers |
| Avoid using common words |
Step 4: Secure Your Seed Phrase (Backup Recovery Phrase)
A seed phrase (or recovery phrase) is a 12-24 word sequence that acts as a backup for your wallet. If you lose access to your device, this phrase allows you to recover your funds.
Security Tips:
- Write it down on paper (don’t store it digitally).
- Use a hardware wallet for additional security.
- Never share your seed phrase with anyone.
| Common Mistakes to Avoid |
| Taking a screenshot of the phrase |
| Storing it on cloud storage |
| Sharing it with others |
Step 5: Fund Your Web3 Wallet with Crypto
Your Web3 wallet is now ready, but it needs cryptocurrency to operate. You can add funds in two ways:
- Buy Crypto on an Exchange (e.g., Coinbase, Binance) and transfer it to your Web3 wallet.
- Receive Crypto from Another Wallet (via QR code or wallet address).
| Exchange Platforms | Supported Cryptos | Payment Methods |
| Binance | BTC, ETH, BNB | Bank, Credit Card |
| Coinbase | ETH, USDC, MATIC | PayPal, Debit Card |
| Kraken | BTC, ETH, LTC | Wire Transfer |
Step 6: Connect Your Wallet to a DApp
Now comes the fun part — using your wallet for decentralized apps (DApps).
Examples:
-
Uniswap or PancakeSwap for token swaps
-
OpenSea for NFTs
-
Aave or Compound for DeFi lending
Steps:
-
Visit the official DApp website.
-
Click “Connect Wallet.”
-
Approve the connection through your wallet popup.
-
Start interacting securely on the blockchain!
Step 7: Explore Advanced Features & Best Practices
Now that you’re set up, enhance your Web3 experience with advanced tools:
1. Enable Two-Factor Authentication (2FA)
Adds another protection layer to prevent unauthorized access.
2. Use Hardware Wallets for Large Funds
Devices like Ledger or Trezor provide offline cold storage—ideal for long-term holdings.
3. Stay Vigilant Against Scams
Never click unknown links or download unofficial apps. Always verify URLs manually.
4. Track and Manage Assets
Use portfolio trackers like Zapper, DeBank, or CoinStats to monitor your balances and DApp activity.
Takeaways
Congratulations — you’ve just taken your first step into the Web3 ecosystem, a digital world built on trust, transparency, and personal ownership. By setting up your Web3 wallet, you’ve unlocked far more than just a tool to store cryptocurrency — you’ve gained direct access to the decentralized internet, where you control your identity, assets, and data.
A Web3 wallet is not just a digital vault — it’s your passport to the new internet economy. It allows you to explore DeFi platforms, NFT marketplaces, blockchain games, and DAO communities without relying on intermediaries. With one secure wallet, you can invest, trade, collect, and even vote on decentralized governance proposals — all from your smartphone or browser.
FAQs on How to Set Up Your First Web3 Wallet
1. Is a Web3 wallet free to use?
Yes. Most Web3 wallets like MetaMask and Trust Wallet are completely free to download and use. However, you’ll pay small network gas fees for blockchain transactions.
2. Which is the best Web3 wallet for beginners?
MetaMask and Trust Wallet are the best for beginners because they’re user-friendly, secure, and support multiple blockchains like Ethereum and Binance Smart Chain.
3. Can I recover my Web3 wallet if I lose my phone?
Yes — if you backed up your seed phrase. Install the wallet again on a new device and use the recovery phrase to restore access. Without it, recovery is impossible.
4. What’s the difference between a Web3 wallet and an exchange wallet?
An exchange wallet is custodial—controlled by the exchange. A Web3 wallet is non-custodial—you control your private keys, funds, and data.
5. Are Web3 wallets safe?
They’re secure if used correctly. The main risks come from human error—sharing private keys, falling for scams, or downloading fake apps.