Elevate your video quality by upscaling to 4K resolution, turning standard footage into stunning high-definition visuals. This guide covers techniques and tools for Windows, Mac, Android, iPhone, and online platforms, ensuring clarity and detail in your enhanced videos. Whether you’re a content creator or just upgrading your personal library, discover practical steps and tips to achieve exceptional results. By leveraging these methods, you’ll ensure that your content not only meets but exceeds modern viewing standards.
Part 1. Exploring top scenarios using 4k AI video upscaler
Upscaling videos to 4K opens up a range of possibilities for improving visual content across various scenarios. Whether restoring old footage or enhancing professional presentations, 4K upscaling can significantly impact the quality and appeal of video material. Here are some key scenarios where 4K AI video upscaling proves invaluable:
- Restoring old footage: Vintage films often suffer from low resolution and diminished quality. Upscaling these films to 4K can rejuvenate the visuals, making them more enjoyable to watch and preserving cherished memories with enhanced clarity. This process breathes new life into historical content, ensuring it remains relevant and visually compelling.
- Professional presentations: In the business world, video presentations are a common tool for conveying important information. Upscaling these videos to 4K ensures that the visuals remain sharp and engaging, making a lasting impression on stakeholders or clients. Crisp, high-resolution images can enhance the effectiveness of presentations and contribute to a more polished professional image.
- Gaming content: Gamers who create content for platforms like YouTube or Twitch often need to upscale their gameplay footage to 4K. This not only enhances the visual experience for viewers but can also attract a larger audience by showcasing content with superior detail and resolution. High-quality visuals can set a gamer’s content apart and boost viewer engagement.
- Film and documentary production: Filmmakers frequently use stock footage or existing material in their projects. Upscaling this content to 4K can improve detail and clarity, contributing to a more polished and professional final product. Enhanced visuals can elevate the overall quality of films and documentaries, making them more captivating and visually appealing for audiences.
Part 2. Best way to upscale videos to 4k on PC (Windows & Mac)
UniConverter: Best AI video upscaler for PC/Mac
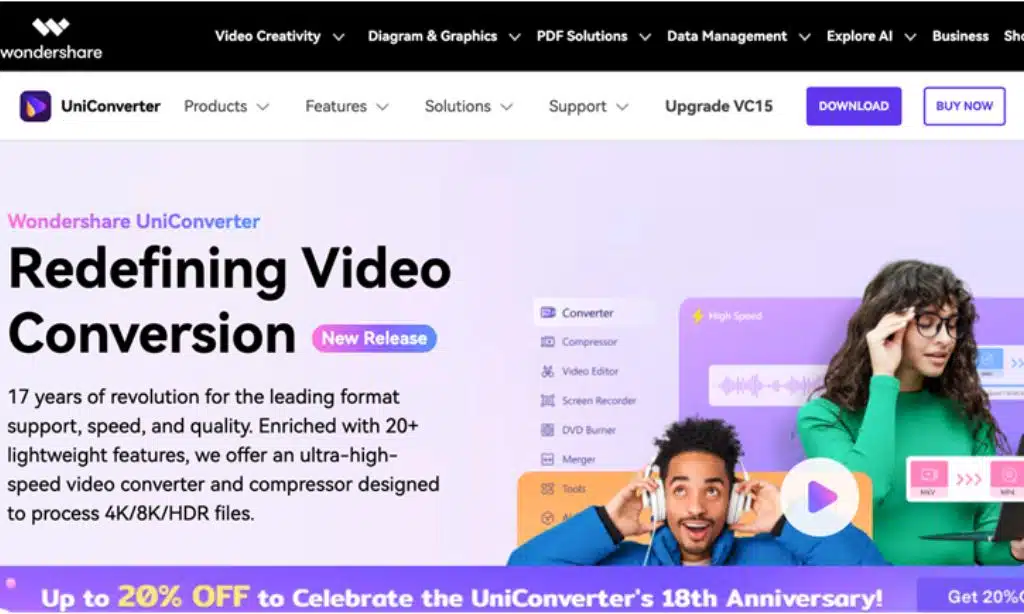
UniConverter offers a firm answer for improving video quality. UniConverter guarantees fantastic clarity and detail with its sophisticated algorithms, enabling viewers to watch their films in breathtaking high quality. Restoring outdated footage and enhancing the quality of recordings from several sources depend especially on this technology.
Key Features of UniConverter’s video enhancer
- 4K upscaling: Seamlessly enhances video resolution to 4K, maintaining high image quality without pixelation or loss of clarity.
- AI-powered enhancement: Utilizes advanced AI models to intelligently upscale and refine video quality, ensuring detailed and sharp visuals.
- Wide format support: Supports a broad range of video formats for both enhancement and conversion, providing flexibility for various needs.
- Noise reduction: Effectively reduces video noise and artifacts, resulting in cleaner and more visually appealing footage.
- Color correction: Automatically adjusts color balance, brightness, and contrast to enhance the overall appearance of the video.
Steps to use UniConverter’s video enhancer

Step 1: Access UniConverter and upload video:
Visit the UniConverter website, log in or register a new account, then click the “Add Files” button to upload your video. You can also drag and drop files directly into the allocated space. Supported formats include MOV, MP4, AVI, and MPG.
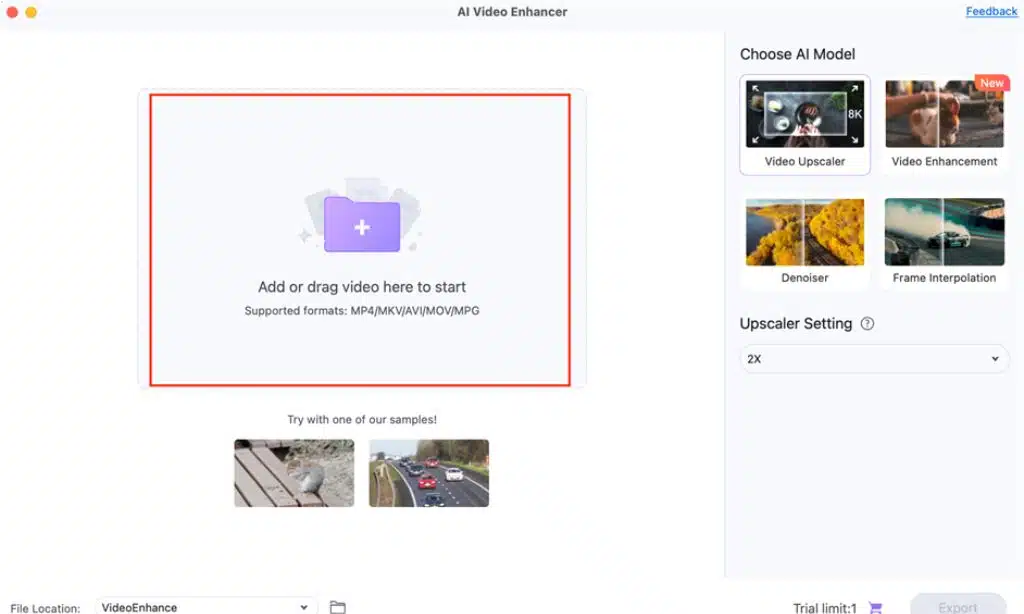
Step 2: Choose Enhancement Settings:
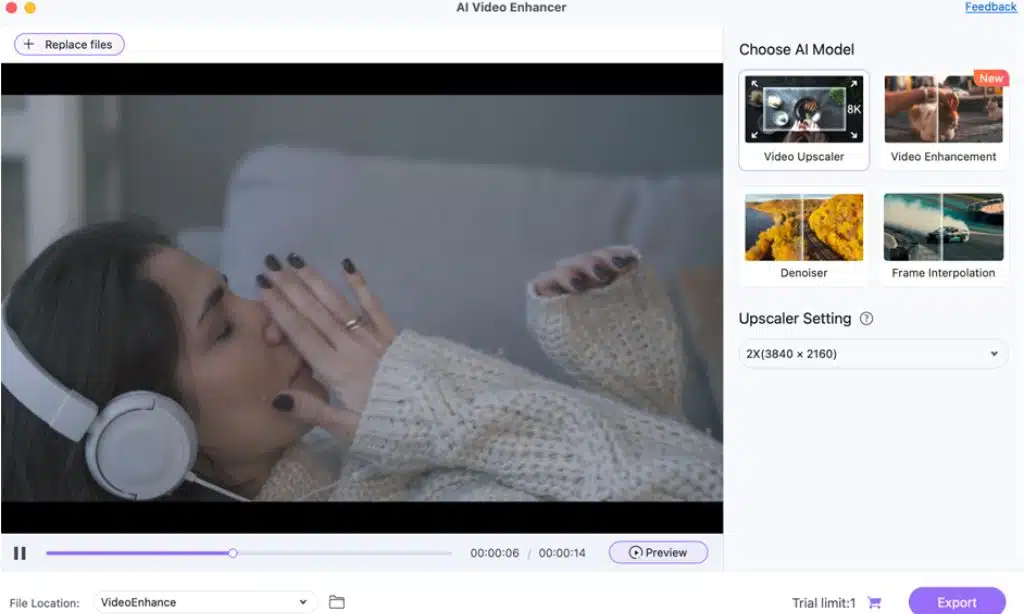
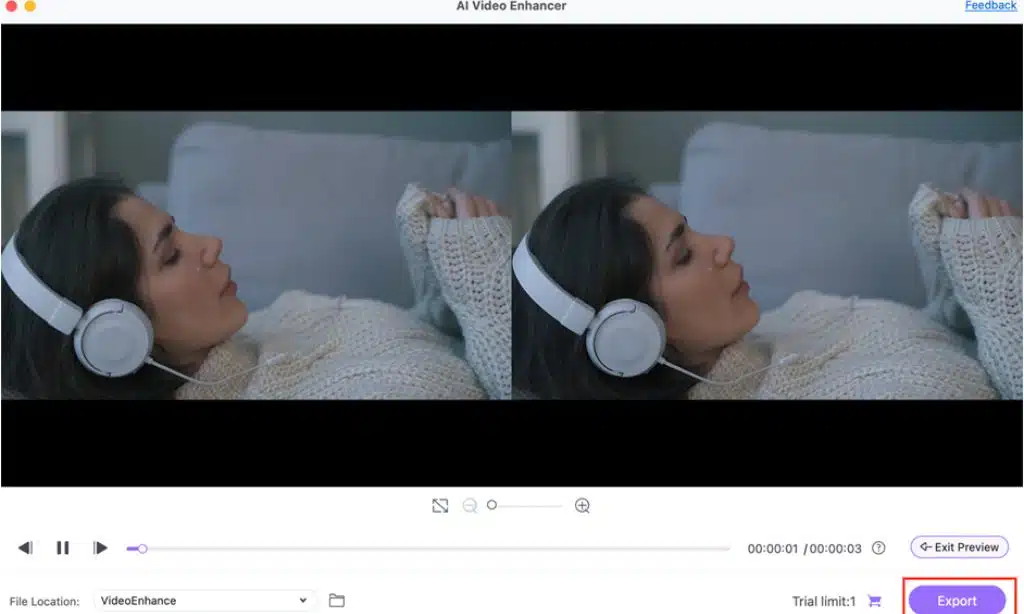
Upload your video and select the desired resolution, such as 2x or 4x. Utilize UniConverter’s tools, like Denoiser and Frame Interpolation, to refine video quality. Preview the adjustments in real-time to ensure they meet your expectations before finalizing.
Part 3. 6 extra tools for upscaling videos to 4K online
By significantly improving viewing quality, upscaling films to 4K increases every detail and offers a more immersive experience. Here, we discuss six more web tools that will enable you to improve your video recordings effectively.
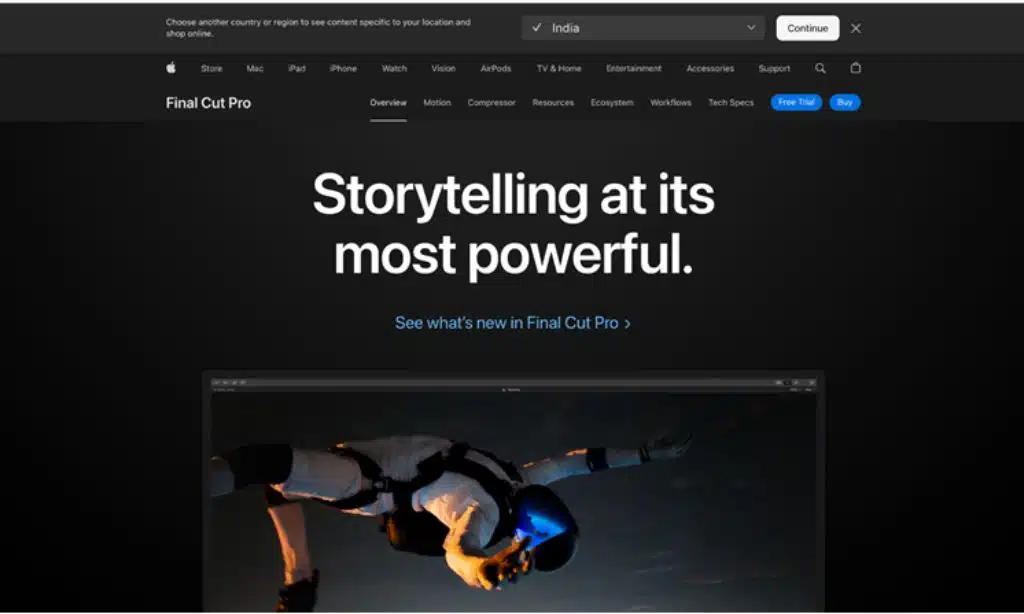
1. Final Cut Pro-professional video editing software
Final Cut Pro offers advanced AI-driven video enhancement tools that provide exceptional quality improvements. Its AI algorithms can upscale footage to 4K, enriching details and sharpness while preserving the original clarity. With features like intelligent color correction and noise reduction, Final Cut Pro ensures that your videos look their best. The software’s intuitive interface makes it accessible for both professional editors and enthusiasts.
Key Features
- Magnetic chronology: Automatically changes clips to remove conflicts and gaps, simplifying editing.
- Advanced grading of colour: Provides exact colour modification settings, improving videos’ visual attractiveness.
- Multicam editing: It makes it easy to edit many camera viewpoints simultaneously.
- Ideal for Apple silicon: Delivers contemporary Apple hardware with outstanding efficiency and performance.
- Supported wide format: Flexible editing possibilities depend on broad interoperability with several video formats.
Step-by-step guide to upscaling videos to 4K in Final Cut Pro
Step 1: Open and start a new project:
Launch Final Cut Pro on your Mac, then select “File” > “New” > “Project” and set the resolution to 4K.
Step 2: Import and edit your video:
Drag and drop your video files into the project library or use “File” > “Import” to add them. Place the video on the timeline and make any necessary edits.
Step 3: Apply upscaling settings and export:
Select your video on the timeline, go to the “Inspector,” and adjust the scale parameters to fit 4K resolution. After editing, export the video by choosing “File” > “Share” > “Master File.”
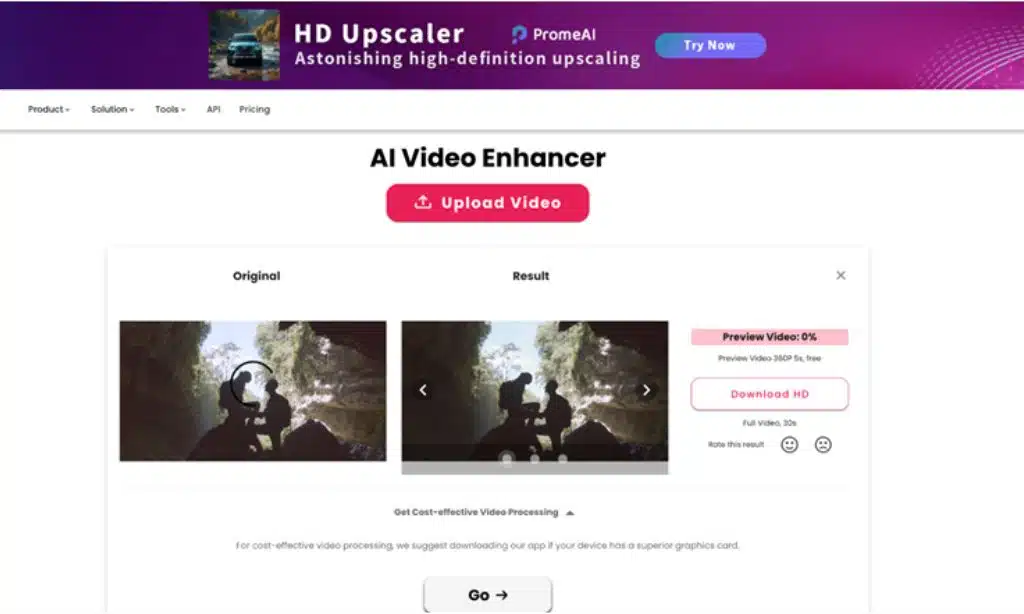
2. Cutout.pro-AI-powered background removal tool
Cutout.pro leverages AI to effortlessly remove backgrounds from images with high precision. Its advanced algorithms automatically detect and separate the foreground from the background, ensuring clean and accurate cutouts. Users can fine-tune results with easy-to-use editing tools, making it ideal for both personal and professional use. The platform supports various image formats, allowing for quick and convenient downloads.
Key Features
- Background removal is driven by artificial intelligence: It precisely identifies and eliminates backgrounds automatically.
- Batch processing: Batch processing lets users concurrently upload and handle many photos.
- Easy user interface: It makes editing more accessible for people of various degrees of expertise.
- Download choice: It offers many download formats, including JPEG and PNG, which are perfect for professional use.
- Adjustments in quality: More instruments are provided to improve picture quality and adjust cutouts.
Step-by-Step guide to removing backgrounds using Cutout.pro
Step 1: Upload your video:
Visit the Cutout.pro website and click the ‘Upload video’ option to select and upload the video you want to modify.
Step 2: Automatic background removal:
Allow the AI to automatically remove the background and analyze your image for a clean cutout.
Step 3: Review, edit, and download:
Check the output, make any necessary adjustments using the provided editing tools, and then click “Download” to save your image in the desired format.
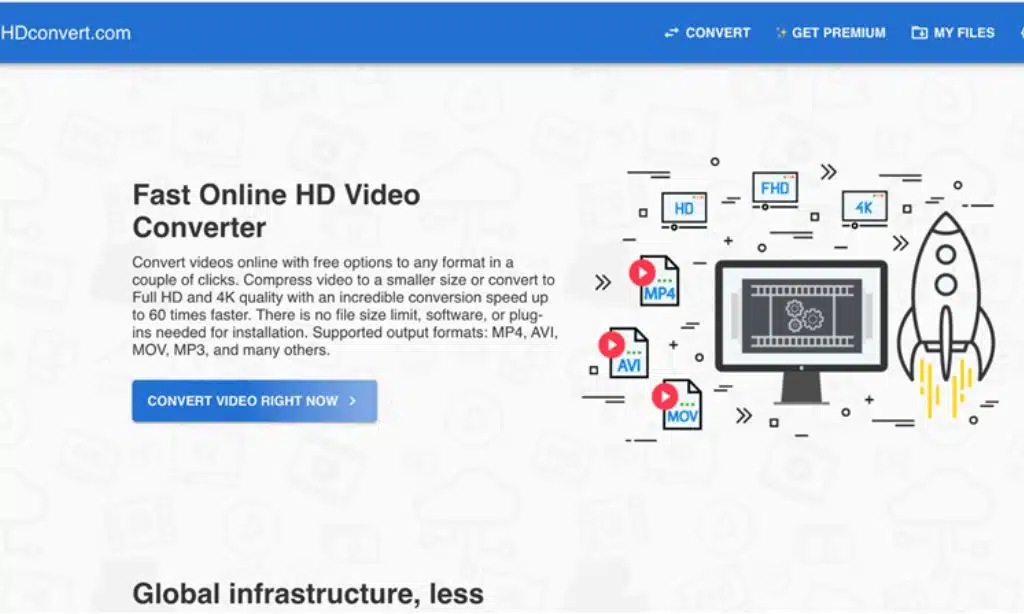
3. HD Convert-high-quality video and audio conversion tool
HD Convert provides a powerful tool for converting and upscaling videos to high-definition quality. Its intuitive interface allows users to easily convert videos into various formats while enhancing resolution to HD or 4K. The software uses advanced algorithms to improve video clarity and detail, ensuring that converted videos maintain high visual standards. HD Convert is suitable for both casual users and professionals seeking to enhance their video content..
Key Features
- Multi-format support: Converts between MP4, AVI, MP3, and audio and video formats.
- Superior output: guarantees the converted files’ original quality, producing the finest possible outcome.
- Rapid conversion rates: Uses effective processing to save conversion waiting times.
- Batch conversion: Let users save time and effort by converting many files at once.
- Integration of cloud storage: lets users directly import and export files from well-known cloud providers.
Step-by-step guide to converting files using HD Convert
Step 1: Access HD convert:
Visit the HD Convert website to start the process.
Step 2: Upload your file:
Click the “Upload” button to select and upload the file you wish to convert from your device or cloud storage.
Step 3: Select format and convert:
Choose your desired output format and click “Convert” to begin the process. Once done, click “Download” to save your converted file.
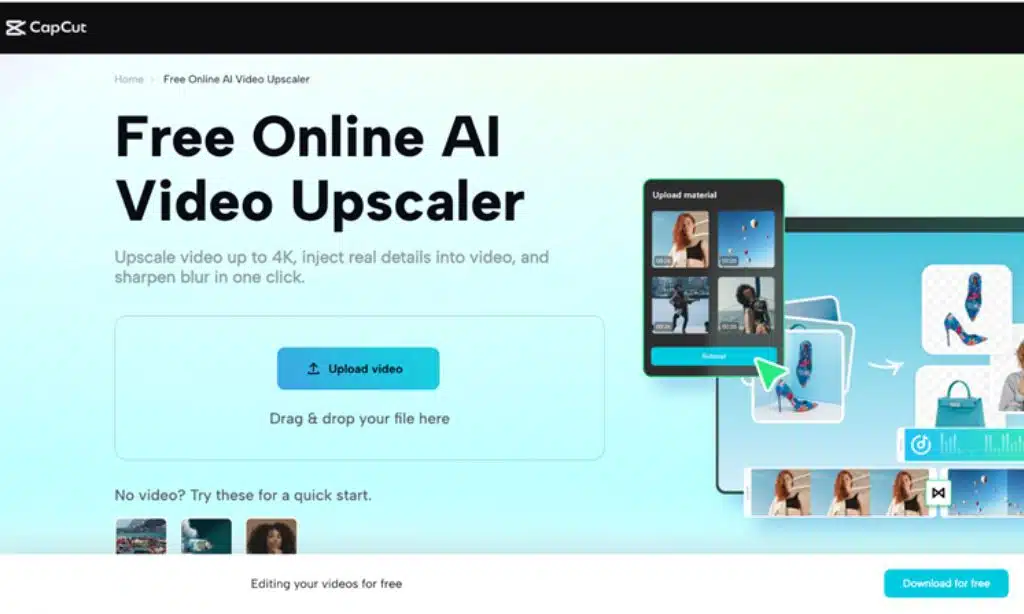
4. CapCut-versatile video editing application
CapCut offers intuitive video editing with robust AI-driven enhancements. Its features include automatic background removal, object tracking, and real-time video upscaling to improve clarity and detail. With easy-to-use tools for adding effects and transitions, CapCut caters to both casual users and professional editors. The app’s AI capabilities ensure high-quality output, making it a versatile choice for video enhancement and creation.
Key Features
- Accessible interface for users: Designed for novice and seasoned editors, it lets editing and navigation flow naturally.
- Rich library of effects: Availability of many filters, transitions, and sound effects to improve your movies.
- Multi-Track editing: lets users work on more intricate edits using many video and audio tracks.
- Overlays for text and stickers: To liven videos, use dynamic text, stickers, and emoticons.
- Options for exports: Export your modified movies in many resolutions and formats that fit for several platforms easily.
Step-by-step guide to using CapCut
Step 1: Download and run CapCut:
Find CapCut in your app store, install it, and open the application.
Step 2: Launch a new project:
Start a new project by selecting “New Project” and import your media files using the “Add” button.
Step 3: Edit and export:
Use the editing tools to adjust your video, then preview your edits and select ‘Export’ to save the final video to your device.
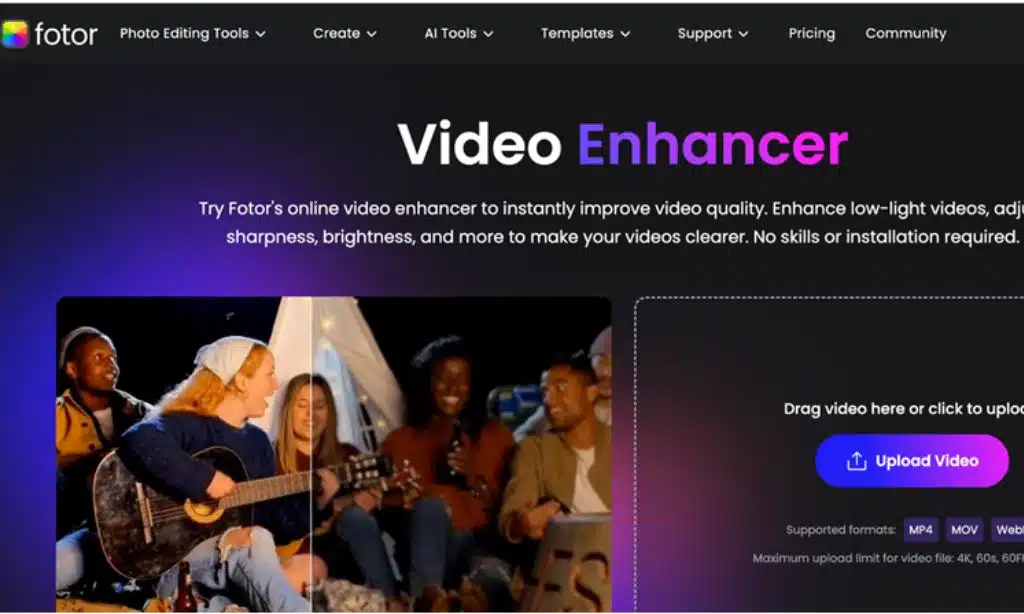
5. Fotor-Powerful Online Photo Editing and Design Tool
Fotor’s AI-powered video enhancement tool offers intuitive features for improving video quality with minimal effort. It uses advanced algorithms to upscale video resolution, enhance color accuracy, and refine visual clarity. With its user-friendly interface, Fotor allows for seamless editing and enhancement, making it accessible for both beginners and professionals. This tool is ideal for those looking to quickly boost video quality and achieve impressive results.
Key Features
- Image editing tools: a complete collection of instruments to fine-tune brightness, contrast, saturation, and more.
- Templates & illustrations: Easy and rapid design is made possible by access to several professionally created templates for many formats.
- Maker of collage: painstakingly produce exquisite picture collages with customizable layouts and styles.
- Batch handling: Edit many images simultaneously to save time on repeated chores.
- AI traits: Modern artificial intelligence technologies can simplify editing using one-click effects and automated improvements.
Step-by-step guide to using Fotor
Step 1: Visit Fotor’s website:
Navigate to Fotor’s website and log in or create a free account to access the tools.
Step 2: Upload your image:
Choose the “Upload” option to add photos from your device or social media accounts.
Step 3: Edit and save:
Use the available editing tools to enhance your image, then download your final design or share it directly on social media.
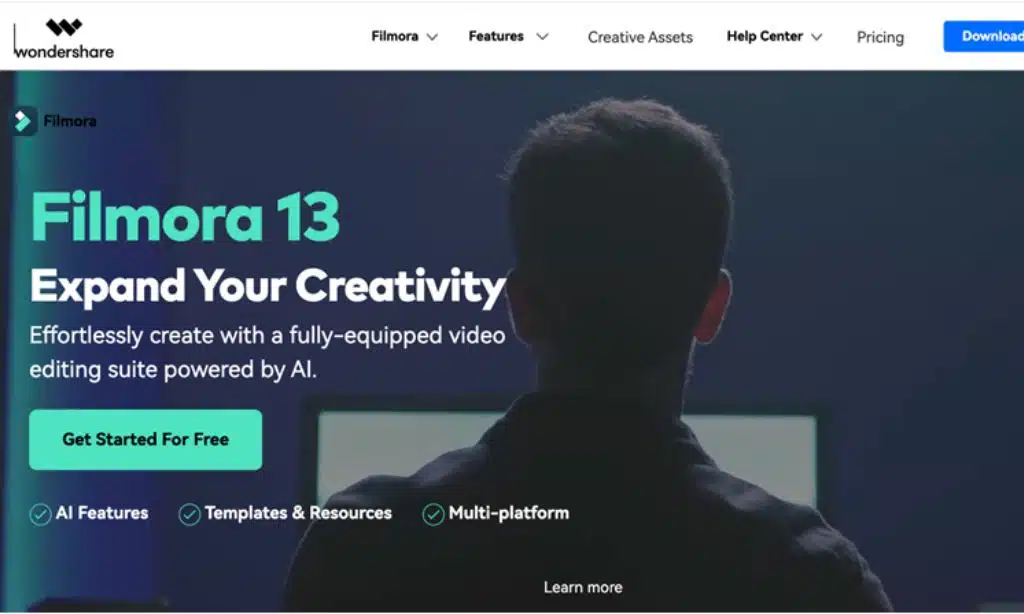
6. Filmora-User-Friendly Video Editing Software
Filmora is a user-friendly video editing software that offers a robust set of features for creating polished videos. It includes a range of AI-powered tools for enhancing video quality, such as automated scene detection, video stabilization, and intelligent color correction. Filmora supports various video formats and provides an intuitive interface that makes editing accessible for both beginners and professionals. With its built-in effects, transitions, and music, Filmora allows users to produce engaging content with minimal effort.
Key Features
- Accessible user interface: Filmora’s straightforward design helps users of all expertise levels to browse and produce notable films.
- Long library of effects: Get a great range of video filters, sound effects, and music to improve your projects and provide a distinctive touch.
- Advocacy of several formats: Edit and export videos in many formats to enable flawless platform sharing.
- Advanced editing instruments: Tools for editing, trimming, changing pace, and more to hone your video narrative.
- Title and text: Create attractive text overlays, credits, and subtitles with customizable fonts and styles.
Step-by-Step guide to using Filmora
Step 1: Install and open Filmora:
Download Filmora from the official website, install it on your device, and open the application to start a new project.
Step 2: Import and edit media:
Drag and drop your video clips, music, and images into the media library. Arrange your clips on the timeline, and use the editing tools to add transitions, effects, or text.
Step 3: Preview and export:
Review your edits in the preview window. Once satisfied with the changes, click the export option to save your video in your desired format or directly share it to social media.
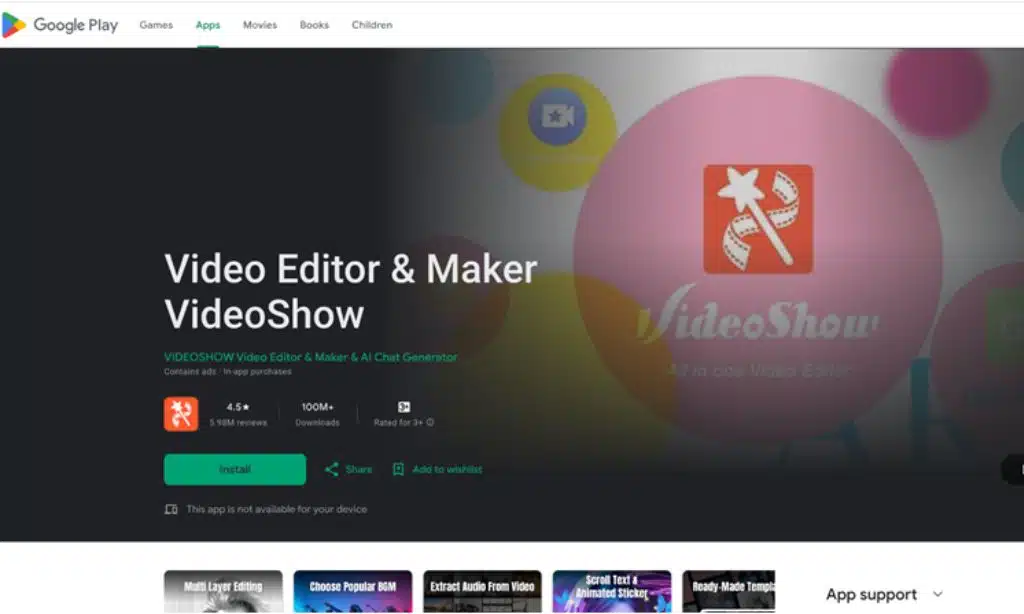
7. VideoShow Video Editor & Maker-Professional Video Editing App
VideoShow is a powerful 4k video upscaler tool for novices and experts. VideoShow lets you produce professionally-quality films straight from your mobile device with its simple UI and robust range of tools. VideoShow offers all the tools required to improve your narrative for social media, personal projects, or business presentations.
Key Features
- Improved Voice: Using sophisticated sound editing tools can improve your video’s audio.
- Rich subjects: Get some chic ideas to make your films seem professional.
- Collage and photo edit: Edit photos within the app.
- Libraries of Music: Access a large selection of licensed music and noises to accompany your films.
- Easy Sharing Choices: Share your work with great effort, with one click, across many social networking sites.
Step-by-Step Guide to Using VideoShow
Step 1: Install and Launch VideoShow:
Download VideoShow from your app store or its website, and open the app to start a new project by selecting the “Create” option.
Step 2: Add and Edit Media:
Import photos and videos from your collection, then use the editing tools to trim clips, add effects, and enhance audio.
Step 3: Preview and Save:
Review your project to ensure everything is as desired, then save the video to your device or share it directly to social media.
8. Radiant-Effortless Video Editing App
Radiant AI Video Enhancer leverages advanced artificial intelligence to elevate video quality with remarkable precision. It intelligently analyzes and upscales video footage, enhancing resolution and clarity while preserving intricate details. The tool supports a variety of formats, making it versatile for different needs. Radiant AI also offers user-friendly controls and presets for effortless enhancement, ensuring high-quality results with minimal effort.
Key Features
- Simple Interface: Move through the app with simplicity to enable quick project creation.
- Advanced filters: Apply premium filters to improve the look of your movies immediately.
- Overlays of text: Add unique text overlays in many fonts and styles to communicate your point of view.
- Video transitions: For a professional touch, provide seamless clip transitions.
- Export in many formats: Save your movies in many resolutions and formats that fit your requirements.
Step-by-step guide to using Radiant
Step 1: Download and Install Radiant:
Visit the Radiant website or app store to download and install the application on your device.
Step 2: Start a new project:
Open Radiant and select the “New Project” option to initiate your video editing process.
Step 3: Choose and edit media:
Import your photos and videos, then use the editing tools to trim, add filters, and apply text and transitions. Once done, export the video in your preferred quality and format, and share it directly on social media from the app.
Part 4. Best 3 methods for upscaling videos to 4K on Android and iPhone
Upscaling videos to 4K has become familiar among content makers trying to improve the quality of their output in the digital era. Here, we discuss three efficient techniques for obtaining high-resolution video on Android and iPhone smartphones.
1. PowerDirector-Professional video editing app
PowerDirector is a comprehensive video enhancement tool that offers powerful features for editing and improving video quality. With its advanced AI-driven technology, users can upscale videos to higher resolutions, reduce noise, and sharpen details. The software provides a user-friendly interface with a wide range of editing tools, including effects, transitions, and color correction options. PowerDirector is designed to deliver professional-grade results, making it an excellent choice for both amateur and experienced video creators.

Key Features
- 4K Video Editing: Edit and export movies in breathtaking 4K resolution.
- Multiple camera editing: With few touches, quickly alternate between many camera viewpoints.
- Chroma Keys: Design original backgrounds with green screen effects.
- Motion graphics: View a collection of customizable motion graphics to accentuate your films.
- Voice Over: To improve your tale, record voiceovers within the program.
Step-by-step guide to using PowerDirector
Step 1: Download and set up PowerDirector:
Download and install the PowerDirector app from the official website or your app store, then launch it to start your editing project.
Step 2: Create and edit your project:
Start a new project, import your media files, and use the editing tools to cut, apply effects, and add text. Enhance your video with transitions and motion graphics for a polished look.
Step 3: Export and share your video:
Once your edits are complete, export the video in 4K resolution and share it directly to your preferred social media platforms.
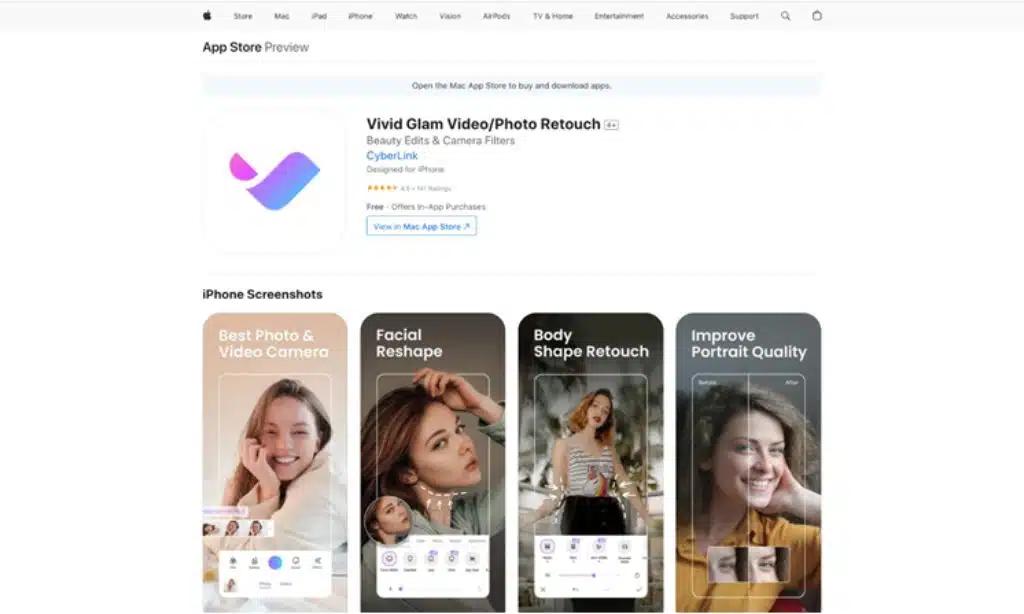
2. Vivid Glam-Creative video editing app
Vivid Glam is an advanced video enhancer designed to elevate your footage with stunning visual clarity. It utilizes sophisticated AI algorithms to upscale videos, enhance colors, and improve overall quality. The software offers a range of tools to adjust sharpness, contrast, and brightness, ensuring your videos achieve a professional and vibrant look. With its user-friendly interface, Vivid Glam makes high-quality video enhancement accessible and efficient for both casual users and professionals.
Key Features
- Filters & effects: Transform your visuals with a wide selection of filters and overlays.
- Text & titles: Choose from dynamic text styles to personalize your videos.
- Audio sync: Perfectly match audio tracks with your video footage.
- Correction in colour: For breathtaking images, vary the brightness, contrast, and saturation.
- Export options: Save your edited creations in various formats and resolutions.
Step-by-step guide to using Vivid Glam
Step 1: Download and install Vivid Glam:
Visit the official website or your app store to download and install the Vivid Glam app on your device.
Step 2: Launch the application and start a project:
Open Vivid Glam, create an account if required, and select ‘Create New Project’ to start working on your video.
Step 3: Upload media and apply enhancements:
Import your video and photo assets, apply filters and effects, add music and text, then save and share your final creation on social media or with friends.
3. KineMaster-Advanced video editing app
KineMaster is a versatile video editing app offering powerful tools for video enhancement. It features a user-friendly interface with a variety of effects, transitions, and advanced editing options. The app supports multiple layers of video, audio, and text, making it ideal for detailed and creative video projects. With high-quality export options, KineMaster is suitable for both amateur and professional video creators.
Key Features
- Editing with many layers: For a professional appearance, overlay photos, text, video, and effects.
- Chroma key: Make simple green screen effects with chroma-critical capability.
- Fast control: For stunning slow-motion or fast-motion effects, vary the pace of your video footage.
- Audio filters: Using volume envelopes and voiceovers, among other audio filters and tools, to improve your sound.
- Export choice: Share high-quality videos up to 4K so your videos fit every platform.
Step-by-dtep guide to using KineMaster
Step 1: Download and install KineMaster:
Obtain the app from the official website or your preferred app store and install it on your device.
Step 2: Start a new project:
Open KineMaster, create or sign in to your account, then select “New Project” from the main screen to begin editing.
Step 3: Import, edit, and export:
Upload your media files, apply edits and effects using the available tools, preview your video, and finally, export and share it in your chosen format.
Conclusion
Ultimately, 4k AI upscaling will significantly improve your watching experience on many devices. You may get excellent results without sacrificing quality by using efficient Windows, Mac, Android, iPhone, and web tools accessible for each. Learning these skills will improve your video projects regardless of your level of professional content creation or passionate hobbyist activity. Export your finished goods in high quality to fully highlight your talents and inventiveness.
FAQs
Q1. How does 4K upscaling impact streaming video quality?
Upscaling improves the visual quality of streaming content by making it more suitable for high-resolution displays, enhancing clarity and reducing pixelation on larger screens.
Q2. Is 4K video upscale important?
Indeed, upscaling 4K video is crucial as it makes lower resolution material more aesthetically pleasing on higher resolution televisions by allowing enhanced clarity and detail to benefit from. It also improves audience involvement and general watching experience.
Q3. What settings should I use for optimal 4K video upscaling?
For the best results, select a high-quality upscaling algorithm, adjust bitrate settings appropriately, and use software that supports advanced AI-driven enhancements.
Q4. What are the key benefits of using AI for 4K video upscaling?
AI enhances upscaling by intelligently predicting and adding details, resulting in sharper and more accurate visuals compared to traditional upscaling methods.
Q5. Can I maintain color accuracy when reducing resolution?
Yes, you can maintain color accuracy when reducing resolution by using high-quality downscaling tools that preserve the original colour space and settings. It’s essential to choose software that minimizes colour shifts during the process.