Waffles are a beloved breakfast staple, cherished for their crispy exterior and fluffy interior. However, achieving the perfect waffle can be a challenging culinary feat.
This comprehensive guide offers 20 expert tips to elevate your waffle-making skills, ensuring that each batch is golden, crispy, and irresistibly delicious.
Whether you’re a novice in the kitchen or an experienced cook looking to refine your technique, these tips will transform your waffle game.
From selecting the right equipment to mastering batter consistency and exploring creative variations, this article covers everything you need to know to create waffles that rival those of professional chefs.
1. Choose the right waffle iron
Selecting the appropriate waffle iron is crucial for achieving perfect waffles. There are several types available, each producing distinct results.
Belgian waffle makers create thick, fluffy waffles with deep pockets ideal for holding syrup and toppings. American-style waffle makers produce thinner, crispier waffles with shallower indentations.
Cast iron waffle makers offer superior heat distribution and durability, though they require more maintenance. Electric waffle makers are convenient and often feature adjustable settings for customized results.
Consider your preferences for waffle thickness, crispiness, and convenience when choosing. A high-quality waffle iron should heat evenly, release waffles easily, and maintain consistent temperature throughout cooking.
Invest in a waffle iron that suits your needs and cooking style to set a solid foundation for waffle success.
2. Preheat your waffle iron

A crucial step that novice waffle makers frequently overlook is preheating your waffle iron. This process ensures even cooking and helps create that coveted crispy exterior.
Most electric waffle irons have an indicator light or sound that signals when the iron is properly heated. For stovetop models, preheat over medium heat for about 5 minutes before use.
Proper preheating prevents undercooked centers and ensures that the batter starts cooking immediately upon contact with the iron. This immediate cooking action helps create a crisp exterior while maintaining a soft, fluffy interior.
Additionally, a well-preheated iron helps prevent sticking, making it easier to remove the finished waffle without tearing. Remember, patience during preheating pays off in perfectly cooked waffles.
3. Use room temperature ingredients
Using room temperature ingredients is a simple yet effective technique for achieving superior waffle texture. Take eggs, milk, and butter out of the refrigerator about 30 minutes before you start cooking.
Room temperature ingredients mix more easily, creating a smoother batter with fewer lumps. This results in waffles with a more uniform texture. Cold ingredients can cause the batter to seize, leading to overworking as you try to incorporate them fully.
Room temperature eggs, in particular, blend more evenly into the batter and trap air more effectively when beaten, contributing to lighter, fluffier waffles.
If you’re short on time, you can quickly bring eggs to room temperature by placing them in a bowl of warm water for a few minutes. For butter, cut it into small cubes to speed up the warming process.
4. Separate the eggs
Separating eggs is a technique that can significantly improve the texture of your waffles. Start by cracking the eggs and carefully separating the yolks from the whites. Mix the yolks into the batter as usual, but set the whites aside.
Whip the egg whites separately until stiff peaks form, then gently fold them into the batter just before cooking. This method incorporates air into the batter, resulting in waffles that are incredibly light and fluffy.
The whipped egg whites create tiny pockets of air throughout the batter, which expand during cooking to produce a delicate, airy texture. While this step requires a bit more effort, the results are well worth it. For best results, use room temperature eggs, as they whip up more easily and to a greater volume than cold eggs.
5. Don’t overmix the batter
Overmixing waffle batter is a common mistake that can lead to tough, chewy waffles. When mixing your batter, stir just until the ingredients are combined. It’s perfectly fine, even desirable, to have some small lumps remaining in the batter.
These lumps will cook out during the baking process. Overmixing develops the gluten in the flour, resulting in a denser, less tender waffle. To avoid overmixing, use a gentle hand when combining wet and dry ingredients.
A whisk or spatula works well for this purpose. If using an electric mixer, mix on low speed and stop as soon as the ingredients are incorporated. Remember, a few streaks of flour or small lumps in the batter are preferable to an overmixed, smooth batter.
6. Let the batter rest
Allowing your waffle batter to rest before cooking is a crucial step that many people overlook. After mixing the batter, let it sit for about 10–15 minutes before cooking.
This resting period serves several purposes. First, it allows the flour to fully hydrate, resulting in a smoother texture. The resting time also lets any bubbles in the batter settle, which can help prevent your waffles from sticking to the iron.
Additionally, this pause gives the gluten in the flour time to relax, which can lead to more tender waffles. If you’re using baking powder in your recipe, the resting time allows it to start working, creating bubbles that will help make your waffles light and fluffy.
For even better results, you can let the batter rest in the refrigerator for up to an hour.
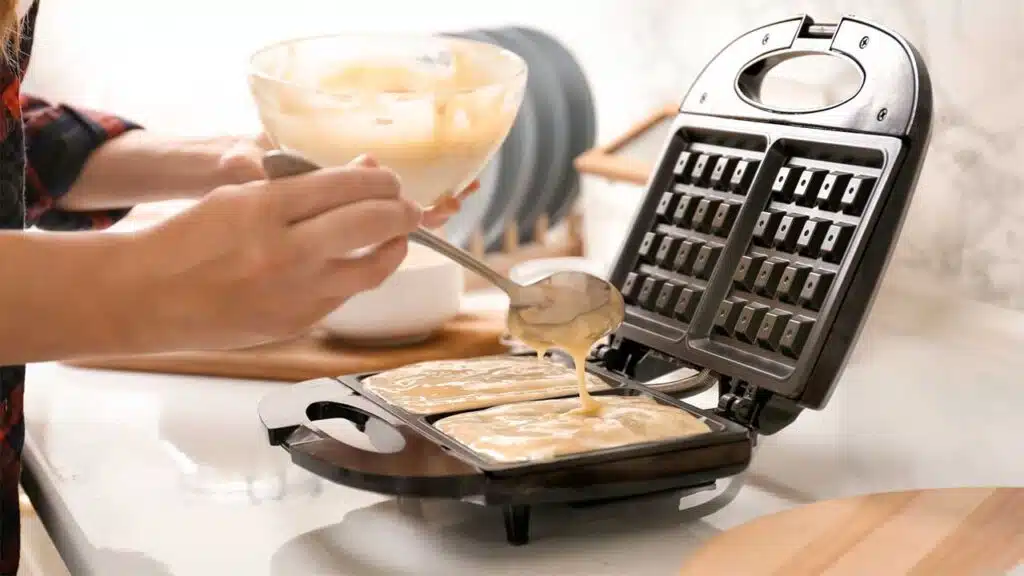
7. Use the right amount of batter
Using the correct amount of batter is crucial for achieving perfectly shaped waffles. Too little batter results in incomplete waffles with empty pockets, while too much can lead to overflow and a messy waffle iron.
Most standard waffle irons require about 1/2 to 3/4 cup of batter per waffle, but this can vary depending on the size and style of your waffle maker. It’s best to consult your waffle iron’s instructions for the recommended amount. When adding batter, pour it into the center of the iron and let it spread naturally to the edges.
This ensures even distribution and helps prevent overflow. If you’re unsure, start with a smaller amount and adjust as needed. Remember, the batter will expand as it cooks, so it’s better to err on the side of slightly less batter than too much.
8. Add a little oil to the batter
Adding a small amount of oil to your waffle batter can significantly improve the texture and flavor of your waffle. About 1-2 tablespoons of neutral-flavored oil, such as vegetable or canola oil, per batch of batter can work wonders.
The oil helps create a crispier exterior by promoting browning and preventing the waffle from sticking to the iron. It also adds moisture to the interior, resulting in a tender, fluffy texture.
Additionally, the oil can help extend the shelf life of your waffles, keeping them fresher for longer if you plan to store them. If you’re looking for a healthier option, you can use olive oil or coconut oil, which will impart a subtle flavor to your waffles.
Remember to adjust the amount of other liquids in your recipe if adding oil to maintain the right batter consistency.
9. Try buttermilk
Incorporating buttermilk into your waffle recipe can elevate the flavor and texture of your waffles. Buttermilk is slightly acidic, which reacts with the baking soda in the batter to create a light, fluffy texture.
This reaction also helps the waffles brown more evenly, resulting in a beautiful golden color. The tangy flavor of buttermilk adds depth to the taste of your waffles, complementing both sweet and savory toppings.
If you don’t have buttermilk on hand, you can make a quick substitute by adding a tablespoon of lemon juice or white vinegar to a cup of regular milk and letting it sit for 5-10 minutes.
For those who are lactose intolerant or vegan, non-dairy milk alternatives like almond or soy milk can be used with the same acidic addition to mimic the properties of buttermilk.
10. Experiment with different flours
While all-purpose flour is the standard for most waffle recipes, experimenting with different types of flour can lead to exciting flavor variations and nutritional benefits. Whole wheat flour adds a nutty flavor and increases the fiber content of your waffles.
For a gluten-free option, try almond flour or a gluten-free all-purpose blend. Cornmeal can add a pleasant texture and subtle corn flavor, perfect for savory waffles. Buckwheat flour offers a robust, earthy flavor and is rich in nutrients.
When experimenting with alternative flours, start by replacing just a portion of the all-purpose flour in your recipe, as different flours absorb liquid differently and can affect the texture of your waffles. Gradually increase the proportion of alternative flour as you become more comfortable with how it behaves in your recipe.
11. Don’t open the waffle iron too soon
Patience is key when it comes to making perfect waffles. Resist the temptation to open the waffle iron before the cooking cycle is complete. Opening the iron too early can cause the waffle to split, resulting in an unevenly cooked or torn waffle.
Most modern waffle irons have an indicator light or sound that signals when the waffle is ready. If your waffle iron doesn’t have this feature, wait until the steam coming from the iron has significantly decreased.
This usually takes about 3-5 minutes, depending on your waffle iron and batter. Remember, the first waffle of the batch often takes longer to cook as the iron is still heating up. If you’re unsure, it’s better to err on the side of cooking a little longer rather than opening the iron too soon.
12. Know when they’re done
Recognizing when your waffles are perfectly cooked is crucial for achieving that ideal balance of crispy exterior and fluffy interior. A perfectly cooked waffle should be golden brown in color and release easily from the waffle iron.
If the waffle is pale or sticks to the iron, it likely needs more time. Conversely, if it’s too dark or smells burnt, reduce the cooking time or lower the heat for the next batch.
Some waffle irons have adjustable temperature settings, allowing you to fine-tune the cooking process. It may take a few tries to find the perfect setting for your particular iron and recipe. Don’t be discouraged if your first few waffles aren’t perfect – each batch will help you refine your technique.
13. Keep them warm and crispy
If you’re making multiple waffles, keeping them warm without becoming soggy can be challenging. The best way to maintain their crispiness is to place them directly on the rack in a preheated oven set to a low temperature (around 200°F or 95°C).
This allows air to circulate around the waffles, preventing them from becoming soft or steamy. Avoid stacking waffles on a plate, as this traps moisture and leads to sogginess. If you must stack them, place a piece of parchment paper between each waffle to minimize direct contact.
For longer storage, allow waffles to cool completely before freezing them in a single layer. Once frozen, transfer them to a freezer bag. To reheat, pop them in the toaster or oven until crispy and warm.
14. Add flavor to the batter
Enhancing your waffle batter with additional flavors can transform a basic waffle into a gourmet treat. Vanilla extract is a classic addition that complements both sweet and savory waffles.
For a warm, spicy note, try adding cinnamon, nutmeg, or a combination of fall spices. Citrus zest, such as lemon or orange, can add a bright, fresh flavor. For chocolate lovers, cocoa powder can be incorporated for delicious chocolate waffles.
When adding dry flavorings like spices or cocoa powder, be sure to sift them with the flour to ensure even distribution throughout the batter. Liquid flavorings like extracts should be added to the wet ingredients before combining with the dry ingredients.
Start with small amounts and adjust to your taste preferences, as some flavors can be overpowering if used in excess.
15. Try savory waffles
While sweet waffles are traditional, savory waffles offer a delicious alternative that can be enjoyed for any meal of the day. To create savory waffles, start with a basic waffle batter and omit any sugar.
Then, add savory ingredients such as shredded cheese, chopped herbs, crumbled bacon, or corn kernels. Herbs like chives, rosemary, or thyme can add a wonderful aroma and flavor.
For a protein boost, try adding cooked and crumbled sausage or diced ham. Savory waffles make an excellent base for dishes like fried chicken (for a twist on chicken and waffles), poached eggs, or even as a substitute for bread in sandwiches.
They can also be topped with savory spreads like herb butter or cream cheese for a quick and satisfying snack.
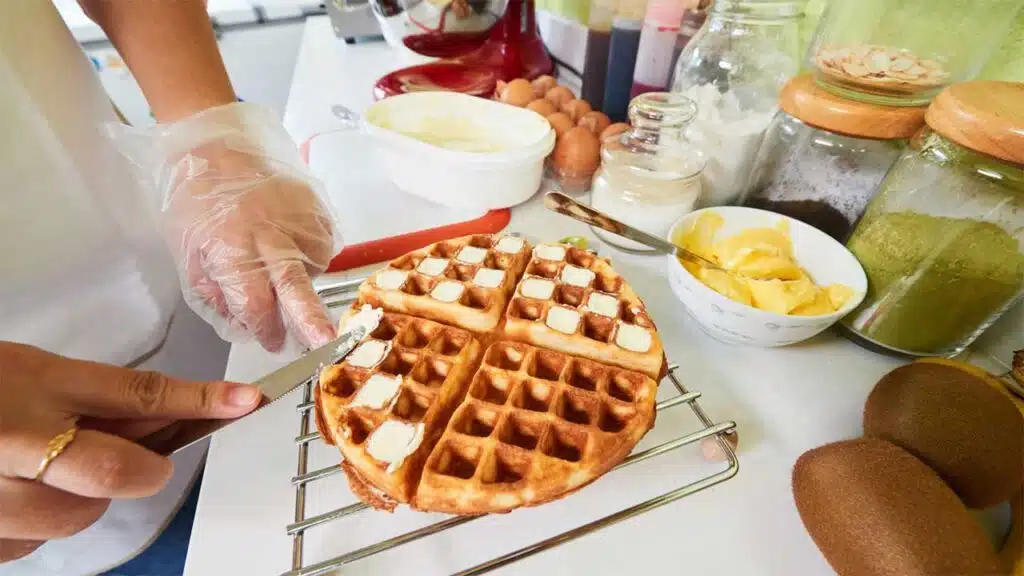
16. Use a spray oil
Using a non-stick spray or brushing your waffle iron with oil before each waffle can help prevent sticking and ensure easy release.
However, it’s important not to use too much oil, as this can make your waffles greasy. A light, even coating is all that’s needed. For best results, use a neutral-flavored cooking spray or brush the iron with melted butter using a silicone pastry brush.
If using a spray, be sure to coat the entire cooking surface, including the edges and crevices. Some people prefer to season their waffle iron periodically instead of oiling it before each use.
This involves coating the iron with oil and heating it, similar to seasoning a cast iron pan. Always follow the manufacturer’s instructions for your specific waffle iron to avoid damaging the surface.
17. Don’t stack hot waffles
When you remove waffles from the iron, it’s important to handle them properly to maintain their texture. Avoid stacking hot waffles directly on top of each other, as the steam will make them soggy. Instead, place them in a single layer on a wire cooling rack.
This allows air to circulate around the waffles, helping them to stay crisp. If you need to make a large batch, you can transfer the cooled waffles to a baking sheet and keep them warm in a low oven (200°F or 95°C) until ready to serve.
If you must stack them, place a piece of parchment paper between each waffle to minimize moisture transfer. Remember, waffles are best enjoyed fresh off the iron, so try to time your cooking so that each waffle can be served immediately.
18. Freeze extra waffles
Making a large batch of waffles and freezing the extras is a great way to have a quick, homemade breakfast on busy mornings. To freeze waffles, let them cool completely on a wire rack.
Once cooled, place them in a single layer on a baking sheet and freeze until solid (about 2 hours). This initial freezing prevents the waffles from sticking together. Once frozen, transfer the waffles to a freezer-safe bag or container, placing a piece of parchment paper between each waffle if stacking.
Properly stored, frozen waffles can last up to 3 months. To reheat, simply pop them in the toaster or oven until crispy and warm.
Avoid microwaving, as this can make the waffles soggy. Having a stash of homemade frozen waffles ensures you always have a delicious breakfast option on hand.
19. Experiment with toppings
While butter and maple syrup are classic waffle toppings, don’t be afraid to get creative. Fresh fruits and berries add natural sweetness and a burst of flavor. Whipped cream can turn your waffle into a decadent dessert.
For a protein-packed breakfast, try topping your waffle with a dollop of Greek yogurt and a drizzle of honey. Nut butters like almond or peanut butter make a delicious and nutritious topping. For a dessert-like treat, try Nutella or chocolate sauce.
Savory toppings like fried chicken, bacon, or a poached egg can transform your waffle into a satisfying meal. You can also create a waffle bar with various toppings, allowing everyone to customize their waffle.
Remember, the possibilities are endless when it comes to waffle toppings, so don’t hesitate to experiment with different flavor combinations.
20. Clean your waffle iron properly
Proper cleaning and maintenance of your waffle iron are essential for ensuring it continues to produce perfect waffles. Always unplug your waffle iron and allow it to cool completely before cleaning.
For non-stick surfaces, a damp cloth or paper towel is usually sufficient to remove any residue. If there’s stuck-on batter, use a soft brush or sponge to gently remove it. Avoid using metal utensils or abrasive cleaners, as these can damage the non-stick coating.
For waffle irons with removable plates, you can wash these in warm, soapy water, but be sure to dry them thoroughly before reassembling. Never submerge an electric waffle iron in water.
For cast iron waffle makers, clean with a stiff brush and hot water, then dry immediately and apply a light coat of oil to prevent rusting. Regular cleaning and proper storage will extend the life of your waffle iron and ensure consistently great results.
Conclusion
Mastering the art of waffle-making is a journey that combines science, technique, and creativity. By following these 20 expert tips, you’re well-equipped to create waffles that are crispy on the outside, fluffy on the inside, and bursting with flavor.
Remember that perfecting your waffle technique may take some practice, so don’t be discouraged if your first attempts aren’t flawless.
The key to great waffles lies in understanding the importance of each step, from selecting the right equipment to mastering batter consistency and exploring creative variations.
Pay attention to details like ingredient temperature, mixing technique, and cooking time, as these can significantly impact the final result.
With these tips in your culinary arsenal, you’re ready to elevate your waffle game and create breakfast masterpieces that rival those of professional chefs.
So heat up that waffle iron, mix up some batter, and get ready to indulge in the perfect waffle. Happy cooking!