In the digital age, achieving synergy between different platforms is no longer a luxury; it’s a necessity. Many businesses are turning to Shopify integration with Salesforce to streamline operations and enhance customer engagement. However, navigating through this integration can be complex for the uninitiated. This detailed tutorial aims to simplify the process, breaking down how to make the most of the Shopify Salesforce Connector.
Understanding the Need for Integration
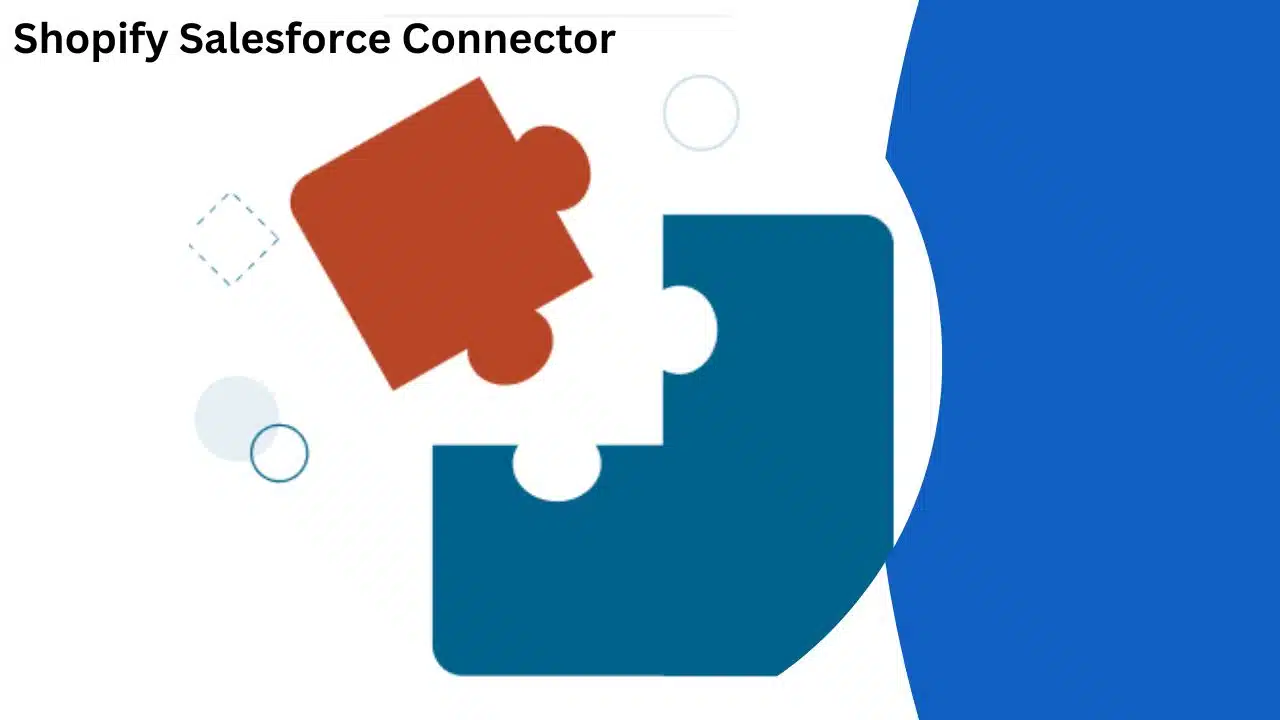
What is Shopify Salesforce Connector?
Shopify Salesforce Connector is essentially a bridge between your Shopify store and Salesforce CRM. It facilitates the real-time transfer of data, helping businesses keep track of customer information, orders, products, and more.
Why Do You Need It?
Connecting Shopify with Salesforce offers numerous benefits like data synchronization, automated workflows, and personalized customer experiences. It enables businesses to harness the capabilities of both platforms in a unified manner.
Preparing for Integration
Essential Requirements
Before proceeding with the integration, ensure you have:
- A Shopify store
- A Salesforce account
- Administrator access to both platforms
Choose a Connector
While several third-party tools can help with the integration, it’s crucial to select one that aligns with your business needs. Look for features like real-time synchronization, data mapping, and customization options.
Step-by-Step Guide to Connecting Shopify and Salesforce
Step 1: Install the Connector
Once you’ve selected a Shopify Salesforce Connector, install it on your system following the provider’s guidelines.
Step 2: Log in to Both Accounts
Log in to your Shopify and Salesforce accounts within the connector interface.
Step 3: Map Data Fields
Use the connector’s mapping feature to align data fields between Shopify and Salesforce. For example, you might link ‘Customer Name’ in Shopify to ‘Lead Name’ in Salesforce.
Step 4: Configure Sync Settings
Most connectors offer various sync options, like real-time, scheduled, or manual syncing. Configure these settings according to your business needs.
Step 5: Test the Integration
Always run a test to ensure data flows correctly between the two platforms. Correct any errors that arise during this phase.
Step 6: Monitor and Optimize
Once the integration is live, continually monitor data transfers and make adjustments to optimize the connection.
Common Troubleshooting Tips
Issue: Data Mismatch
If you find discrepancies in synced data, recheck your mapping settings to ensure the fields are correctly aligned.
Issue: Sync Delays
If you experience delays in data synchronization, investigate your connector’s logs and consult the provider’s support to resolve the issue.
Leveraging the Power of Integrated Platforms
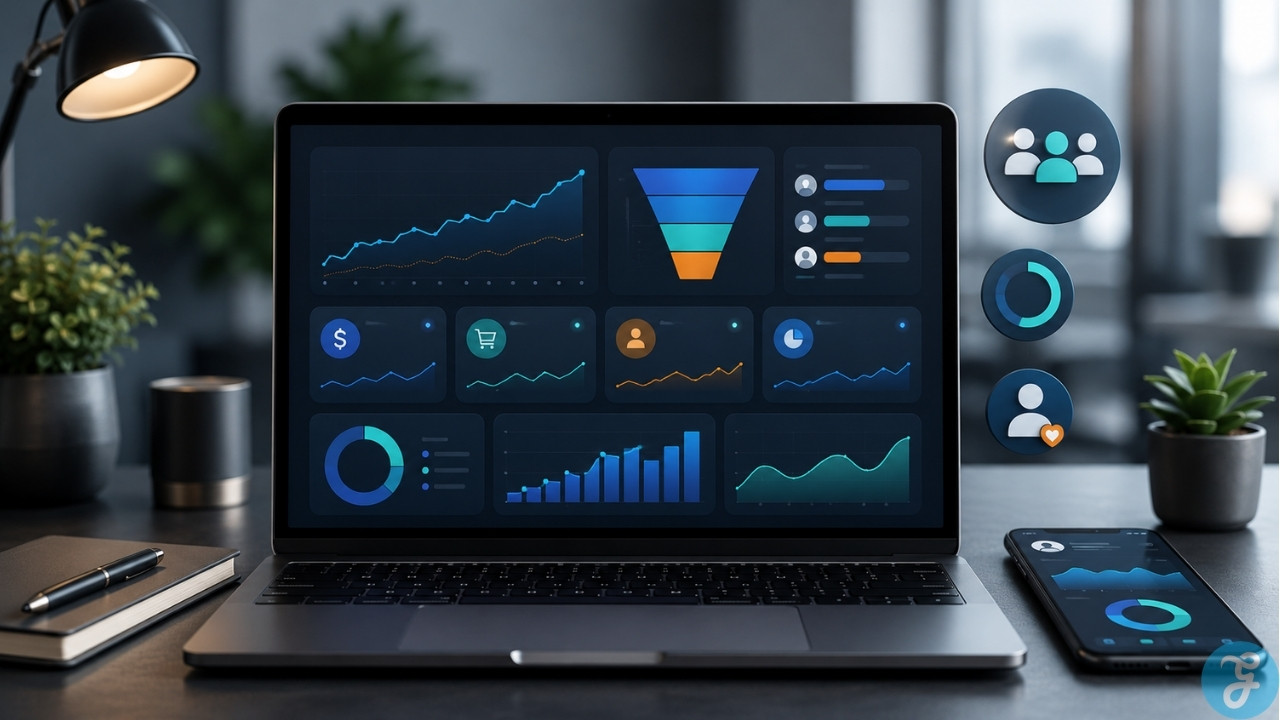
An integrated Shopify-Salesforce ecosystem offers more than just data synchronization. It enables businesses to implement automated marketing campaigns, offer personalized customer experiences, and generate detailed analytics reports for data-driven decision-making.
Choose PowerSync for Seamless Integration
Navigating through the complexities of Shopify Salesforce integration requires a reliable partner, and that’s where PowerSync comes in. Offering robust features like real-time synchronization, extensive customization, and unparalleled customer support, PowerSync makes your integration journey smooth and effective. For more details, visitPowerSync.
In sum, Shopify Salesforce Connector offers an excellent avenue for businesses to streamline operations and achieve a 360-degree view of their customers. With the right strategies and tools, like PowerSync, you can harness the power of this integration to take your business to the next level.