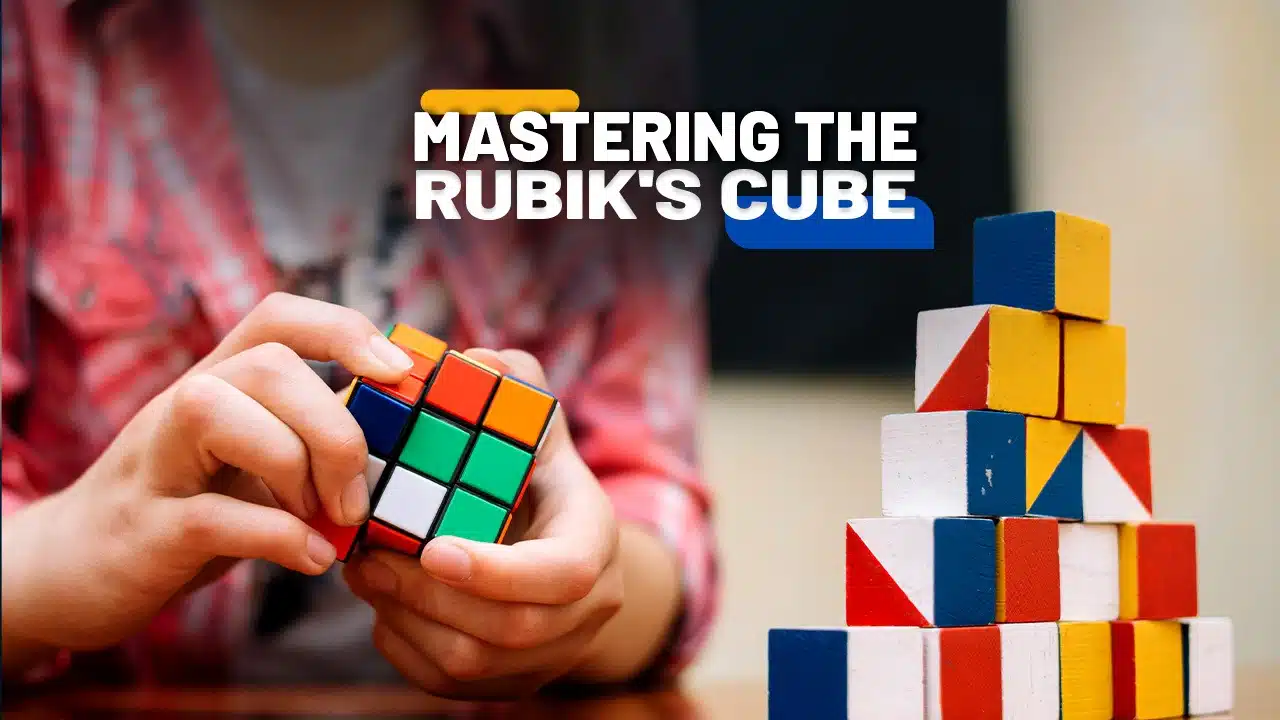
Have you ever been unable to make the colors on a scrambled Rubik’s cube align? The iconic puzzle has stumped millions since its creation in the 1970s. Our article breaks down the solving process into manageable steps, ensuring that anyone can master this colorful conundrum.
Discover the secrets to transforming chaos into order—keep reading the article on how to solve the Rubik’s cube step by step.
Understanding the Rubik’s Cube
A Rubik’s cube challenges you to match all the colors on each side. It has six faces covered by nine stickers, each showing one of six solid colors. A pivot mechanism lets you twist and turn its sections.
Cubes come in different sizes: 2×2, 3x3x3, and even bigger, like the 4×4.
To crack a cube, learn how it moves. Corner pieces have three stickers; edge pieces have two. Center squares show the color of their sides and never move. You twist layers to swap sticker positions until the sides are uniform in color.
This toy isn’t just about luck; it’s about patterns and strategies!
The Step-by-Step Process of Solving the Rubik’s Cube
Embarking on the journey to crack the Rubik’s Cube puzzle, we delve into a meticulous step-by-step process that guides you from scrambled chaos to structured success. Each move is intentional, with each stage building upon the last—until the colors align and victory emerges in your hands.
Creating the White Cross

Solving the Rubik’s cube starts with the white cross. This foundation is key to aligning the first layer properly.
- Begin by finding the white center piece on your cube.
- Rotate the cube’s top layer until you see a white edge piece lined up with the white center.
- Move this white edge to match with its center color on the middle layer; this is known as color matching.
- Turn the middle layer twice (180 degrees) to bring the matched edge down into place, forming part of your cross.
- Look for other white edges on your Rubik’s cube and align each one above its corresponding center color in other layers.
- Perform either a clockwise or a counterclockwise rotation of those layers to move those pieces into position next to your initial white edge.
- Make sure all edges of your white cross directly line up with both their corresponding centers and side colors; this step is crucial for later stages.
- If you find a white edge flipped in its place, use the right trigger (R U Ri Ui) or left trigger (Li U L Ui) moves to flip it without disrupting your existing cross.
Correctly Positioning White Corners

Positioning white corners on the Rubik’s cube is a crucial step. It involves aligning white corner pieces with corresponding edges while keeping the white cross intact. Here’s how to do it:
- Find a white corner piece in the top layer.
- Turn the top layer until that piece is above its destination on the bottom.
- If the white part of the corner is facing up, perform these moves: right inverted (R’), down inverted (D’), right (R), and down (D). This gets it to the bottom without breaking the cross.
- Look for any white corners in the bottom layer that aren’t in their right spot.
- Move these misplaced corners to the top layer using Down (D), Right (R), Up (U), Right inverted (R’). Now they’re ready to be put into place.
- Put each corner in its correct position by turning them over to their destination spots.
- When a corner’s white sticker faces forward, use this move: right inverted (R’), down inverted (D’), right (R).
- If it faces to the right, use these moves instead: Down (D), right inverted (R’), up inverted (U’).
- Repeat these steps until all four white corners are correctly positioned and matched with edge colors.
Solving the Second Layer

After you align the white corners, it’s time for the second layer. This part can be tricky, but practice and patience will pay off. Here’s how to master this step:
- Find a non-yellow edge piece on the top layer. You need to match it with the center color of one of the side faces.
- Turn the top layer so that the edge piece matches its corresponding color in the middle row.
- Perform a specific sequence of moves to insert the edge piece into place. Use cube notation like U (up), R (right), and D (down) to follow these steps.
- If an edge piece is in the wrong spot in the middle layer, move it up to the top. Then repeat these steps.
- Check each new edge placement by matching it with both adjacent center pieces. Make sure the colors line up.
- Keep turning and moving pieces until every edge on the second layer is correct.
Forming the Yellow Cross

Forming the yellow cross on a Rubik’s cube is a thrilling step. It sets you on the path to solving the puzzle.
- Hold the cube with the yellow center piece on top.
- Look for edge pieces with yellow stickers.
- Make ‘F R U Ri Ui Fi’ moves when you see a yellow sticker facing front.
- Repeat these moves until you see a yellow edge at the top layer, not just in front.
- If the sticker faces up but isn’t at the edge, say ‘U R Ui Ri Ui Fi U F’.
- Now bring all the yellow edges together to form a plus sign on top.
- You might have to repeat some steps multiple times.
- Don’t get discouraged if it takes a few tries; this is normal!
- Once you see your plus sign completely formed, celebrate this success!
Aligning Yellow Edges

Aligning yellow edges on a Rubik’s cube can be tricky. Follow these steps to get it right.
- Look for the yellow edge pieces that need to be aligned.
- Find the one that matches the center color of one of the sides.
- Turn the top layer until this piece is directly above its matching center.
- Do an algorithm to move this piece into place without messing up your work.
- The algorithm depends on where the yellow edge needs to go. For example, use F U R U’ R’ F’ to move an edge from the top to the front.
- Repeat this process for each yellow edge that needs aligning.
- Sometimes, you might need to do an algorithm more than once.
- Make sure not to disrupt the already-completed layers below.
- Keep practicing, and use online tutorials for visual help.
Positioning Yellow Corners Correctly

Getting the yellow corners in the right place on your Rubik’s cube is a big step toward solving it. This part can be tricky, but with practice, you will get the hang of it.
- Look for yellow corner pieces that are not in their correct position.
- Notice the piece’s other two colors besides yellow and match them with the center squares of those colors.
- Hold your Rubik’s Cube with a misplaced yellow corner piece in the top-right-front position.
- Perform a specific algorithm: U R U’ L’ U R’ U’ L. This moves the corner piece without messing up parts you’ve solved.
- Check if the corner has moved to its correct location. Its colors should match the centers on both sides.
- Repeat these steps for all misplaced yellow corners until they are in correct positions.
- Don’t worry if yellow corners face different directions; just make sure they’re where they need to be.
Orienting Yellow Corners

Orienting the yellow corners on a Rubik’s cube is a thrilling challenge. It brings you one step closer to solving the whole puzzle. Here’s how to do it:
- Look at each yellow corner piece on the top layer. You want all of them to have yellow stickers facing up.
- Find a corner piece where the yellow sticker isn’t on top. Turn the top layer until this piece is in the right-front-top position.
- Use a special move sequence, or algorithm, to rotate that yellow sticker up. The algorithm goes like this: U R U’ L’ U R’ U’ L. This means turning the upper layer clockwise, the right face clockwise, the upper layer counter-clockwise, and the left face counter-clockwise, then reversing these moves.
- After doing this algorithm once, check if the yellow sticker is now on top. If not, repeat until it is.
- Move only the top layer to bring another unsolved yellow corner to the same position as before: right-front-top spot.
- Apply that same algorithm again: U R U’ L’ U R’ U’ L.
- Keep going! Rotate just the top layer and repeat this process for each corner piece missing its yellow sticker on top.
- Don’t worry if other pieces seem mixed up during this step. They’ll fall into place later.
Tips for Solving the Rubik’s Cube Faster
Solving the Rubik’s cube quickly takes practice and smart techniques. Use these tips to shave seconds off your solve time.
- Learn finger tricks. Finger tricks allow you to turn the cube faster without repositioning it in your hands too much.
- Master the algorithms. Knowing a wide range of algorithms by heart lets you solve sequences more quickly.
- Keep your cube lubricated and tensioned. A well-maintained cube turns smoother, making fast solving easier.
- Memorize key patterns. Recognizing certain patterns on the cube helps predict moves ahead of time.
- Practice solving only with your non-dominant hand. This strengthens muscle memory and improves dexterity overall.
- Time yourself regularly. Timing each solution pushes you to beat personal records and track progress.
- Focus on one step at a time while practicing; don’t worry about full solutions right away.
- Study solved cubes from different angles to understand how pieces move around the puzzle.
- Watch speedcubers’ videos for visual learning and new strategies they use during competitions under pressure.
- Experiment with various grip styles. Find which hold works best for rapid movement on all sides of the cube.
Keep up consistent practice sessions, as regular solving builds muscle memory and improves recognition skills necessary for quick completion times!
Advanced Methods for Solving the Rubik’s Cube
For those who have conquered the basics and hunger for more challenge, exploring advanced methods for solving the Rubik’s cube opens up a thrilling new dimension in the world of speedcubing.
These sophisticated techniques, such as CFOP, Roux, and the Fridrich method, reshape the way you think about—and ultimately master—the cube. If you are interested, you can read about the trick taking card games guide.
Layer by Layer (LBL) Method
[Video Credits @LalitTheCuber]
The Layer by Layer (LBL) method breaks down the Rubik’s cube puzzle into manageable steps. You start at the top and work your way down. First, you make a daisy pattern on one face of the cube.
This involves positioning yellow stickers around a white center piece. Then you turn these petals into a white cross on the opposite side.
Next, focus on solving the first two layers (F2L) of the Rubik’s cube together. This means getting all corner pieces and edges in their right places with matching colors, forming T-shapes around each side of your cross.
Cube notation becomes your guide here, telling you which twists turn chaos into order. With this method, aligning stickers and executing trigger moves feels like second nature as you systematically solve one layer after another, always aiming for that satisfying moment when every color falls into its perfect place.
CFOP Method
[Video Credits @JPerm]
Master the CFOP method, and you unlock a powerful process to solve Rubik’s cubes quickly. This advanced technique breaks down into four stages: cross, F2L (first two layers), OLL (orientation of the last layer), and PLL (permutation of the last layer).
First, create a cross on one face by aligning edge pieces, not just colors. Next, slot in the corner-edge pairs for both first layers simultaneously. This step speeds up your solve time.
For those final layers, get ready for some fun! Use algorithms to twist all yellow pieces face-up without messing up your two lower layers—and that’s your OLL done. Finally comes PLL; shuffle those last layer pieces into their right places with another set of moves.
Dive into cube notation; learn symbols like “R U R’ U'” to speak Rubik’s cube language fluently. Embrace this method, and you’ll be solving puzzles quicker than ever before!
Conclusion
You’ve got everything you need to conquer the Rubik’s Cube—step-by-step instructions, expert tips, and even videos. Remember, practice makes perfect. Keep turning, learning, and improving.
Before long, you’ll be solving that cube like a pro! Your puzzle-solving adventure begins now; go show that Rubik’s Cube who’s boss!