Installing artificial grass offers a hassle-free solution for maintaining a beautiful, green lawn throughout the year. It removes the need for frequent watering, mowing, and fertilizing, allowing you more time to relax and appreciate your outdoor space.
The installation process requires careful attention to detail to ensure the turf remains stable and looks natural. By following the proper steps, you can create a low-maintenance lawn that stays lush and vibrant for years.
Read on to discover the key steps for installing artificial grass and how to achieve the perfect lawn for your home or business.
1. Prepare the Ground
Creating a solid foundation is essential for installing artificial grass effectively.
To prepare your ground correctly, follow these steps:
- Clear the area: Start by removing any existing natural grass, stones, and debris. Use a shovel to dig out vegetation and roots that might interfere with the artificial grass. For larger spaces, consider using a turf cutter for efficiency and a cleaner, even surface.
- Level the ground: Achieving a flat surface is crucial for a polished look. Use a rake to smooth out the area, filling in any low spots with soil and removing any bumps. This step helps avoid an uneven appearance in the finished lawn and provides a more secure base for the grass.
- Install a weed barrier: Laying a weed membrane is important to prevent unwanted plant growth from coming through the artificial grass. Spread the weed barrier evenly over the prepared ground, ensuring it covers the entire area. This barrier helps keep your lawn maintenance-free.
Preparing the ground carefully is essential for creating a smooth, stable, and long-lasting foundation for artificial grass.
2. Build a Base Layer for Stability
A solid base layer is essential for supporting artificial grass and allowing for effective drainage.
For a stable installation, consider these steps:
- Add road base material: Spread a few inches of road base material over the area, making sure it’s distributed evenly. This layer provides foundational support, helping prevent sinking and giving the turf a solid base.
- Compact the surface: Use a plate compactor to compress the road base material thoroughly. Compacting eliminates air pockets and ensures the base stays firm, reducing the likelihood of shifting over time.
- Top with sharp sand: Add a layer of sharp sand to the compacted base for extra leveling and smoothness. Compact this layer as well to create an even surface, which will help the grass lie flat and maintain its position.
Establishing a strong base layer ensures that your artificial grass installation is secure, durable, and properly drained.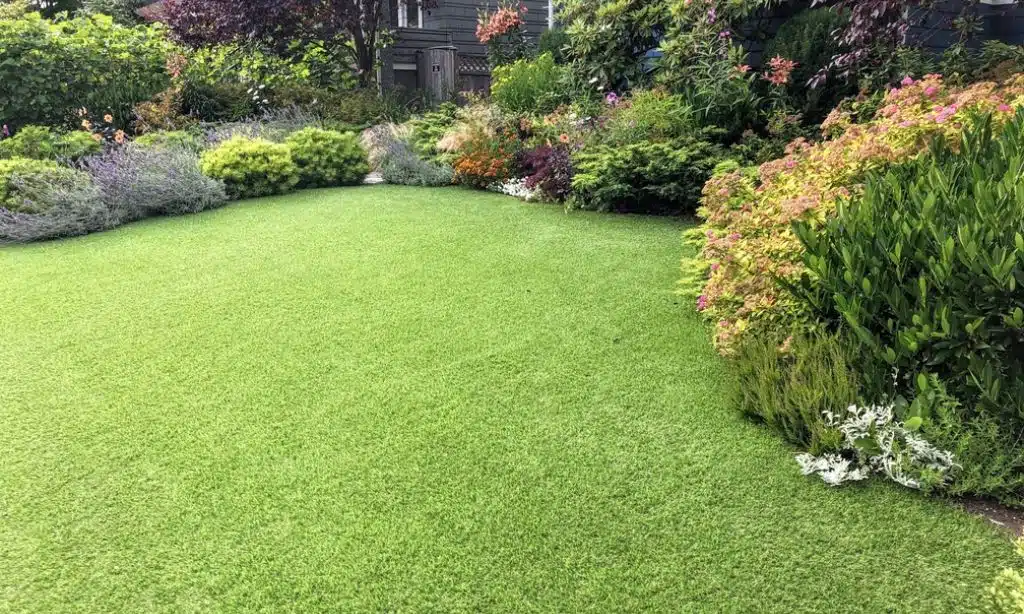
3. Position and Trim the Artificial Grass
After preparing the ground and creating a stable base, it’s time to position and trim the artificial grass to ensure a clean, professional appearance.
Follow these steps to fit the grass perfectly:
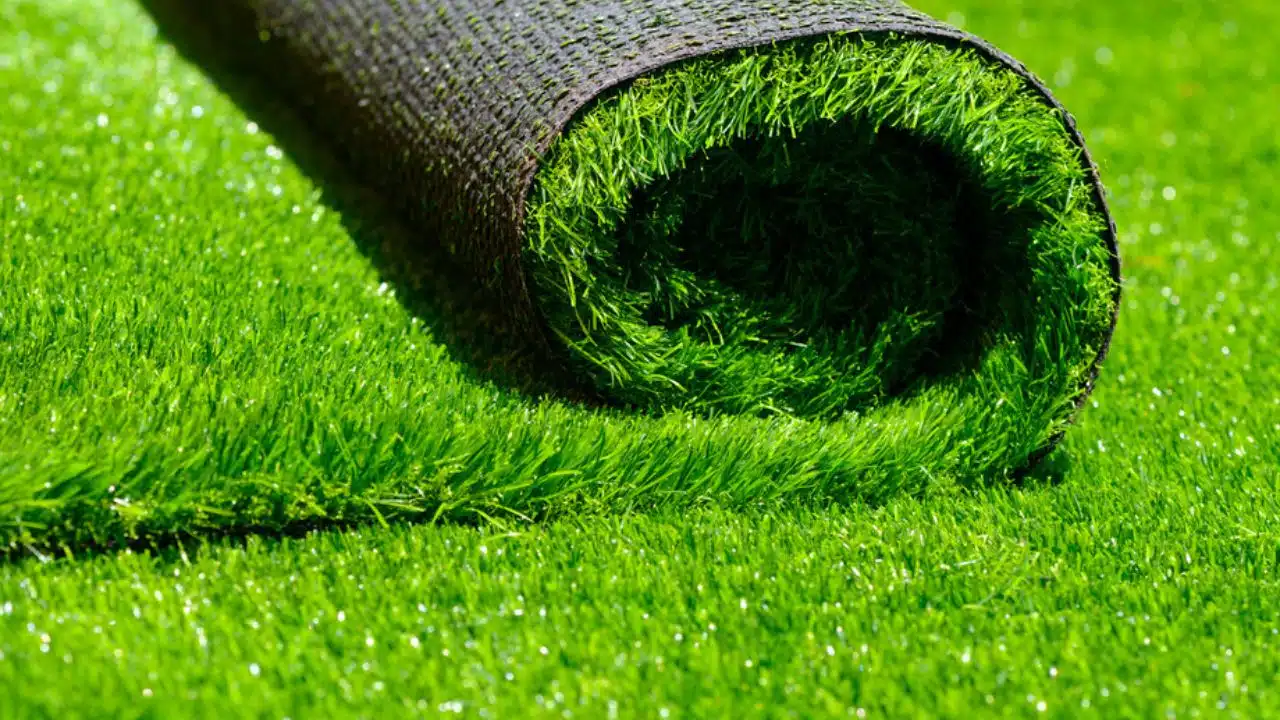
- Roll out the grass: Begin by laying the artificial grass over the entire prepared base. Let the grass settle for a few hours to reduce any creases or wrinkles, allowing it to relax and lay flat.
- Cut to size: Use a sharp utility knife to trim the edges of the grass to fit the shape of the installation area. Take your time to ensure precise cuts, especially around corners and obstacles.
- Join multiple sections: If your installation covers a large area that requires more than one roll of grass, join the sections using seam tape. Align the grass blades in the same direction to create a seamless look. Make sure the seams are smooth and barely visible.
Positioning and trimming the grass carefully ensures that the turf fits properly, with no gaps or misalignment. The final result will look natural and polished, giving your lawn a well-maintained appearance.
4. Secure the Turf Edges
To ensure that your artificial lawn stays in place and maintains its appearance over time, securing the edges is a crucial step. Properly securing the perimeter will prevent the grass from lifting or shifting, all while boosting curb appeal.
Here are the key steps to effectively anchor the turf:
- Anchor the perimeter: Use landscape staples or adhesive to secure the edges of the artificial grass. Place the staples around the perimeter to hold the grass firmly in place, preventing any lifting or movement. Ensure the staples are spaced evenly for maximum stability.
- Check for gaps and adjust: After securing the edges, inspect the turf to ensure there are no gaps. The grass should be tight against the surface with no exposed areas. If necessary, adjust the placement of the turf to eliminate any gaps or overlaps along the edges.
A properly secured edge not only enhances the durability of your artificial lawn but also helps maintain its neat and uniform look.
5. Add Infill and Final Touches
After positioning and securing your artificial grass, adding the right infill and making the final adjustments are essential steps to enhance the lawn’s appearance and durability. This is the final step to upgrade your outdoor space, giving it a polished, natural look.
Below are the key actions to complete your installation:
- Choose the right artificial grass infill: Options like silica sand or rubber granules can be used based on your needs and preferences.
- Spread and brush the infill: Distribute the artificial grass infill evenly and work it into the turf with a stiff brush or power broom to support the grass blades.
- Final inspection: Check the lawn for any irregularities and trim any excess grass around the edges to ensure a clean finish.
With infill and finishing touches, your artificial lawn will have a natural look and feel, with added stability for long-term use.
Final Thoughts
Artificial grass provides a long-lasting, low-maintenance solution for a vibrant lawn. It eliminates the need for constant upkeep while maintaining a natural appearance. With careful installation, your synthetic turf will stay intact and look great for years. This upgrade saves you time and effort, offering a hassle-free outdoor space to enjoy.